Make this Easy Halloween Craft with Kids
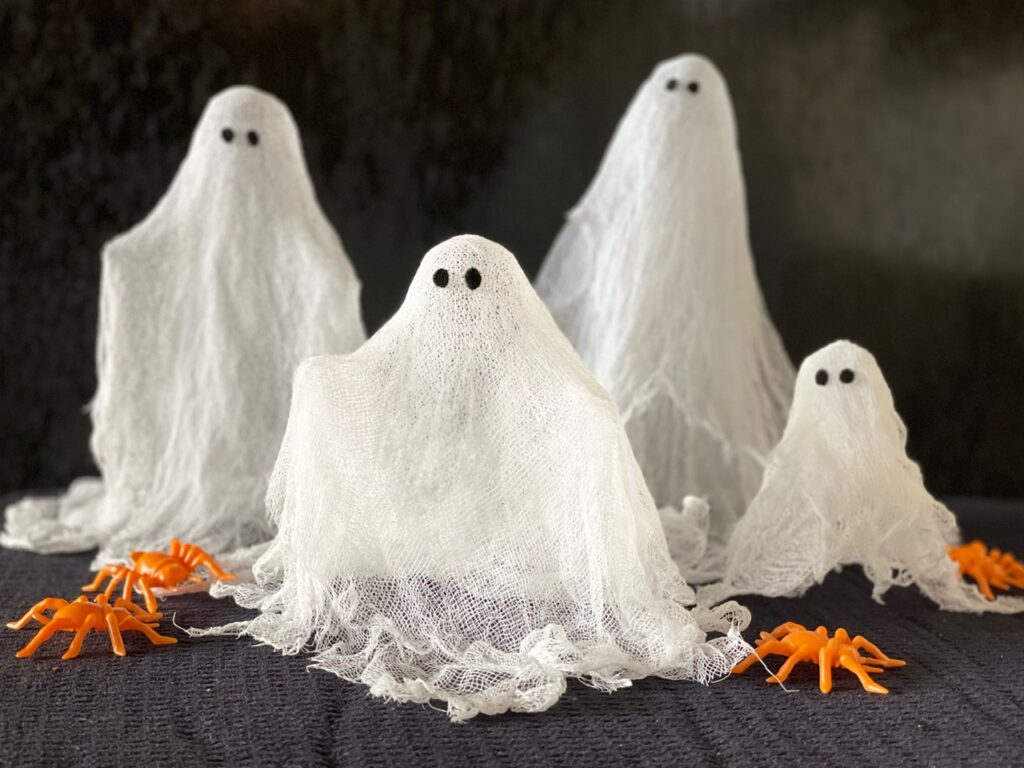
Are the kids beside themselves, waiting for Halloween? These spooky ghosts are a fun Halloween craft project to focus their energies and curb their excitement.
You need just three items: cheesecloth, white school glue, and a scrap of black felt. You’ll start by building a mold using aluminum foil and a bottle or cup.
Easy Ghost Halloween Craft
You can be as creative as you wish with this project. Make different shapes and sizes of ghosts. Craft them with or without arms. Craft them with or without eyes.
Materials Needed for the Molds
- Aluminum foil
- Bottle, such as a small salad dressing bottle, or a plastic cup
Materials Needed for the Ghosts
- Cheesecloth (see note*)
- White school glue, such as Elmer’s
- Small scrap of black felt
Tools Needed
- Sharp scissors
- Small bowl for mixing glue
- Large plastic bag or plastic wrap to protect work surface
- Bamboo skewer or toothpick
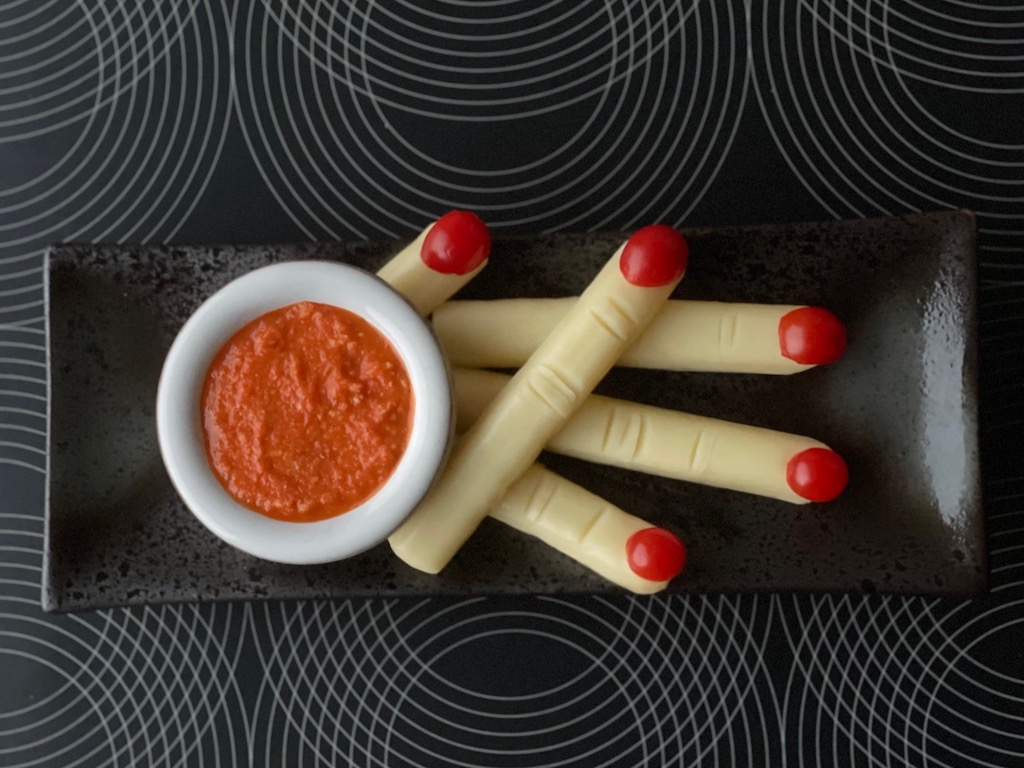
Make Creepy Fingers and “Blood” Dip, plus other terrific Halloween ideas.
Instructions
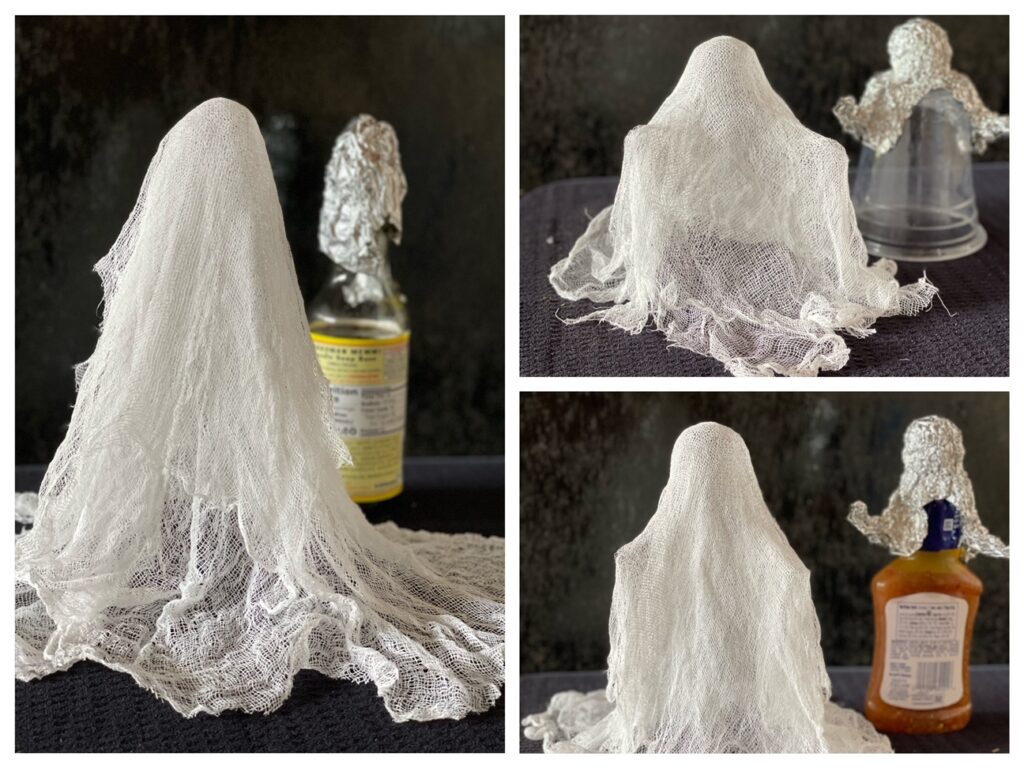
Make the Mold: Cut a square of foil. Fashion the head of the ghost by scrunching up the middle of the foil so you have a ball, with excess foil around it. Smooth the excess foil around the neck of the bottle to form shoulders and so the ball can rest on your bottle. This will make a simple ghost shape. If you want hands reaching out, shape the excess foil into two arms facing forward.
Make the Ghost: Drape the cheesecloth over the mold, covering it completely, allowing extra cheesecloth to cascade beyond the base of the mold. The excess fabric at the base will enable the ghost to stand.
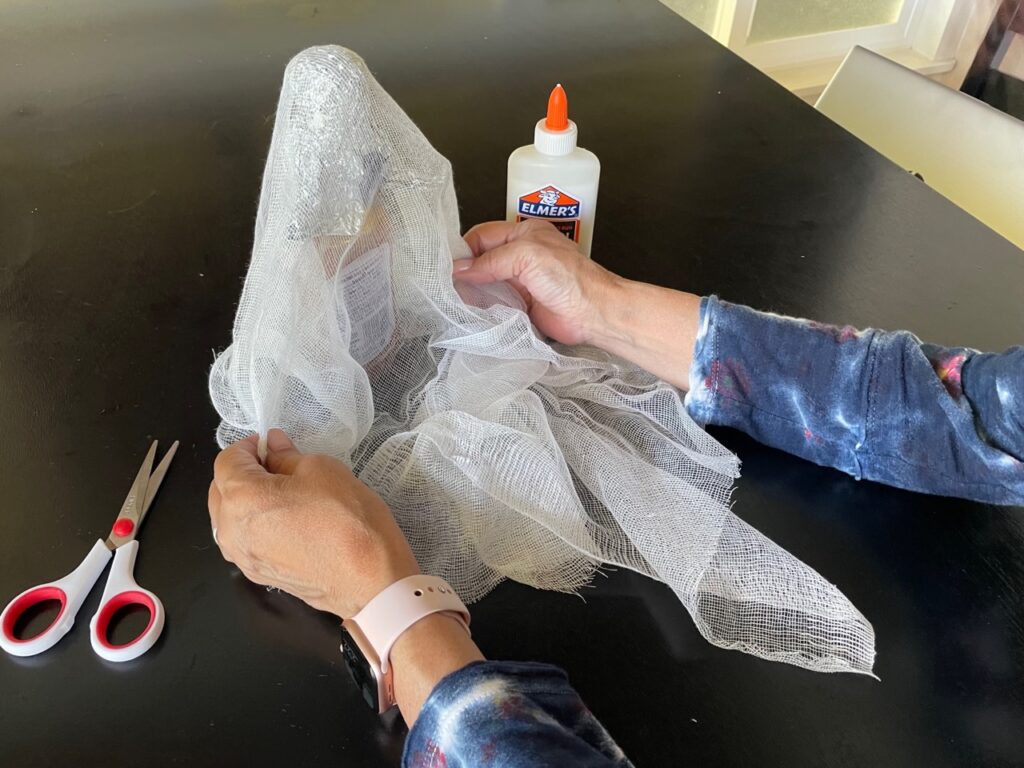
Cut the cheesecloth. Repeat to cut another layer of cheesecloth.
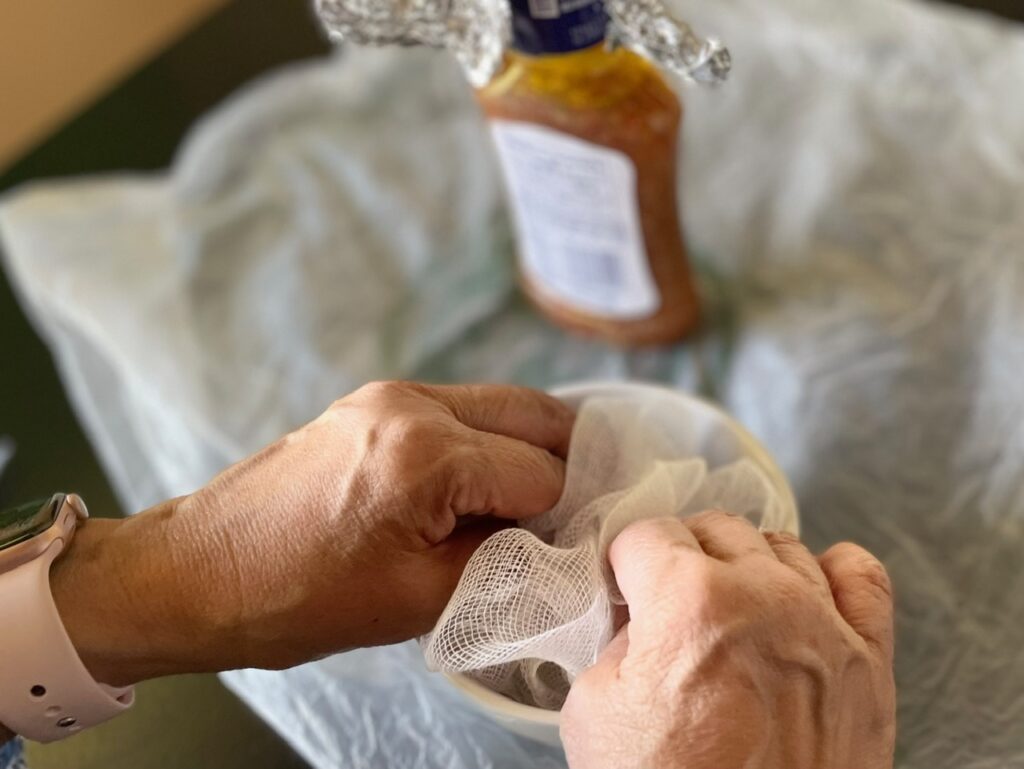
In a small bowl, mix glue with an equal amount of water. Here’s where it gets messy: Dip cheesecloth into the mixture and squeeze out excess. Do not wring out completely to ensure you have enough glue to shape the ghosts.
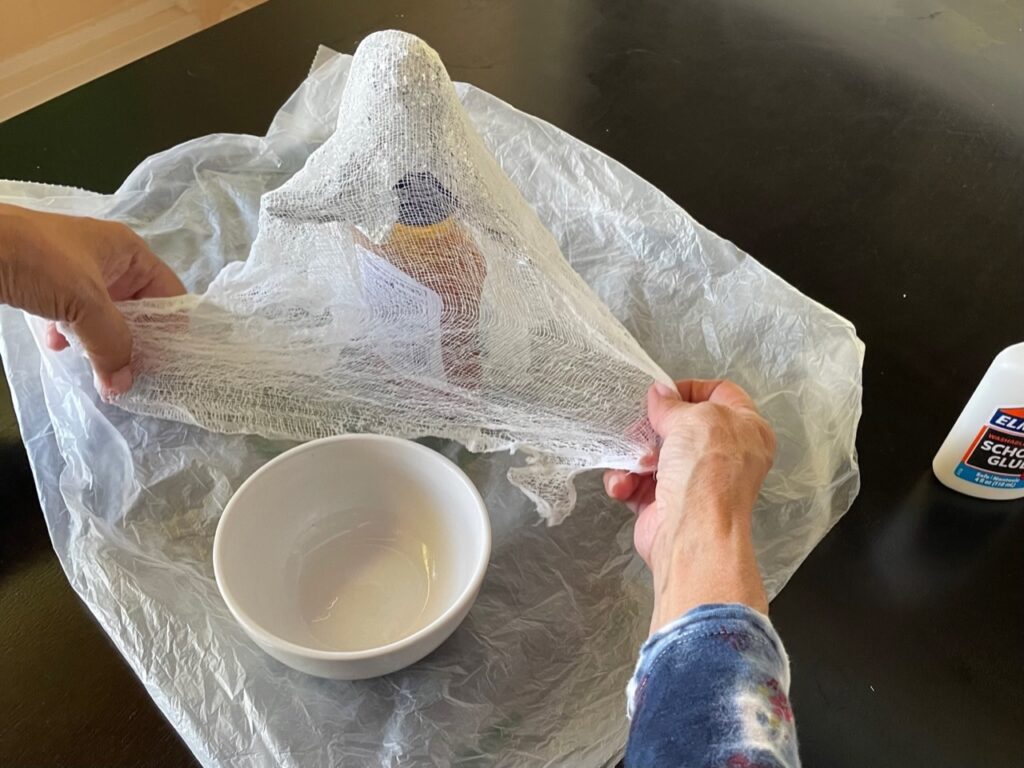
Lay down a plastic bag or plastic wrap to protect your work surface. Now drape the damp cheesecloth over the mold and shape it around the mold. Dip the second layer of cheesecloth in the glue mixture and repeat so you have two layers. Set aside to dry—it will take about half a day or overnight.
When dry, remove ghost from mold. Cut eyes from felt and using a skewer or toothpick, spread some white glue on the felt and adhere to the ghost.
Note:
* The cheesecloth I bought at Ben Franklin Crafts was $3.99 for 2 square yards and it made four ghosts of assorted sizes.
How to Use the Ghosts
Make these ghosts to stand on a table to decorate for Halloween. Or stitch a string through the top of the head and hang them from the ceiling. A grouping of ghosts would make a wonderful table centerpiece for a Halloween party.
Have a happy—and safe—Halloween!
Sign Up!
Don’t forget to sign up for my email newsletter. Every Wednesday, I’ll give you a new idea for an activity or insight to nurture the little ones in your life.
