How to Make a Lightsaber from a Gift Wrap Roll
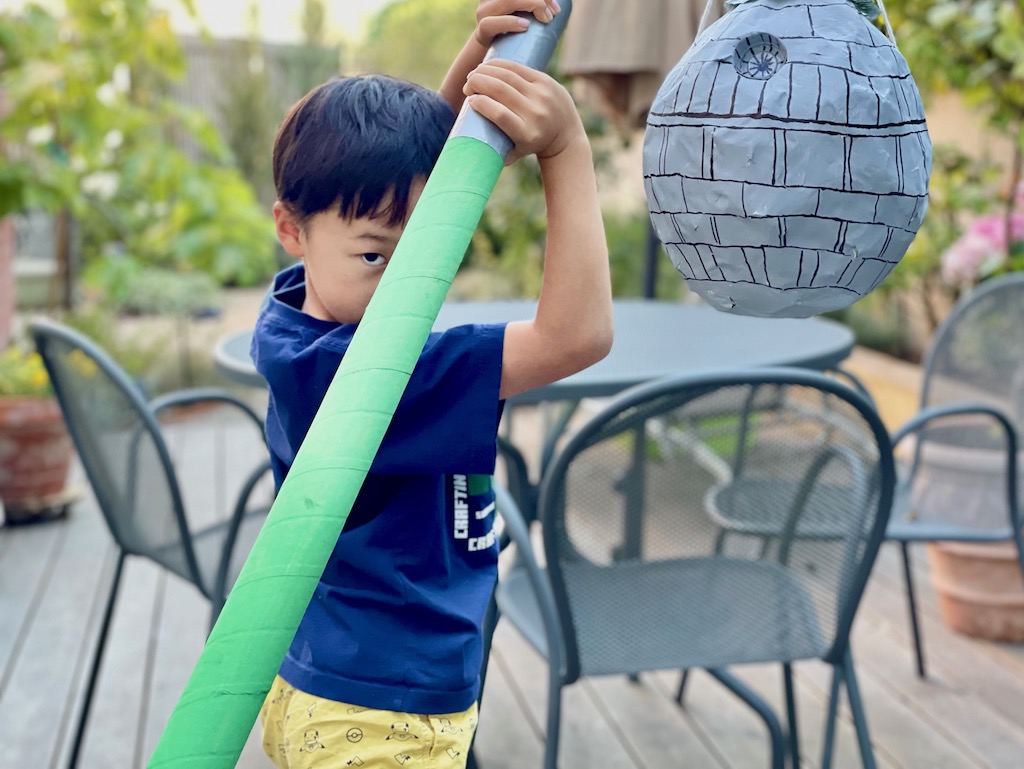
We’re making two types of party lightsabers in this post.
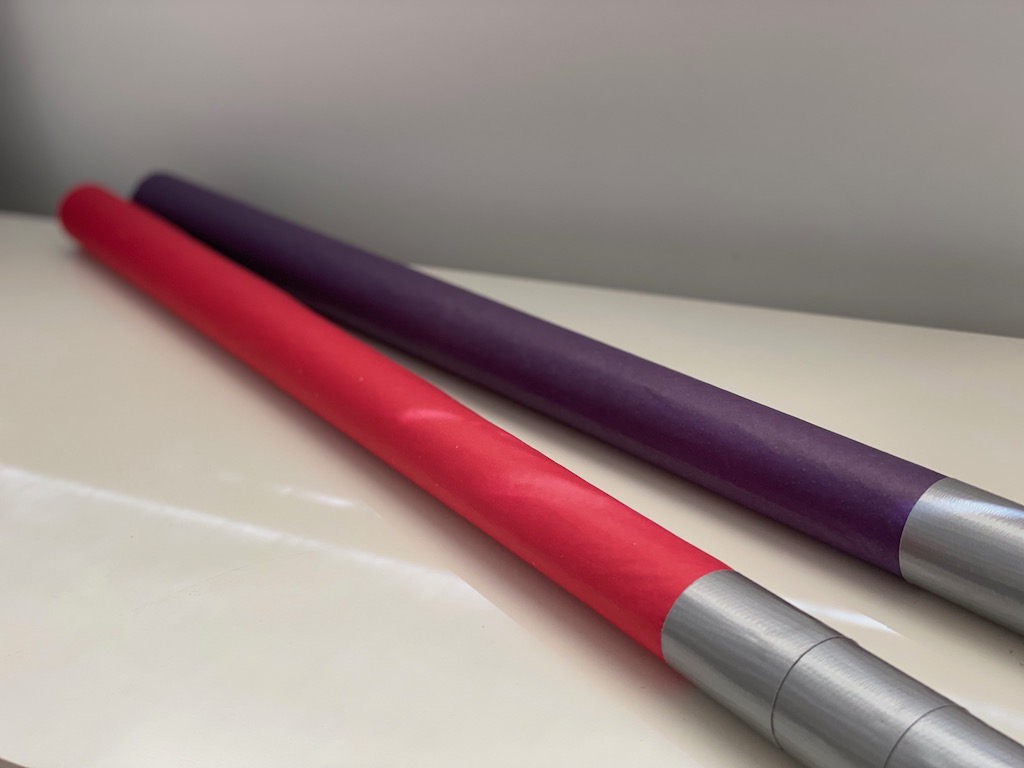
A lightsaber that’s fun, but isn’t going to withstand hard play is made using a cardboard wrapping paper roll and tissue paper. This type of lightsaber makes wonderful Star Wars party decorations that kids can play with at the party. And certainly, no one is likely to get hurt swinging one of these around.

Make a lightsaber using a thicker cardboard roll to break a Death Star piñata, as we did last week. This roll is solid at 5/8-inch thick. Kids need to be careful swinging this; someone–or something–could get hurt.
Another fun project for a kids’ party: Make fascinators from cake cardboard.
The Lightweight Lightsaber
To make these lightsabers, you’ll use an empty cardboard roll wrapped with tissue paper and duct tape to create the hilt. The materials can be finicky, so it’s best done by an adult. We include a child’s crafting variation below.
If you don’t have any empty gift wrap roll but you have gift wrap on hand, unroll it to remove the cardboard center and re-roll the wrap. I found the wrap was none the worse for wear without the cardboard roll in the middle.
Make the Lightsaber
Materials for One Lightsaber
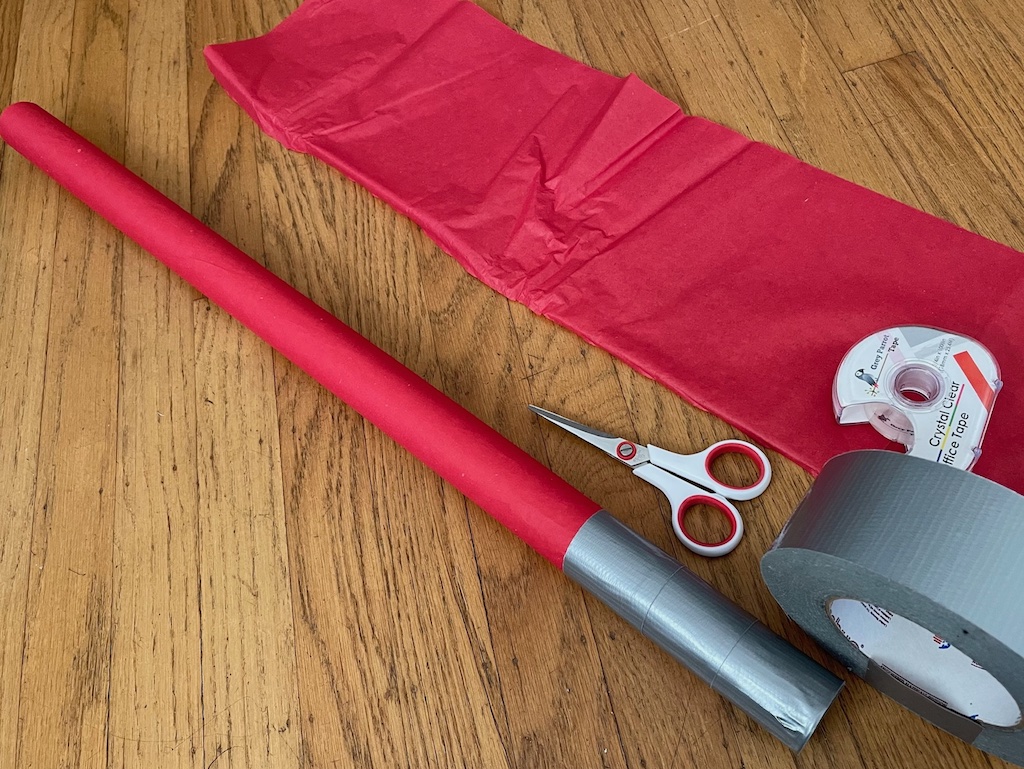
- 1 empty wrapping paper roll
- 1 sheet tissue paper
- Clear adhesive tape
- Glue stick (I used Elmer’s All Purpose Glue Stick)
- 2-inch wide duct tape
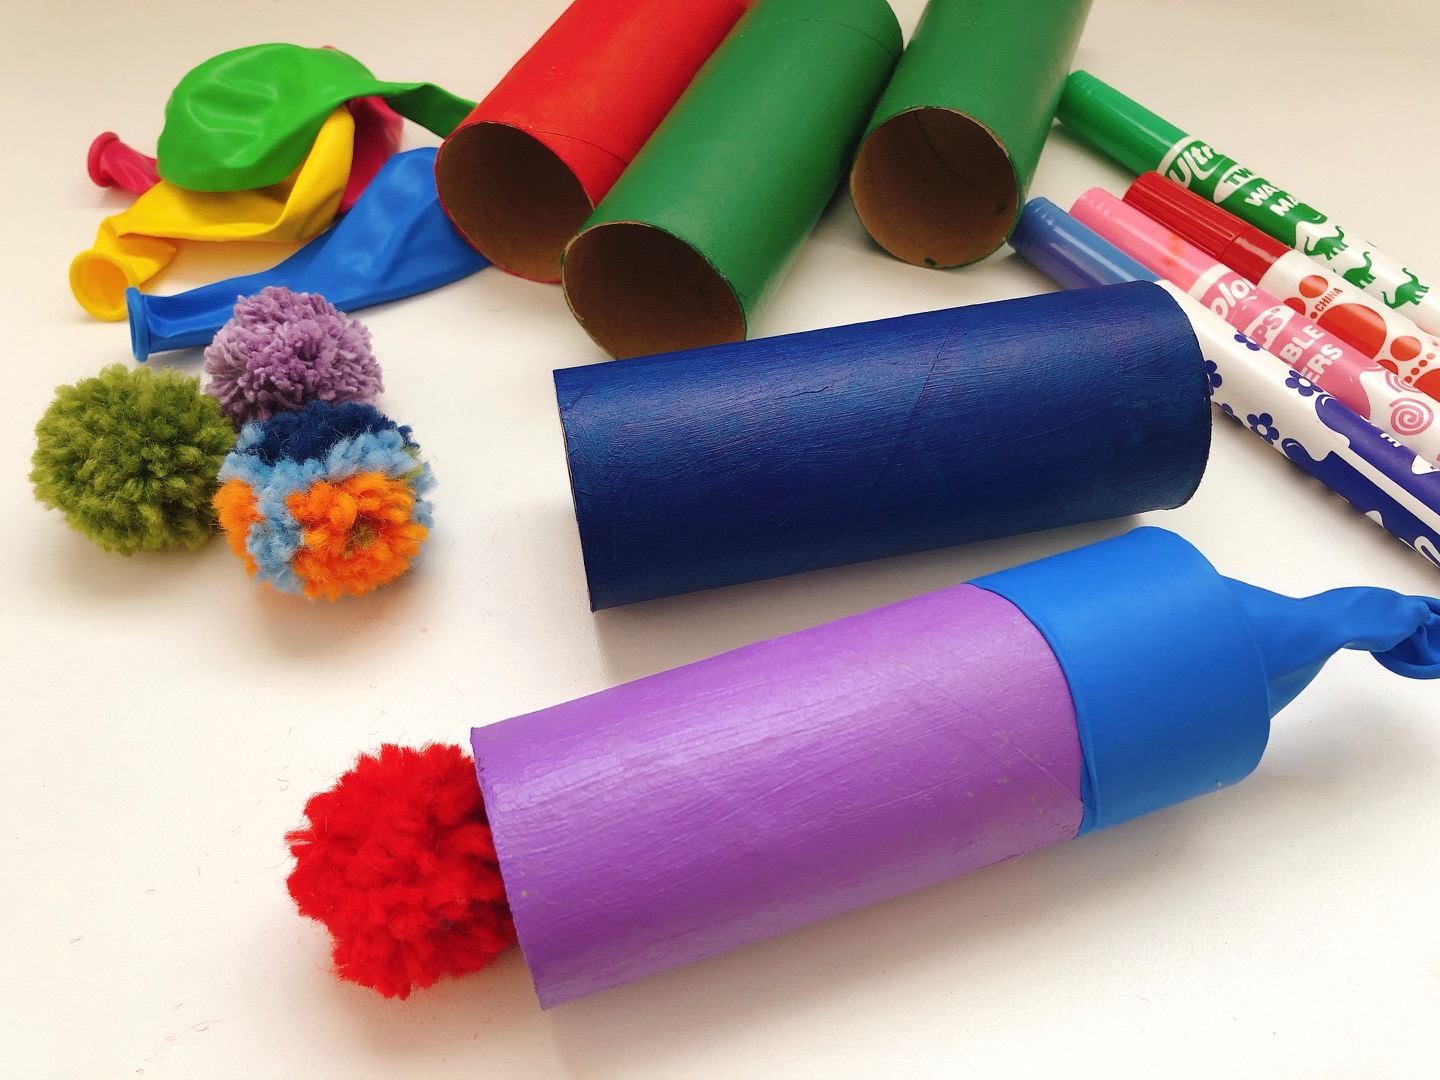
Have kids make pompom canons for birthday fun.
Equipment Needed:
- Sharp scissors
Steps to Making the Roll:
1: Lay tissue paper sheet flat on your work surface (I used the floor) and smooth any wrinkles with your hands. Set the cardboard roll parallel to one long edge of the tissue paper and tape in place. Try to align the paper carefully so the tissue paper will wrap evenly on the roll without going beyond the edge of the cardboard roll.
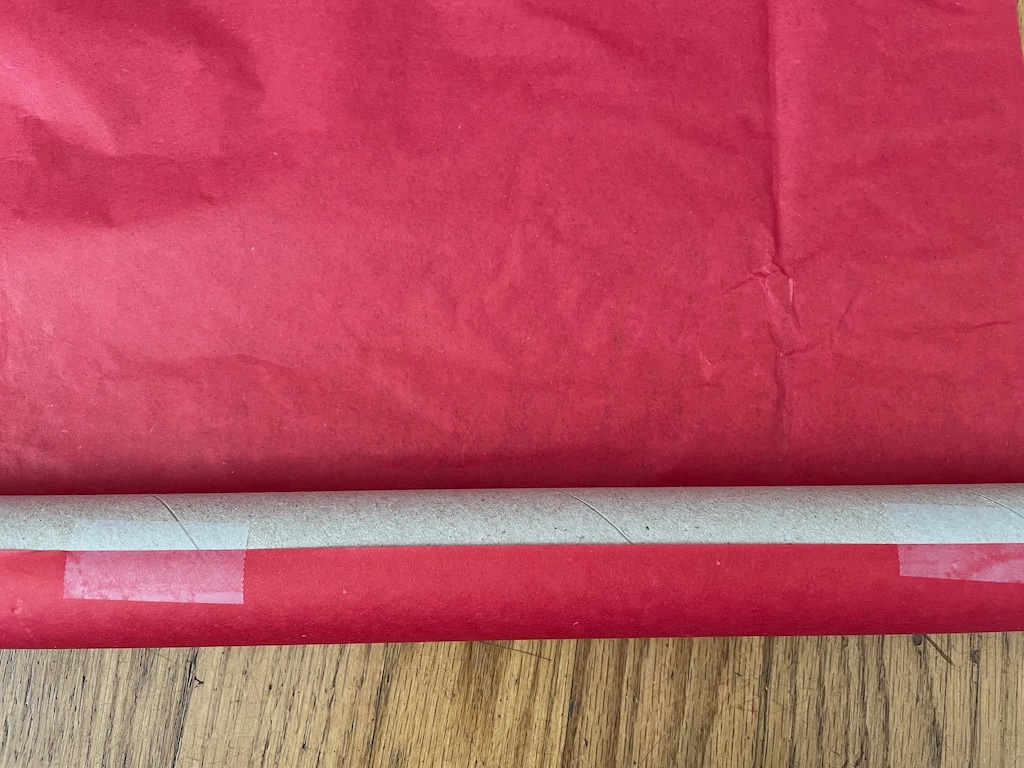
2: Now roll the tissue paper around the cardboard roll as tightly and evenly as you can. When you have covered the roll with tissue paper about 1 1/2 times, hold the cardboard roll with one hand to keep it secured and using your other hand, dot the tissue paper with the glue stick.
What you’re trying to do is to glue the tissue paper onto the roll midway to finishing, to keep the wrapped area tight. Glue stick can tear the paper so use a twisting motion–set the glue stick down on the tissue paper and twist the glue stick gently to smear some glue along the length of the tissue paper, rather than drag.
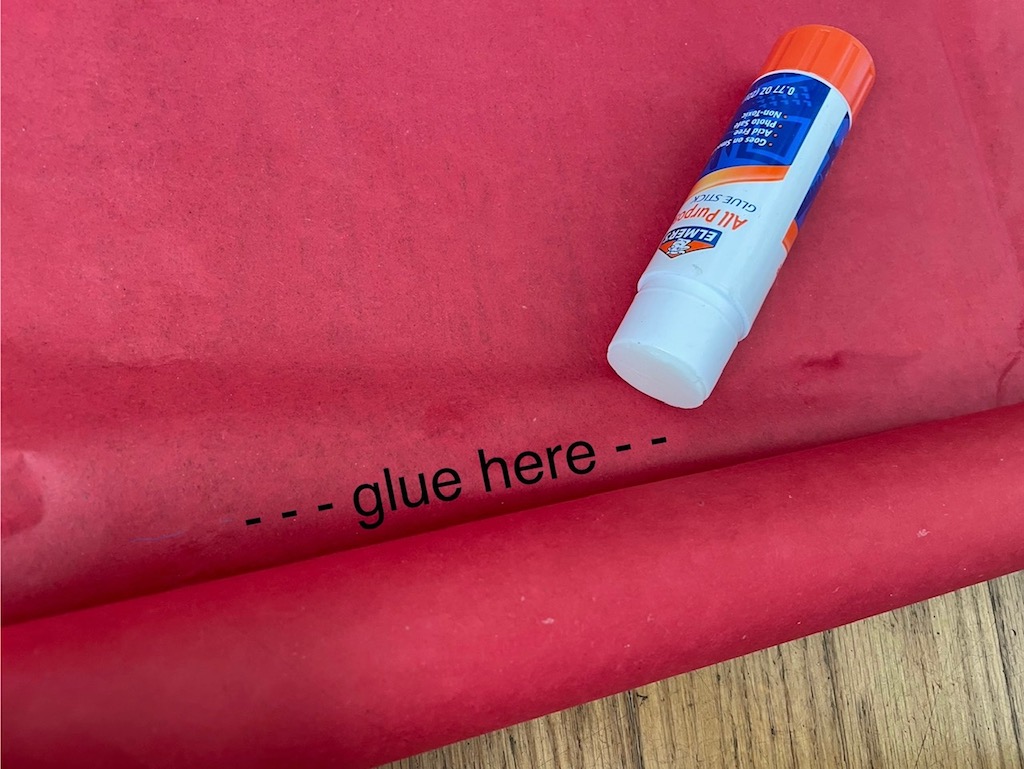
3: Now continue to roll the tissue paper until you feel you have enough layers (about 3 layers) and trim off the remaining tissue.
4: Apply glue with a glue stick all along the cut edge of the tissue paper, then roll the gift wrap roll into the cut edge to secure.
Steps to Making the Hilt
1: Cut a strip of duct tape longer than the circumference of the wrapping paper tube. Wrap the duct tape around the cardboard tube, aligning with one edge.
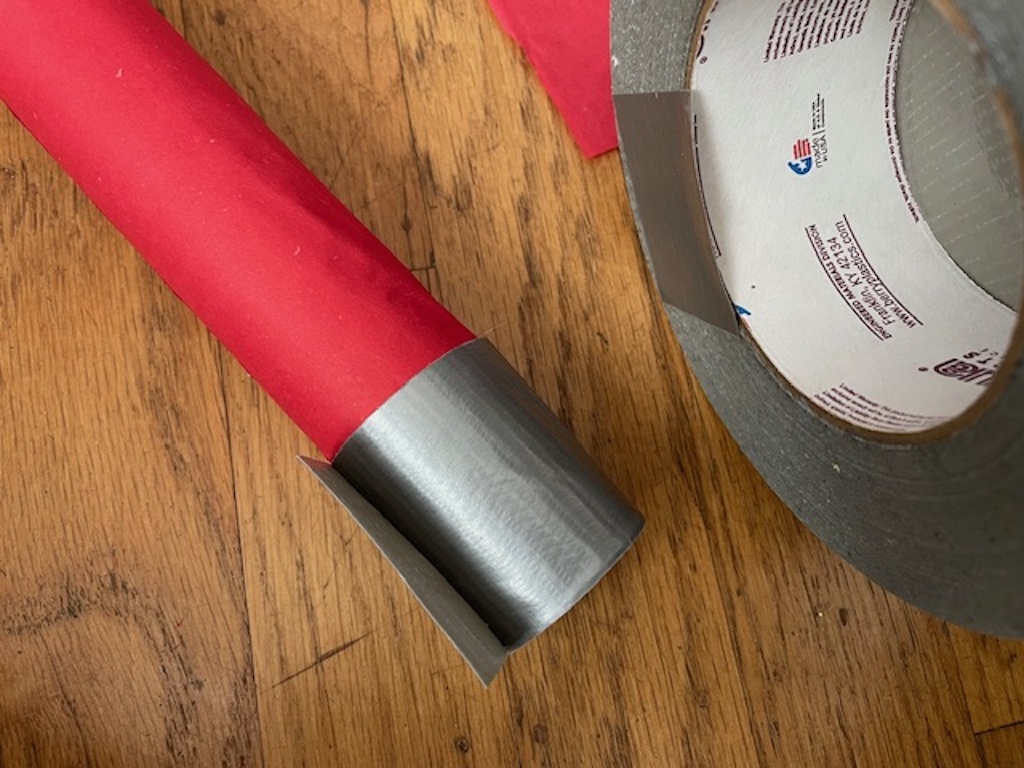
Next wrap another strip of duct tape above the first wrap, overlapping slightly. Then wrap another time so you have three rows of duct tape, slightly overlapped.
A Simpler Version
To make a lightsaber as a project for a child, use colored wrapping paper instead of tissue paper and hold in place using transparent tape, instead of a glue stick. For the hilt, cut a strip of aluminum foil and tape in place.
How to Decorate
I used the light sabers for N’s birthday as table decorations. To make them stand up, weight the bottom of the light saber with rice.
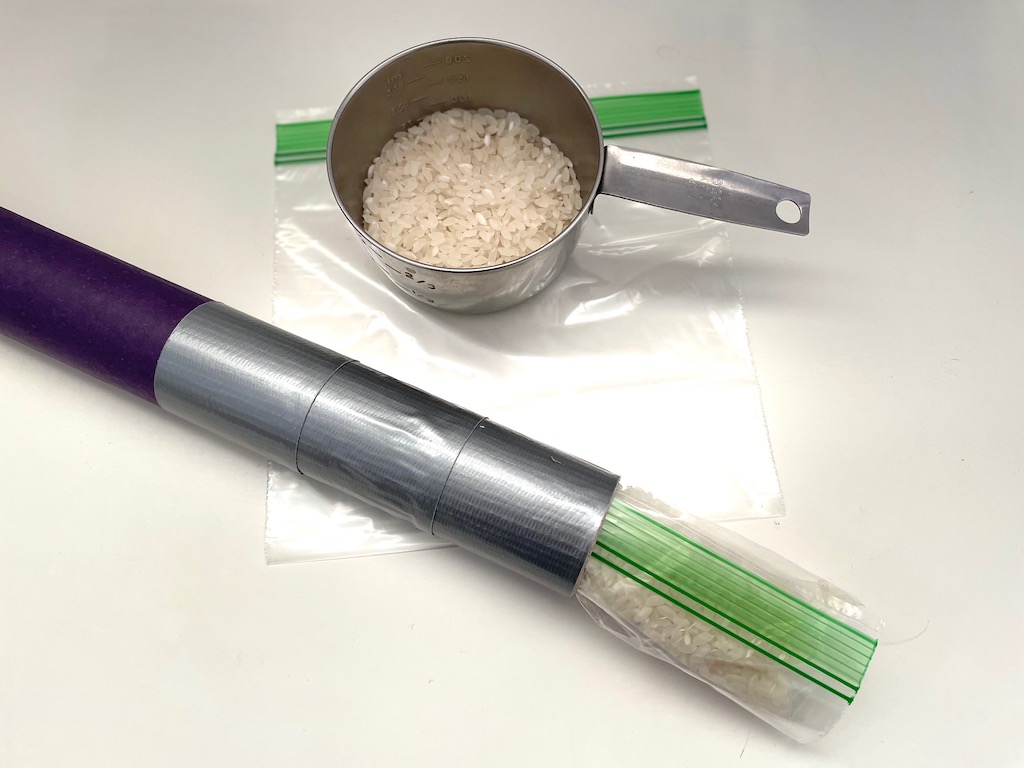
Fill a sandwich bag with between 1/3 and 1/2 cup of rice–you’ll have to experiment with the amount–and roll the bag up to fit into the base of the light saber. Jiggle it around to adjust.
Make the Heavy Duty Lightsaber
For this version, you need a thick cardboard roll. The one we found in our garage is 5/8-inch thick. Simply paint it with tempera paint or acrylic paint and wrap with duct tape.
Be careful with this lightsaber. Swinging it around could hurt someone or knock down precious items in the home. This is just good for attacking a Death Star piñata, as we made last week
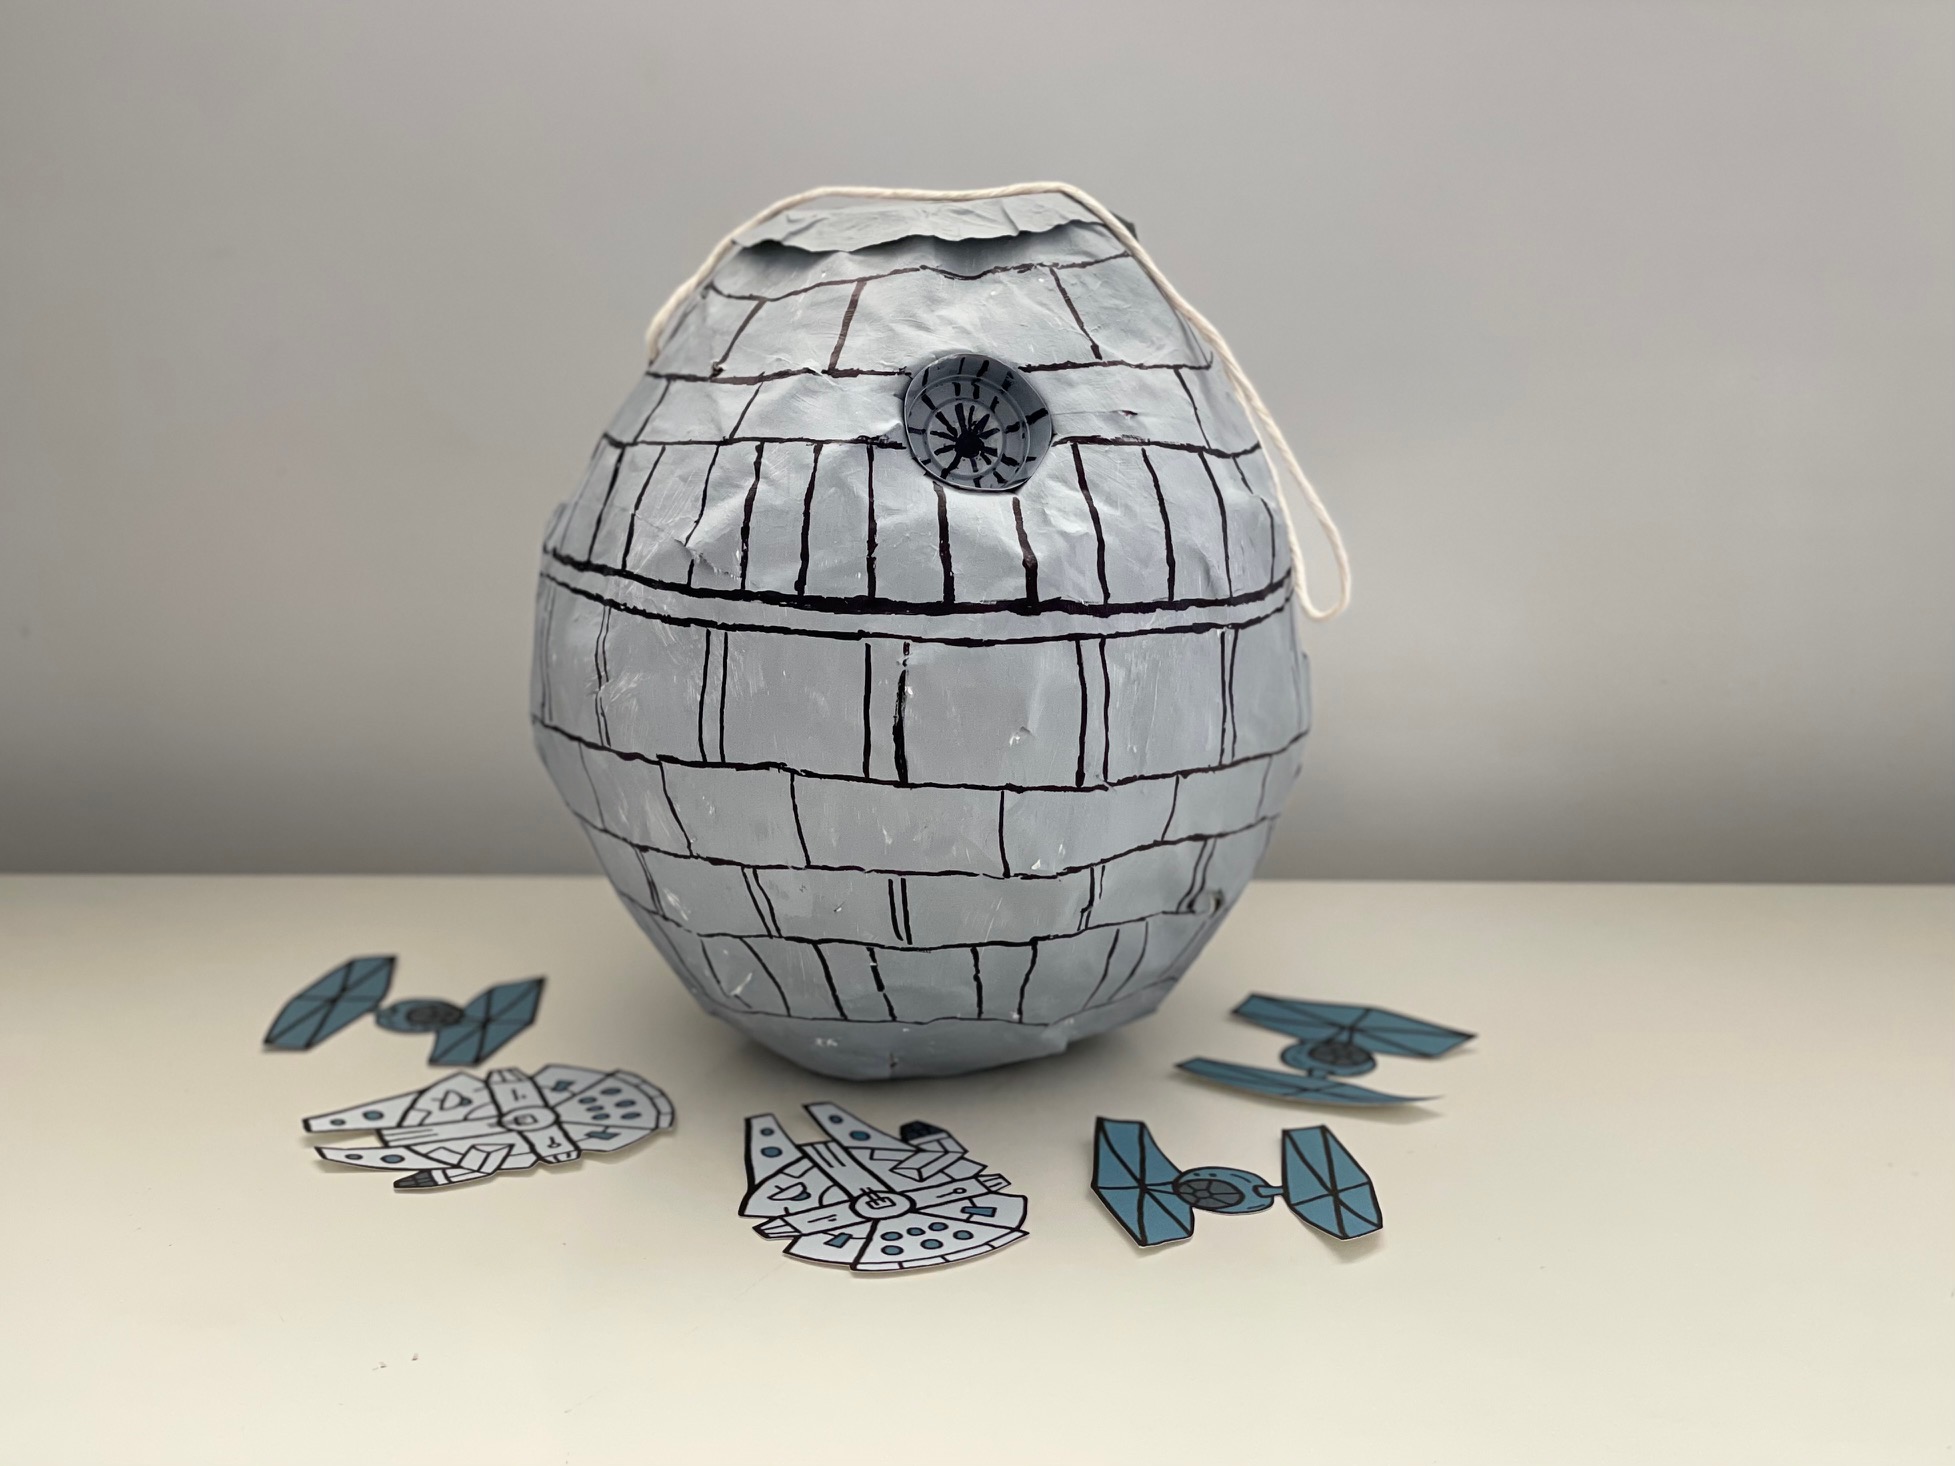
Make a Death Star Piñata from a balloon and newspapers.
Sign Up!
Don’t forget to sign up for my email newsletter. Every Wednesday, I’ll give you a new idea for an activity or insight to nurture the little ones in your life.

