How to Make a Beautiful DIY Easter Basket from Scraps
I was toying with creating an inexpensive DIY Easter basket from scraps as an Easter craft project for kids or something grandparents could make.
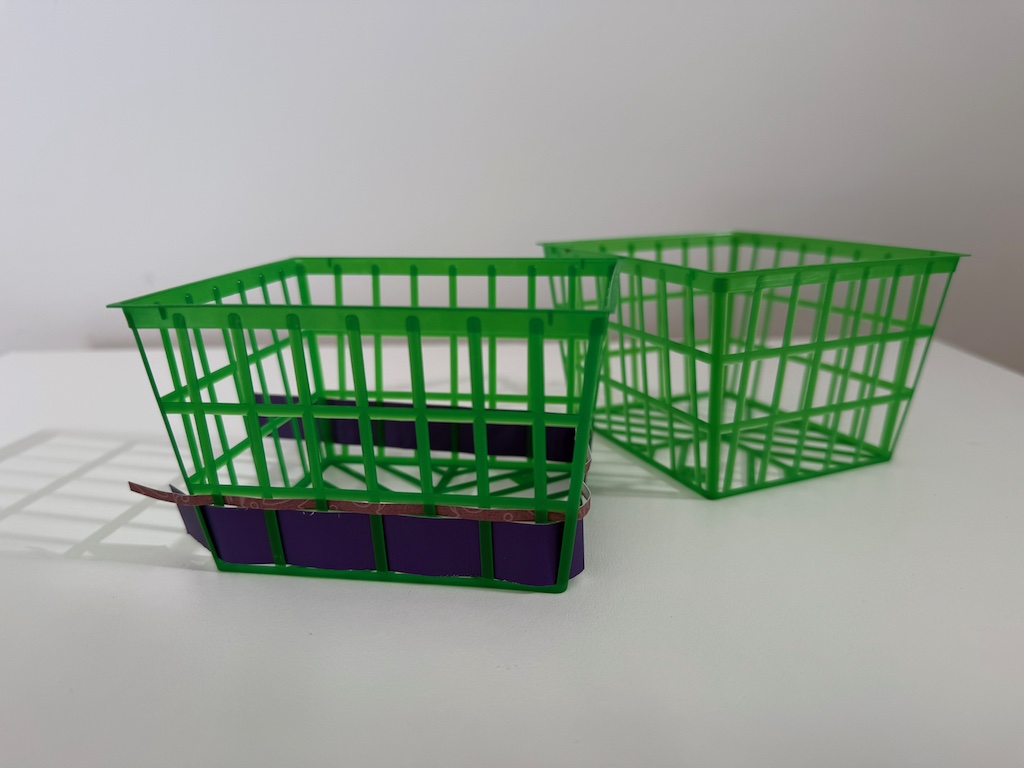
What I needed was a readymade base…toilet roll? Paper cup? Then I saw the berry basket on my kitchen counter, in which hollowed-out eggs were drying for cascarones, Mexican confetti eggs.
So, I wove a few strips of leftover cardstock through the basket holes, experimentally…. I thought the green plastic might look cheap.
But as I wove in the strips, the patterned paper softened the plasticky green. I thought the results could be quite beautiful. I kept going.
The Basic DIY Easter Basket
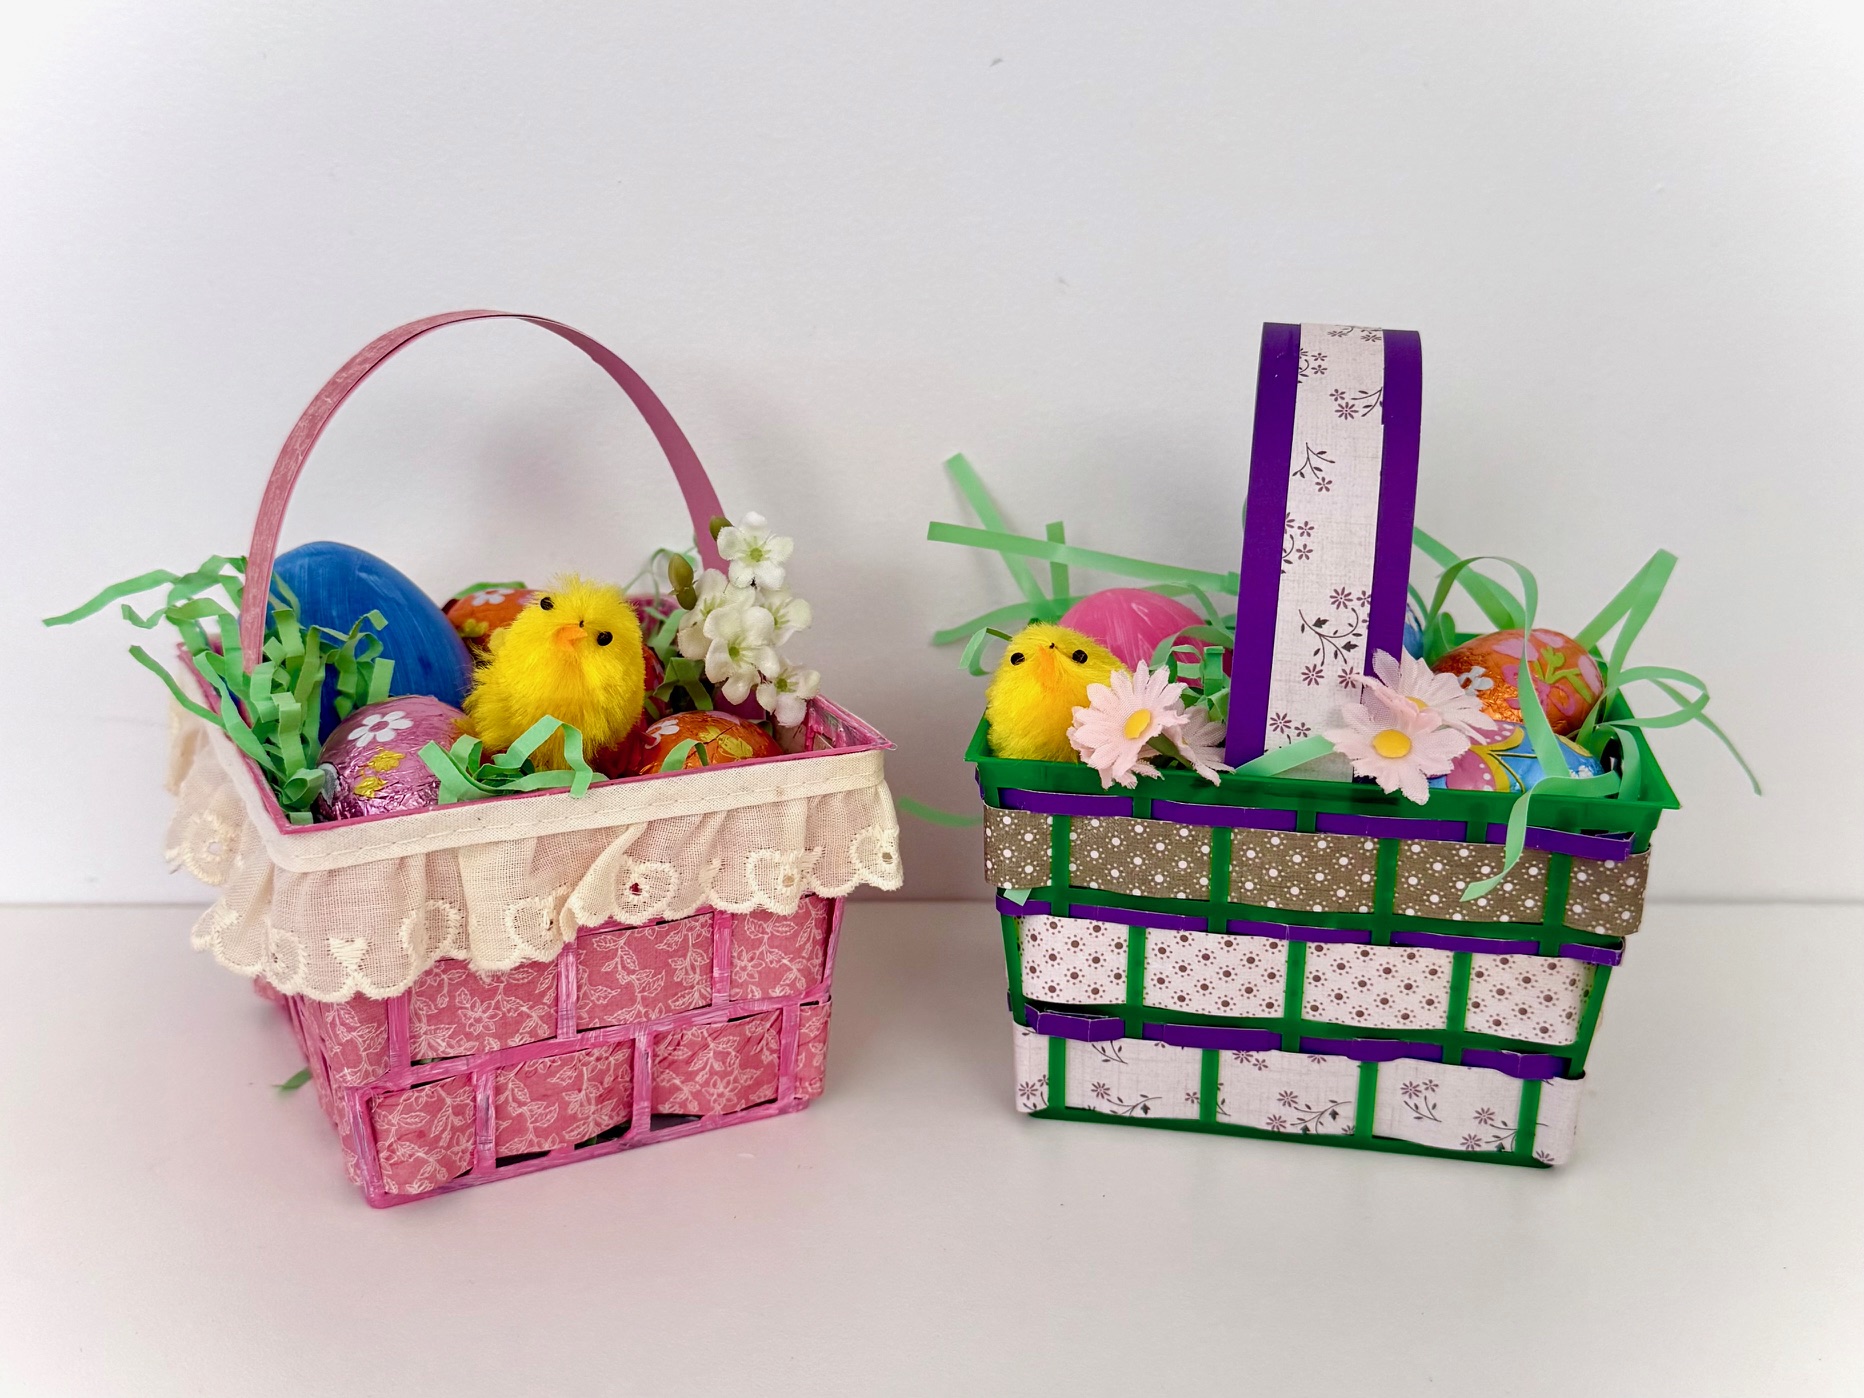
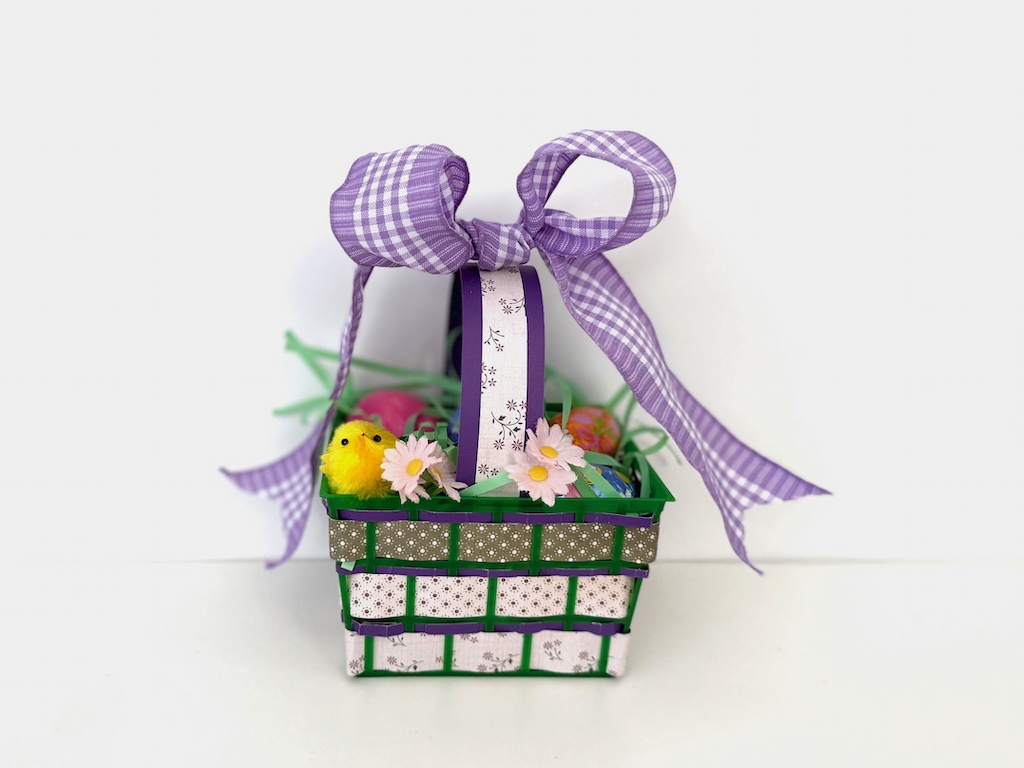
The purple basket below is a basic weave with a twist: two strips one wide (patterned) and one narrow (solid purple), are woven into each row. The purple check wire ribbon is a scrap–it’s the entire length I had in my ribbon bin.
Materials Needed
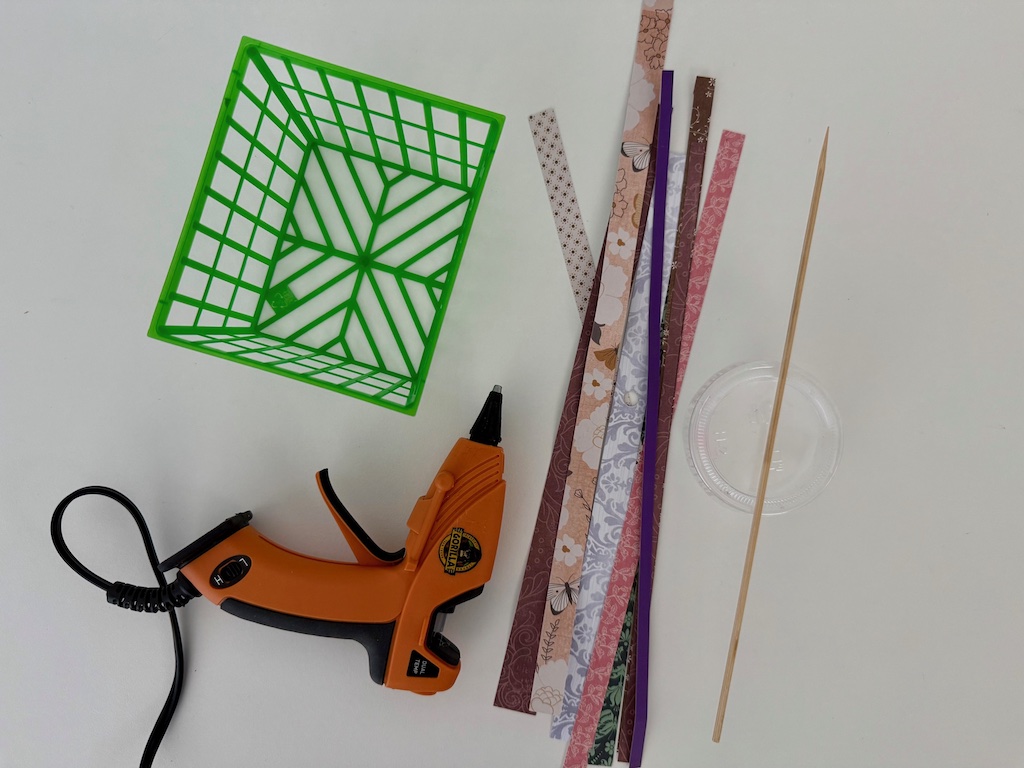
- 1 plastic berry basket
- 12X12-inch cardstock scraps (see cutting note below)
- White school glue (such as Elmer’s)
- Decorations such as ribbons, lace, or rickrack scraps (optional)
Cutting Note: You can use solid or patterned cardstock; you can use the same cardstock for weaving every row, or a different pattern for each row. You’ll also need additional cardstock for the basket handle and to line the bottom of the basket.
Tools Needed
- Hot glue gun
- Ruler
- Pencil
- Paper cutter or scissors
- Bamboo skewer for spreading glue
Make the DIY Easter Basket
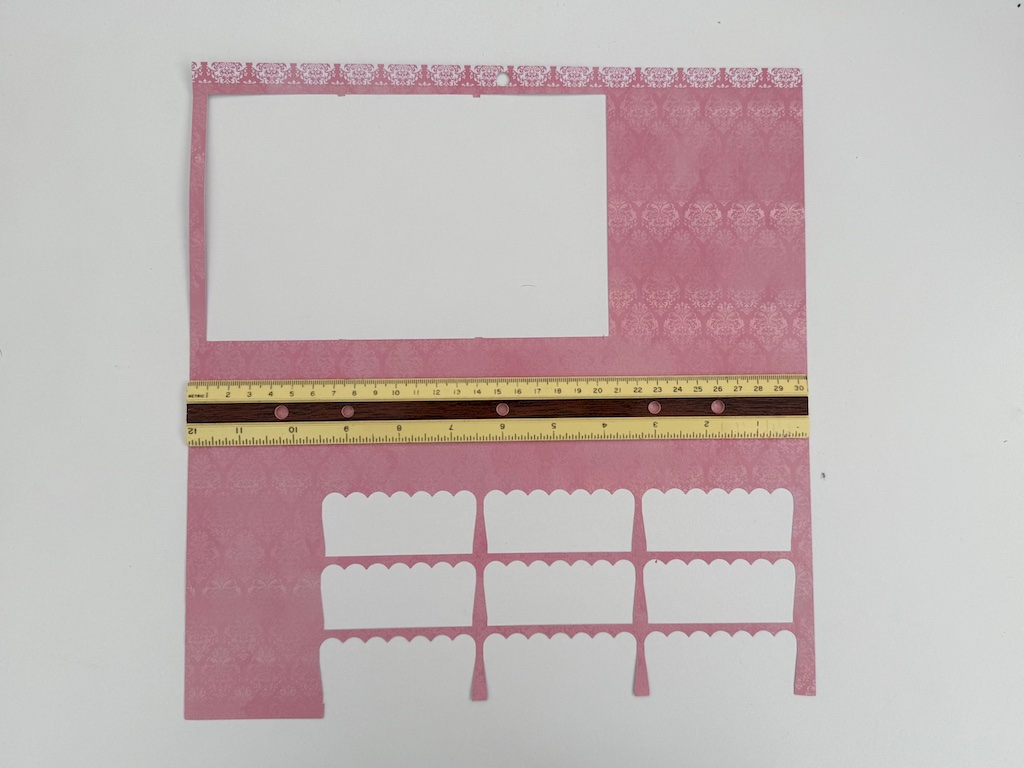
Cut the strips: Measure the space between the top and bottom of each basket row and cut 2 cardstock strips to the width, minus about 1/16-inch to give enough space for the weaving. I don’t think berry baskets are standardized, but my bottom strips were a smidge under 3/4-inch. So my 2 strips were 3/4-inch X 12 inches. Each basket row may be different, so you will have to measure each row.
This project is super-easy if you have a paper cutter; but if you don’t just mark your measurement with a pencil and ruler and cut with scissors.
Weave the strips: Start by weaving cardstock strip from one corner of one row. I wove my first row along the bottom. You will have to join a second strip to complete the row.
To join strips use white glue. I like to pour some glue into a lidded plastic takeout sauce cup and I use a bamboo skewer to apply the glue. The skewer is narrow and thin, allowing you to get it into tight spaces and apply the glue with precision. Press the strips together firmly with your fingers until the strips adhere.
After you complete weaving the rows, make the basket handle from a strip of cardstock; glue in place with a glue gun. Trace the bottom of the basket onto a cardstock scrap, cut it out, then fit it in the bottom of the basket to finish.
DIY Easter Basket Variations
You’ll come up with your own ideas, but here are a few.
Paint the Basket
In the basket below, I painted the green basket primed first with gesso, then followed up with acrylic paint. My efforts were pretty uneven, but once the cardstock was woven through, it just looked a little rustic. I’ve never used spray paint for plastic, but that seems the best choice if you want your basket to be more perfectly colored than mine.
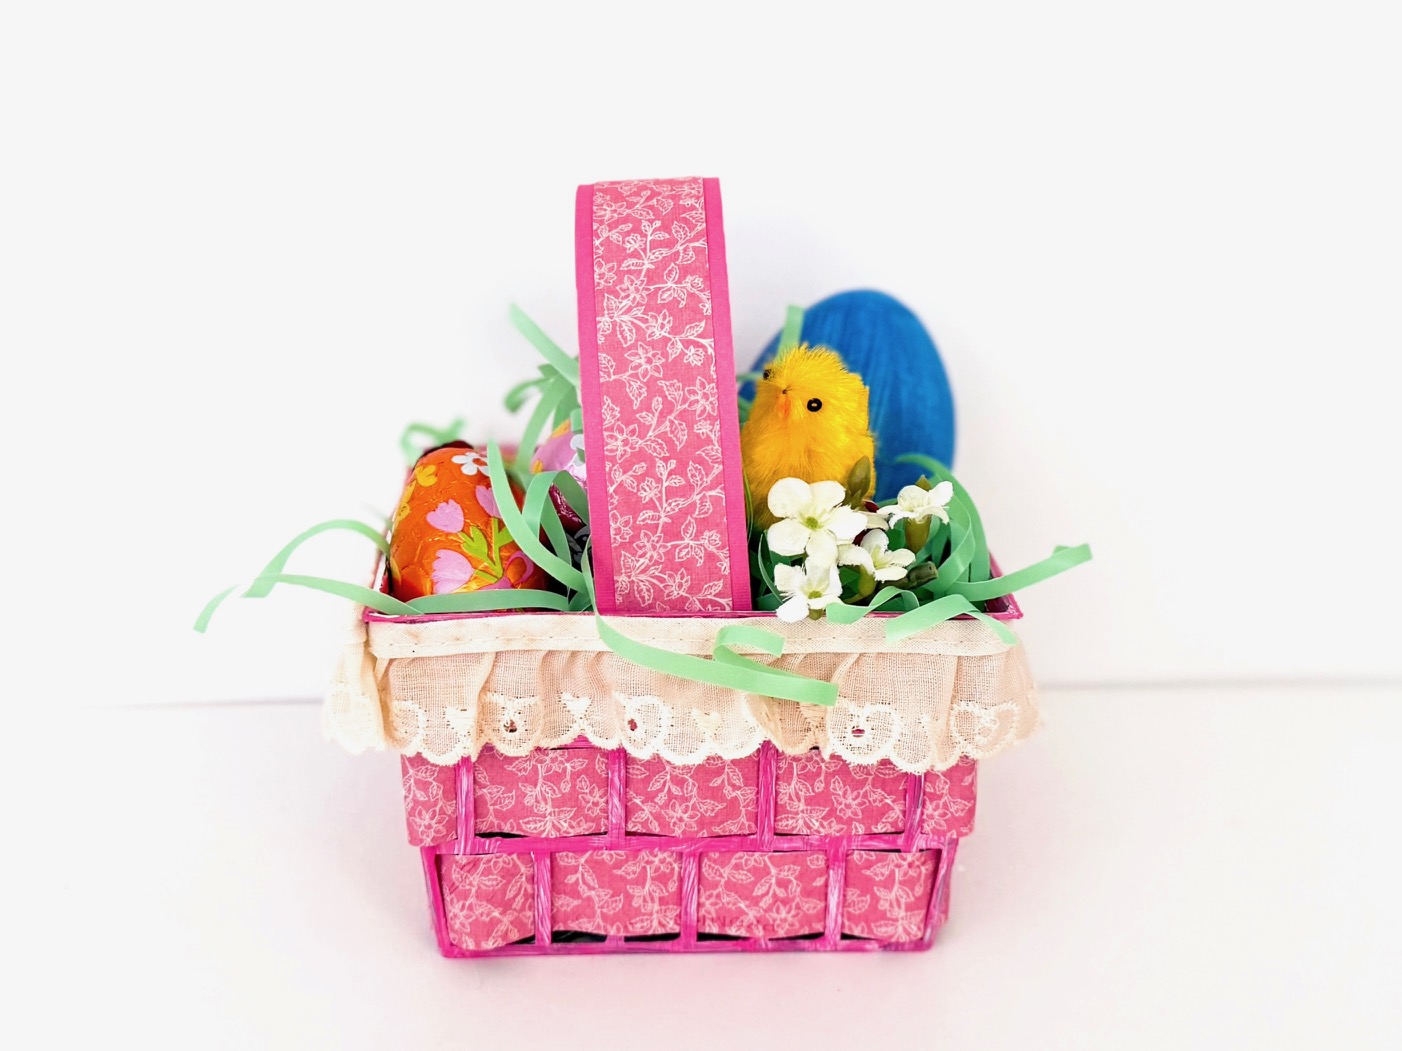
Add Decorations
You may have scraps of lace, rickrack, ribbon, or other trim in your sewing basket. Glue to the basket with your hot glue gun.
Add a sprig of artificial flowers. We have a lot left over from when Miss T and I made fascinators for a tea party.
What to do with Your DIY Easter Basket
Here are some ideas:
- Fill it with Easter grass and some Easter candy and gift a child or someone in a nursing home.
- Make several baskets and use them to decorate your Easter table. Mound with Easter chocolates and invite guests to help themselves.
- Use baskets to create spring bouquets. Insert a small ramekin or custard cup fitted with floral foam into the basket and add fresh flowers.
Sign Up to Get Grandma’s Favorite Recipes–Free!
Sign up here for my email newsletter. Every Wednesday, I’ll give you a new idea for an activity or insight to nurture the little ones in your life. And once you subscribe, I’ll send you a link so you can download your set of quick and easy recipes as my thanks to you.