A Birthday Game for a Virtual Party
Little N just turned four. And, as was done for Miss T this spring, we celebrated with a virtual birthday party. It’s not very interactive to have two families apart, just singing happy birthday and eating cake. So I devised a kids’ birthday game we could all play to connect us.
For Miss T’s party this spring, I introduced pom pom cannons, providing all the materials in advance, so we could make cannons from toilet paper rolls and “shoot” pom poms at each other via iPad. For Little N, whose attention span is shorter, I needed something fairly quick to play.
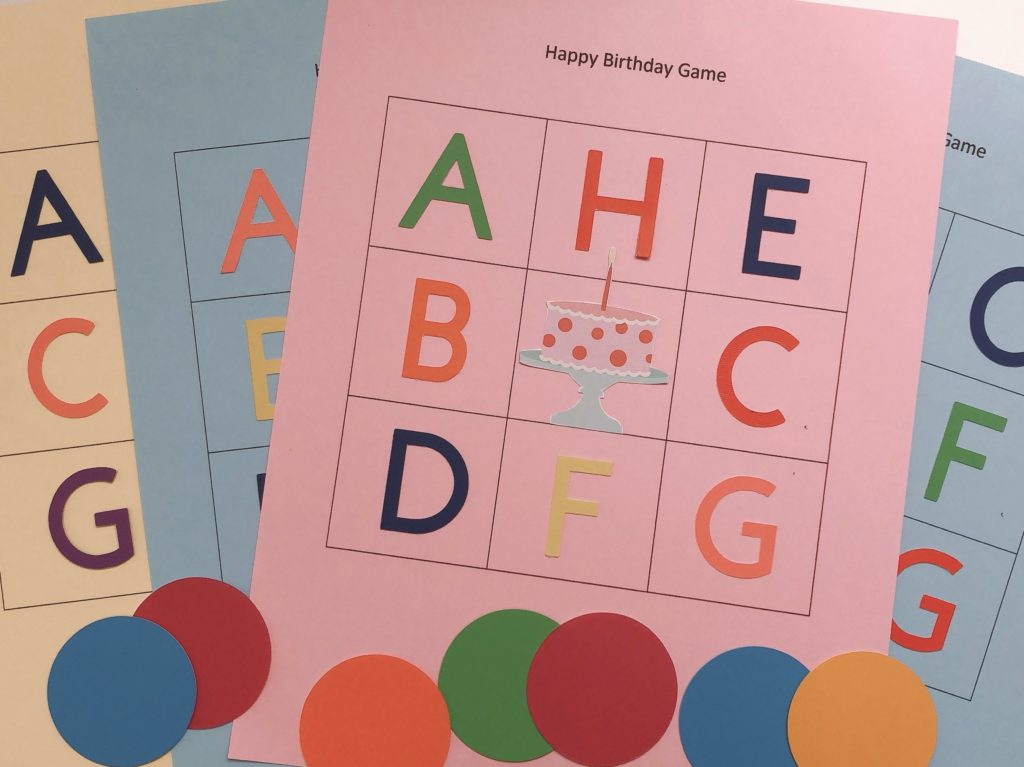
What I came up with is a kind of alphabet bingo game. The object of the game is to cover the entire card with colored disks, as letters are drawn at “random” from a paper bag. Actually, I designed the game so that Little N was guaranteed to win!

Materials to Make the Kids’ Birthday Game
You’ll need the following materials:
- 8 1/2- X 11-inch colored cardstock for each player
- Additional cardstock to form the letters and disks
- Glue stick to glue on the letters
- A cake or other birthday image for the center square for the birthday child
- A paper bag and paper squares, each marked with one of the alphabets to be utilized in the game, for your drawing
- A few small prizes for the winners (optional)
The Logic of the Game
In order to keep the game short, I limited the number of letters in the game. There are nine squares on my game card, so I assigned every game card the same letters, except one. This means that every card had A, B, C, D, E, F, G, H. By arranging the letters randomly on each card, players weren’t aware that the letters were all the same.
Now, for the remaining empty square. I introduced as many additional letters as there are guests (minus the birthday boy). So, for us, that meant six cards had one empty square so that would be one letter each of: I, J, K, L, M, N to fill the remaining square–one unique letter for each card.
When we played the game, I drew the letters out of a paper bag seemingly at random, but keeping the letters we all had (A through H) in one pile so that I could draw them first, and the random letters in a second pile.
Little N wins, of course, because he has the “free” birthday cake square.The next winner would be drawn at random, based on what letter was on each person’s card.

How to Make the Kids’ Birthday Game
Create a grid for your “bingo” game cards. I used “insert table” in Microsoft Word and made it three columns wide and three rows deep. Then I added spaces between rows until I had squares of about 2 1/8 inches.
Print this grid on cardstock–best if you can use different colors for eye appeal, one for each player.
Cut out letters and disks from cardstock. I used my Cricut die cut machine but you can cut the letter from stencils, or even hand-write the letters using different-colored marking pens. (For Cricut, I used Cricut Sans typeface.)
Each letter is 1 3/8-inch tall. Glue the letters on the game cards. To keep from getting confused, it’s easiest to first glue down the letters everyone will have that’s the same (be sure you arrange them at random for each card). Then fill the remaining square with one of the additional, unique letters.
Each disk is 2 inches in diameter. It’s much more festive if you use a variety of colors for the letters and disks. You’ll need nine disks for each player.
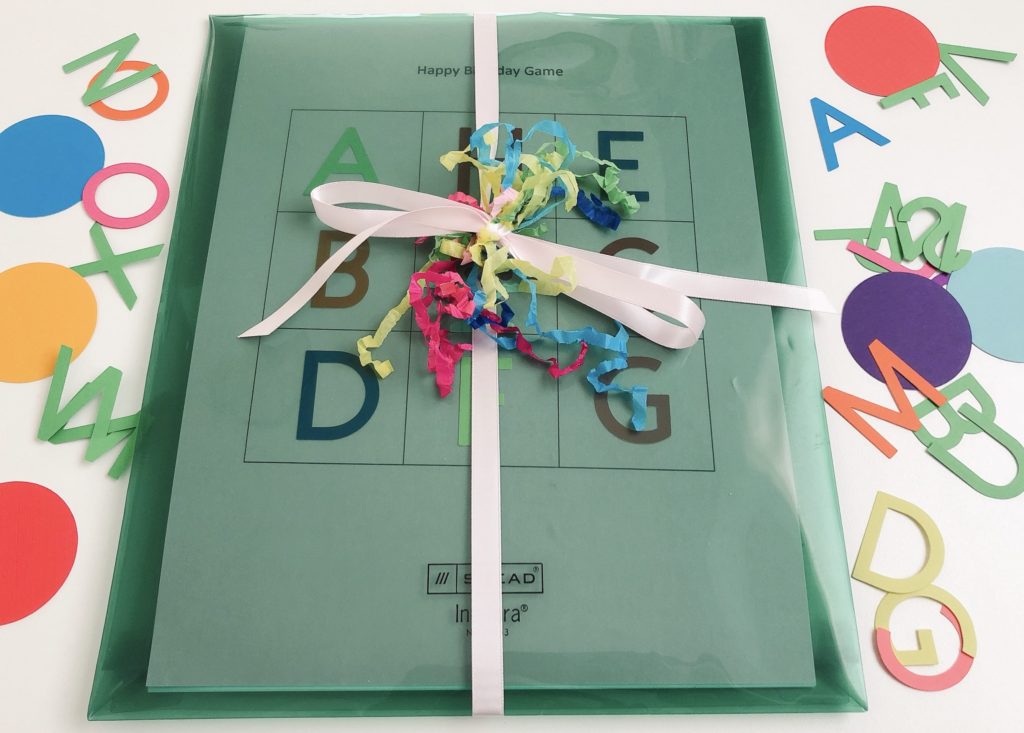
Package the set that’s going to the child’s house, with a game card for each member, and nine disks per person. If there are to be small game prizes, wrap them and send them along with the game.
Playing the Game
Each household should distribute a game card and nine disks to each player. Everyone–parents, grandparents, and kids–should play to keep all the partygoers engaged.
Put slips of paper marked with letters that correspond to the letters you are using on your board, in a small paper bag or shopping bag. If you want to rig the game on behalf of the birthday boy, as I did, keep all the letters everyone has in common in one pile in the bag, and the random letters in another. Pull from the letters in common first.
Draw one slip at a time, call out the letter, wait for everyone to find the letter on their game board, and add a disk to mark the letter. The winner is the one who gets all their letters covered first.
Once the child wins, you can continue to play on for the next winner. Then, start all over; this time, mix all the slips in the paper bag, and do a true random drawing.
Word to the wise: If you are giving out prizes, do not do this until the end of the activity. After he won the first game, Little N was so distracted by the prize that he lost interest in the game!

The Rest of the Virtual Party
Before the party began, Little N’s parents had sent over the party treat: homemade ice cream sandwiches, as requested by the birthday boy, instead of the usual cupcakes.
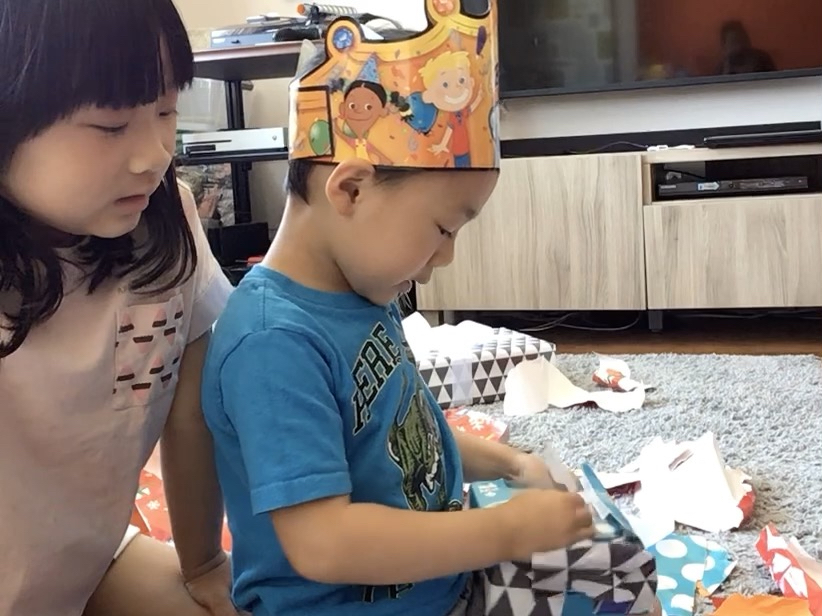
After we played the game, we all got our ice cream sandwiches out of the freezer and sang happy birthday, ate the birthday dessert together, and watched our grandchild open his presents.
Our FaceTime party didn’t make up for a real, in-person party. But it’s a wonderful way to be a part of a milestone event in your grandchild’s life.
Coming Next Week
After our paper doll project, we’re back to week two at virtual Camp Grandma, where I teach Miss T to embroider, via FaceTime.

.
Don’t forget to sign up for my email newsletter! Every Wednesday, I’ll give you a new idea for an activity or insight to nurture the little ones in your life. Come visit!