Make a DIY Cardboard House
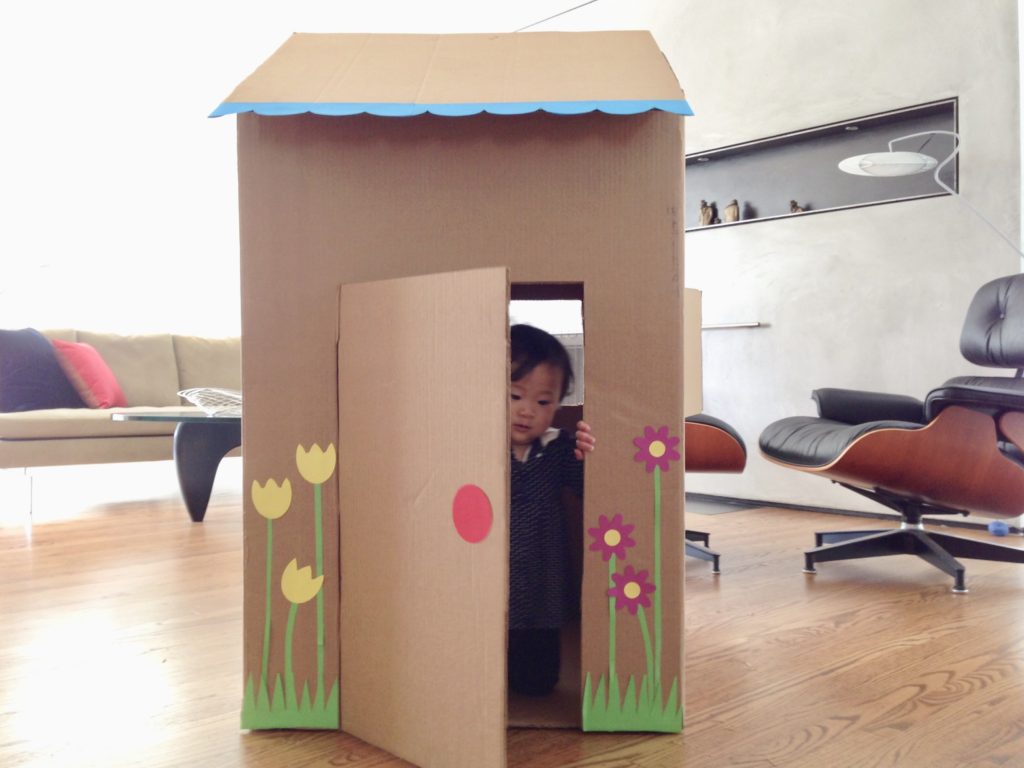
Whenever I encounter a large, empty carton, my mind races to find an application. Where others may see it as trash for the recycle bin, I am seeing a DIY cardboard house…a train…a castle…a puppet theater….
Years ago, I made a castle from a carton, complete with working drawbridge. My son and his friend spent hours as knights in shining armor. Another time, I made a puppet theater for some puppets we had bought in France.
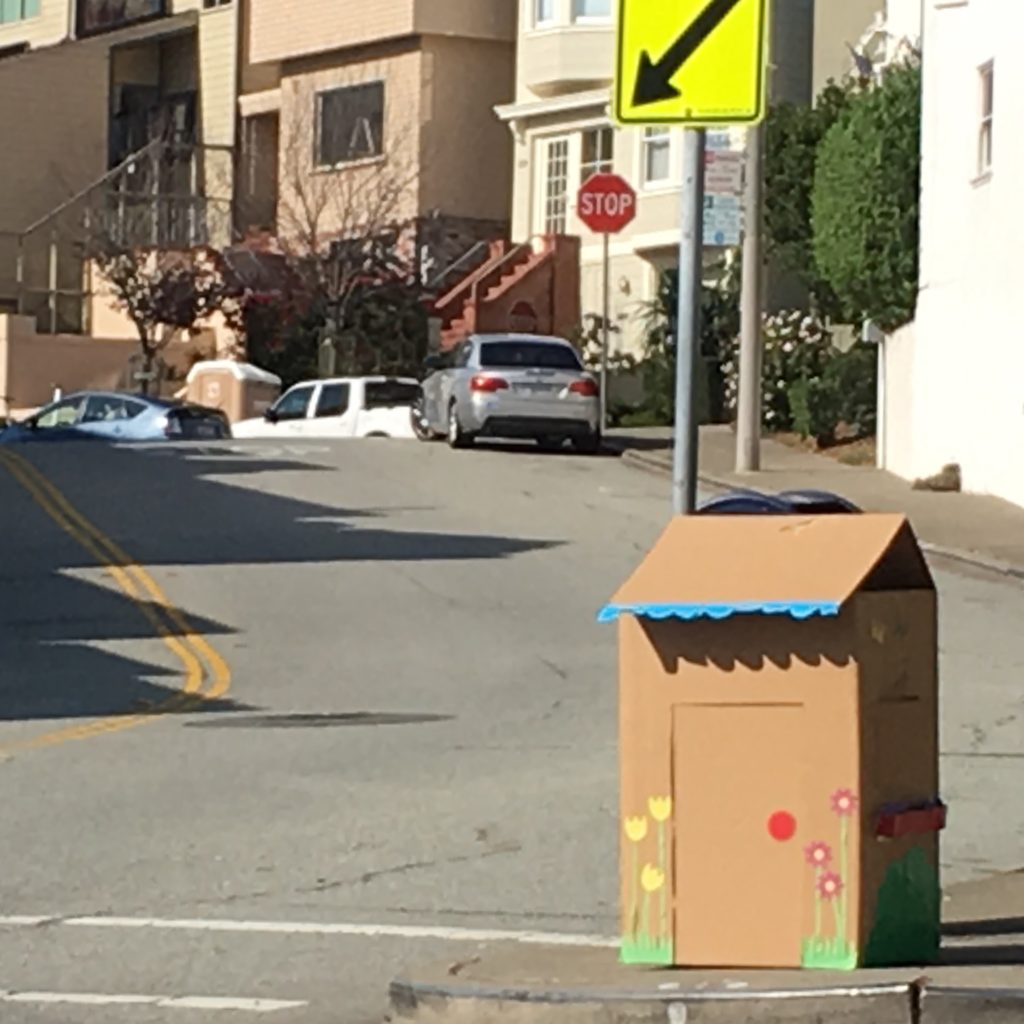
A DIY Cardboard House from a Large Carton
My next cardboard project, a generation later, was a playhouse for Miss T. It became her little hideaway.
The house requires only few materials and doesn’t take a lot of time to make. You can embellish it any way you choose.
Tools to Make a DIY Cardboard House
- Pencil and eraser
- Yardstick or ruler
- Box cutter
- Clear packing tape or other sturdy tape
- Colored construction paper to decorate the house
- Glue or heavy-duty glue stick to affix the decorations
Here’s how to put it together:
- Determine where your window(s) and door will be and mark outlines with a pencil. For the window, draw a rectangle, then draw a line to bisect the rectangle vertically to create shutters.
- For the door, using the box cutter and the ruler or yardstick as a straight edge, carefully cut the top, bottom and right side of the door. Do not cut the left side of the door–this will be the hinge to keep the door in place. Using a ruler or yardstick as a straight edge, lightly score the left side of the door and bend the door forward a few times so that it will open easily,
- For the window, do not cut the left and right sides of the window. Cut the top, the bottom and the horizontal center of the window. Score the left and right sides as you did with the door, and bend the window forward a few times so the window will open easily.
- For the roof, lift the long flaps of the carton from the back and front of the box and tape in place from the underside, so the tape is invisible.
- Use construction paper to decorate the house and conceal any printed words on the box. For example, I cut out flowers, stems and leaves to make a garden for the front of the house, and cut out bushes to cover the words on the carton, along the sides and back of the house.
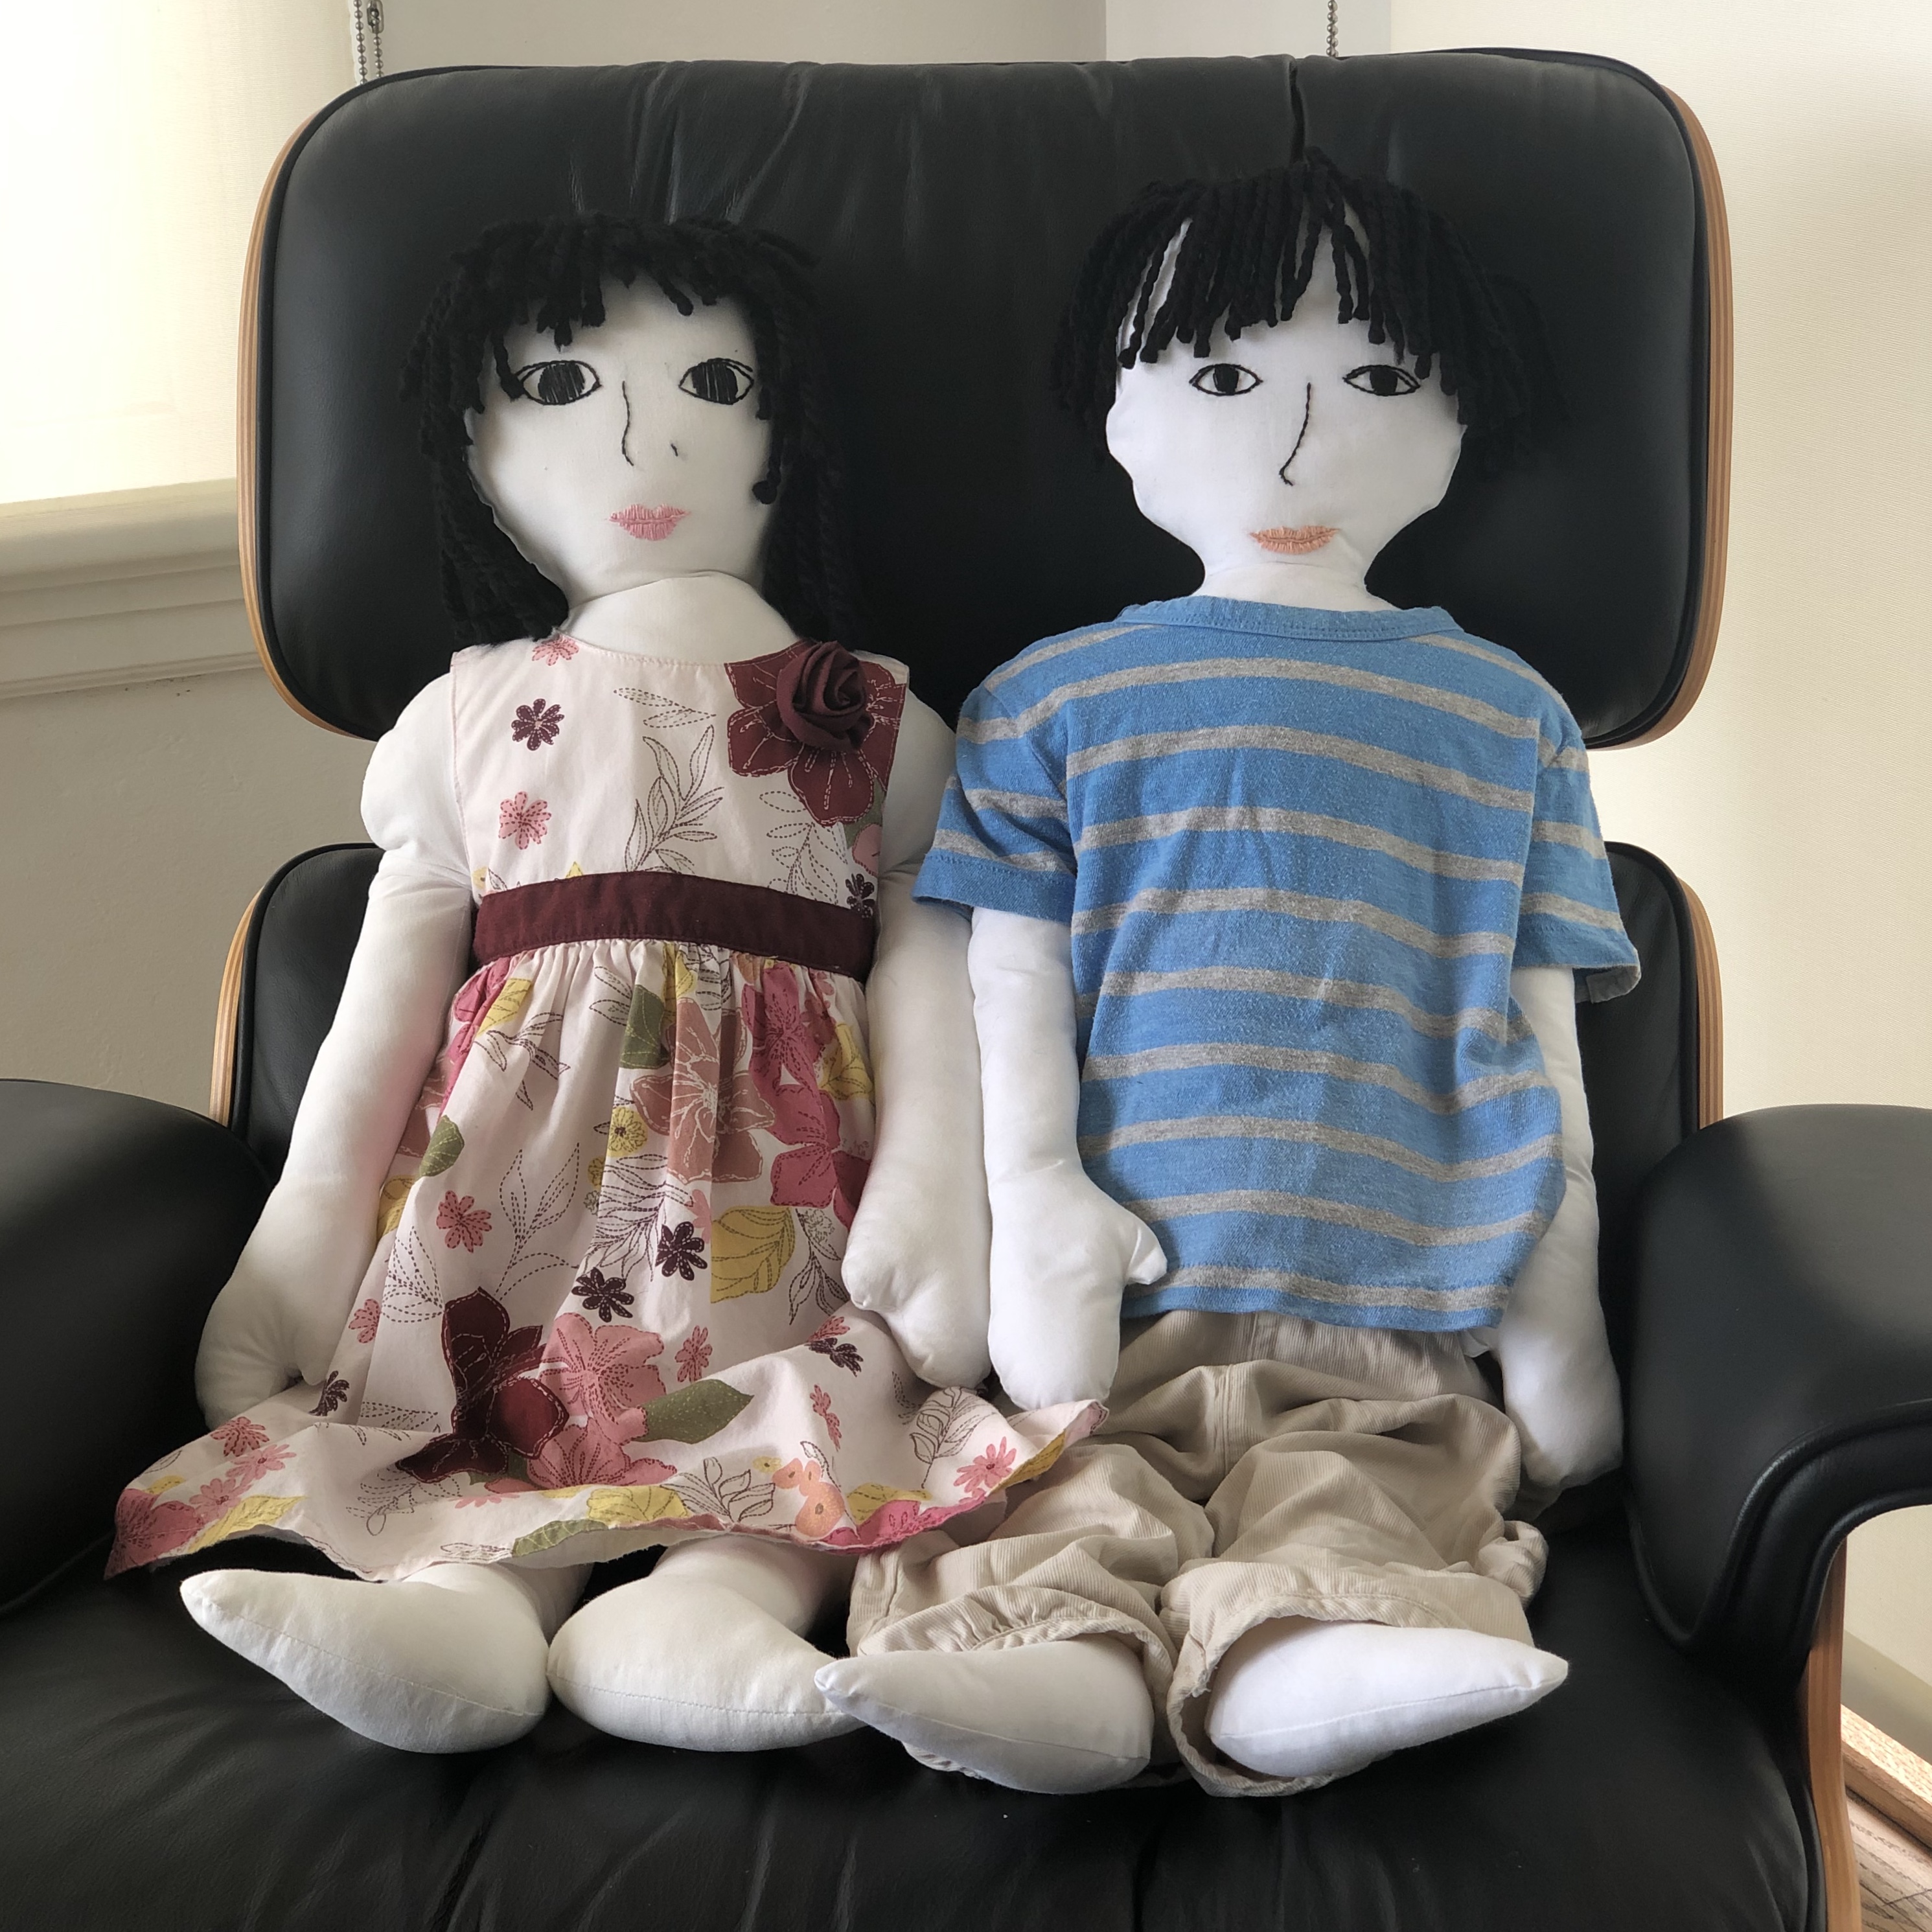
For a sewing project, make a doll that’s a life-size version of your child.
A Train Engine from a Car Seat Box
When Miss T’s new car seat arrived, it seemed a shame to throw out the sturdy box, so I turned it into a train engine.
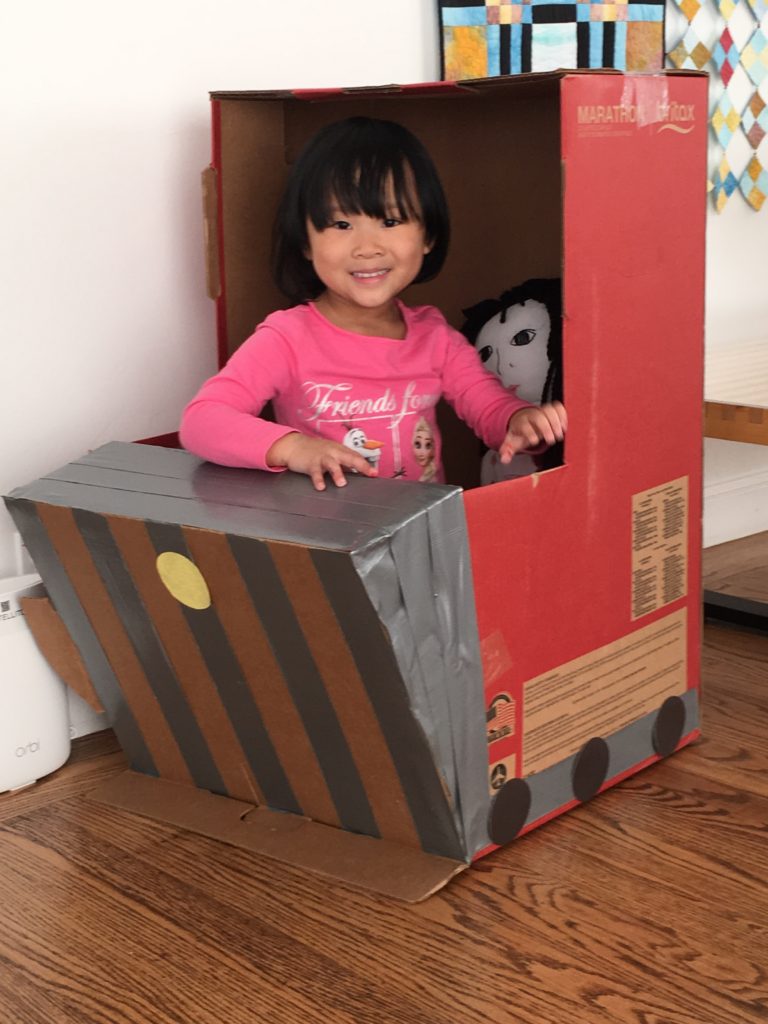
Duct tape and construction paper wheels are all you need. The engine is positioned in front of a bench, which serves as her train car, where stuffed animals and dolls can come aboard.
I could have painted or duct-taped over the words on the box, but decided to let it go–Miss T was happy enough to play with it, as is. Her companion in the train is Nancy, a doll that was made as a life-size version of Miss T.
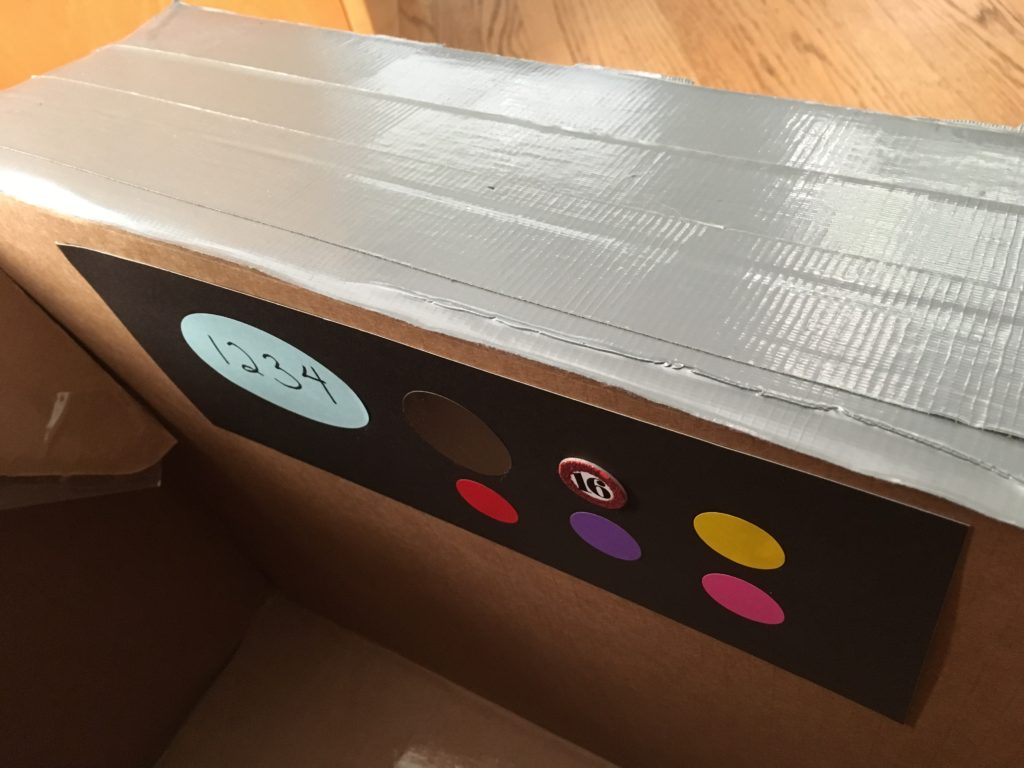
Be sure to add some controls for the engine. I used colored circles on black construction paper.
A Cardboard Box Makes a Great Toy
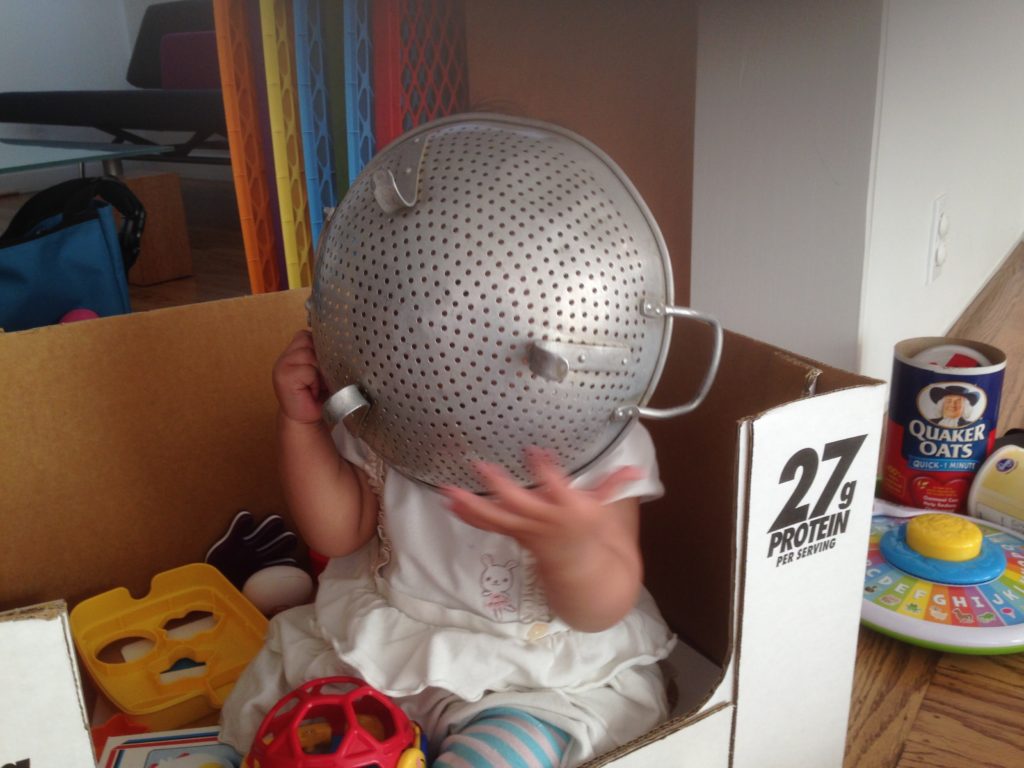
For younger children, a cardboard box, in and of itself, makes an all-purpose toy. The box can be a train, a boat or a car in a child’s imagination.
When they were toddlers, I used such a box to corral the grandchildren and to entertain them with safe kitchen tools.
When all Things come to an End
Eventually, you’ll find that these cardboard box toys take up so much space, they’ll have to go. Prepare your child in advance.
Even if they haven’t played with it for a while, the child may object to letting go. Get their buy-in before tossing.
.
Don’t forget to sign up for my email newsletter! Every Wednesday, I’ll give you a new idea for an activity or insight to nurture the little ones in your life. Come visit!
I love this idea, Sandy! I used a carton for my daughter (3 years old at the time) and created a tv so that she could do a “ newscast”! It was lots of fun and she loved telling stories that began” And now for an Update..!”
The boys love decorating their own boxes. Why oh why do we spend so much money on gifts, when they have so much fun with simple things?
You are so right. And what a good idea to have the kids do their own decorating! Creativity and imagination flourish.