A Toilet Paper Roll Craft: How to Make Koinobori
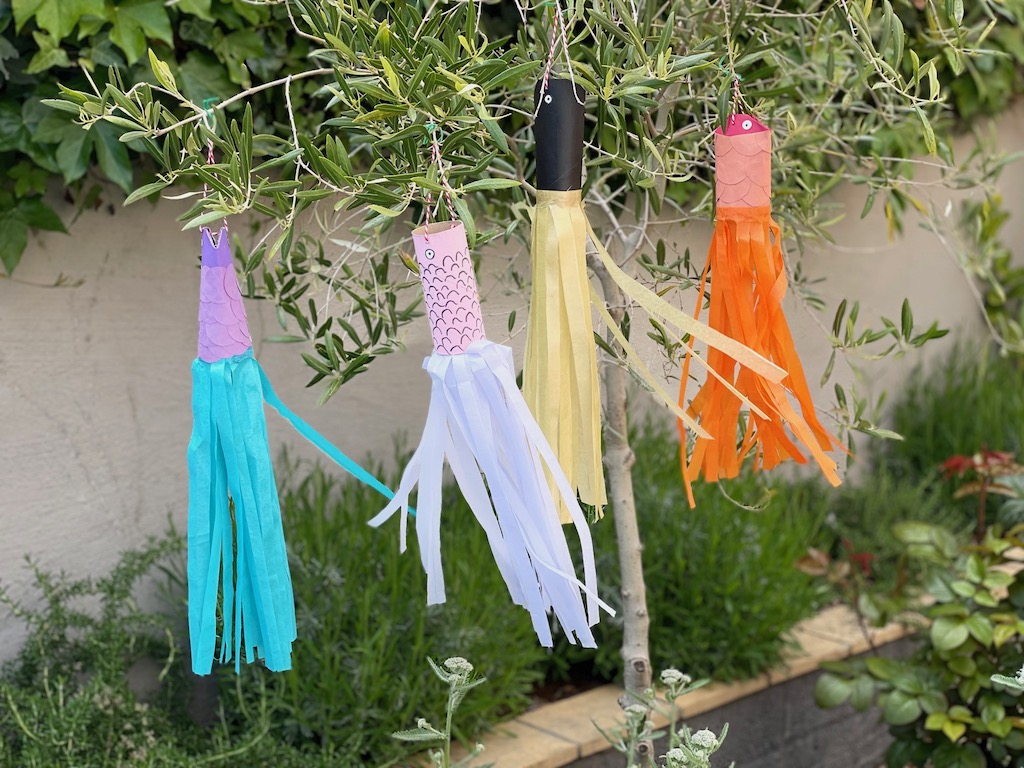
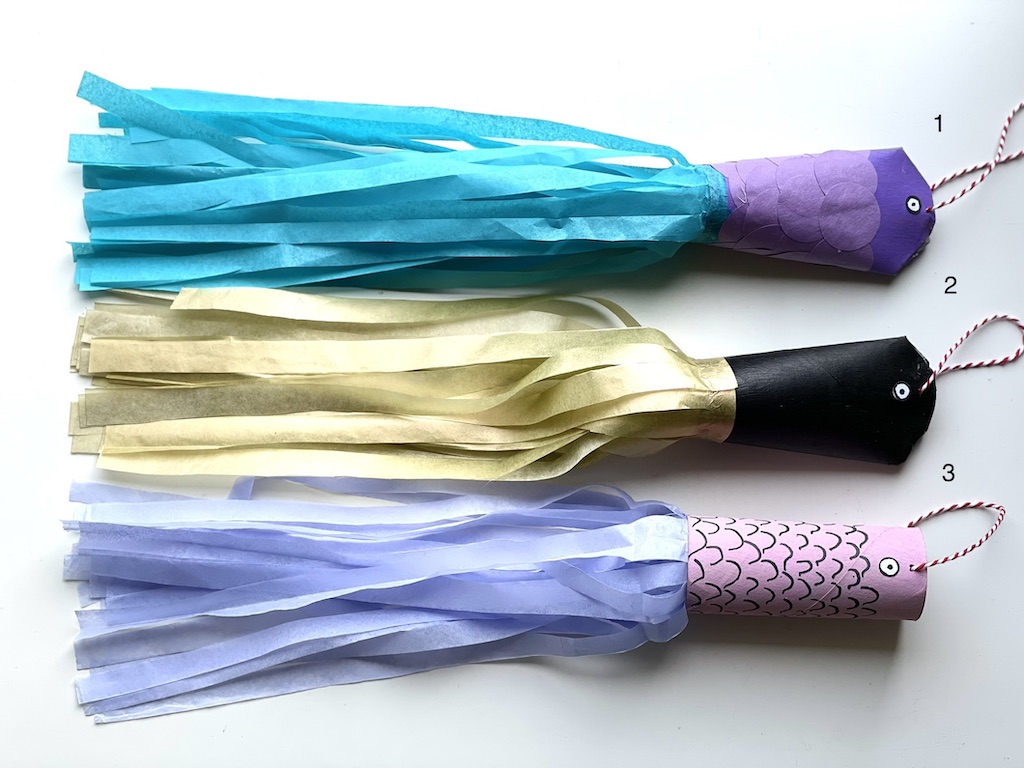
Kodomo no hi, Children’s Day, is May 5 in Japan. Colorful fabric carp windsocks called koinobori (koi for carp and nobori for banner or flag) are strung on poles for the celebration. When they flutter in the breeze, the carp appear to be swimming. Our mini version is a toilet paper roll craft, one of our many projects that recycle throwaway materials.
Children’s Day was originally Boy’s Day, Tango no sekku; with Girl’s Day, Hinamatsuri, on March 3. These traditions go back to ancient times. In 1948, Boys’ Day was officially changed to Children’s Day to celebrate both boys and girls. It’s a public holiday.
Here’s a video to introduce kids to Children’s Day in Japan.
Koinobori Craft for Kids
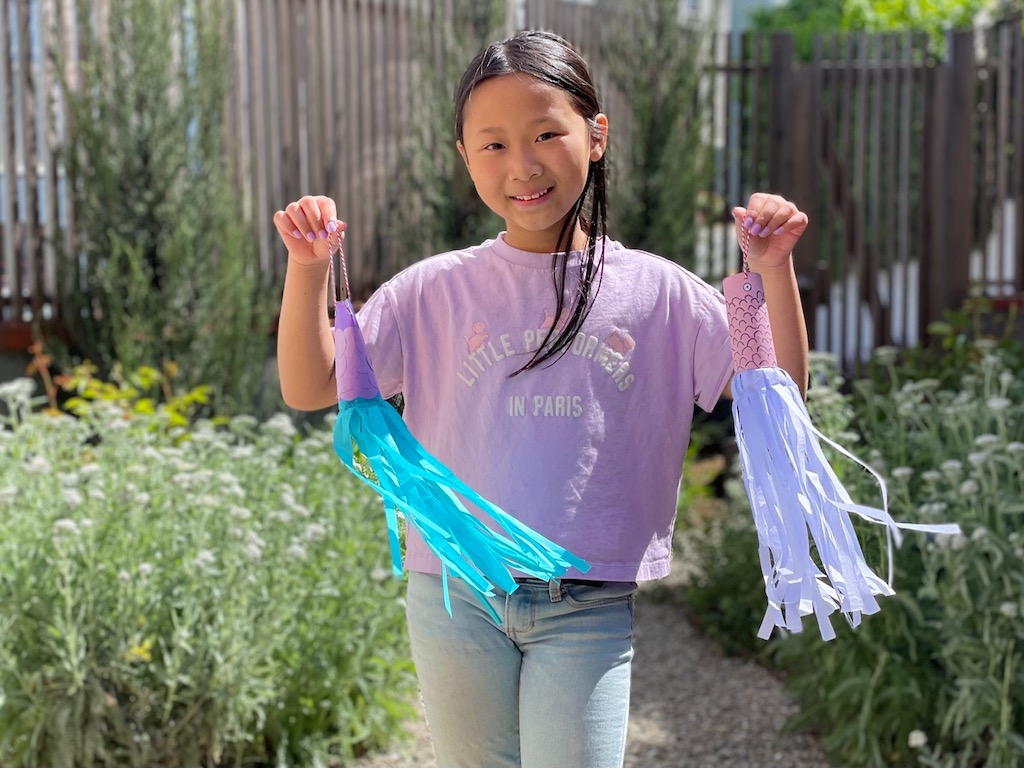
You can buy authentic koinobori in a Japantown, if you have one in your area, or online. Or you can make some as we did, with toilet paper rolls, construction paper, and tissue paper.
How to Make Koinobori
This is not authentic, of course, and with the weight of the cardboard, it’s not even a windsock. It’s just a fun project for kids to make.
Your toilet paper roll koinobori can be displayed outdoors for the day, but should be brought in overnight. Hang the koinobori in your child’s bedroom on a bedstead or dangle it from a light fixture, distanced from the lightbulb.
Materials Needed for each Koinobori
- 1 toilet paper roll
- Acrylic paint or poster paint
- Thin string or cord to hang koinobori
- Construction paper for scales
- White paper for eyes
- 1 sheet tissue paper (7- X 12-inches)
- White school glue (such as Elmer’s)
Tools Needed
- Paper punch about 1 inch in diameter (optional), for scales
- Small paper punch for eyes (optional)
- Pencil
- Black fine point sharpie for drawing on scales and eyes
- Ruler
- Small, sharp scissors
- Regular scissors
- Glue brush or sponge, or bamboo skewer for spreading glue
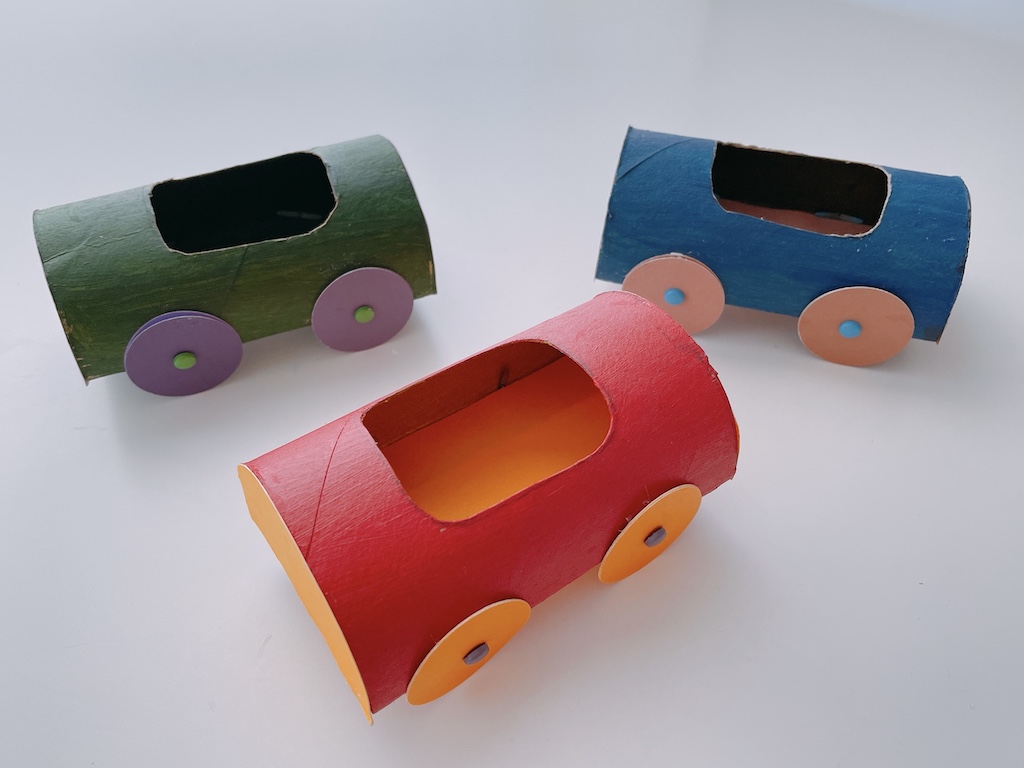
Our most popular toilet paper roll craft: make a car!
How to Make the Basic Koinobori
Make the Body
Paint the toilet paper roll and allow to dry completely. (We worked with rolls I had pre-painted to use up leftover paint from another project.) With a small hole punch or an awl, punch a hole about 1/4-inch from the edge of the paper roll. Repeat on the opposite side. Thread twine through the holes to make a loop for hanging.
Make the Tail
Rule the tissue paper crosswise, 1/2-inch from the edge on the back of the tissue paper. This will be your glue line and cutting margin.
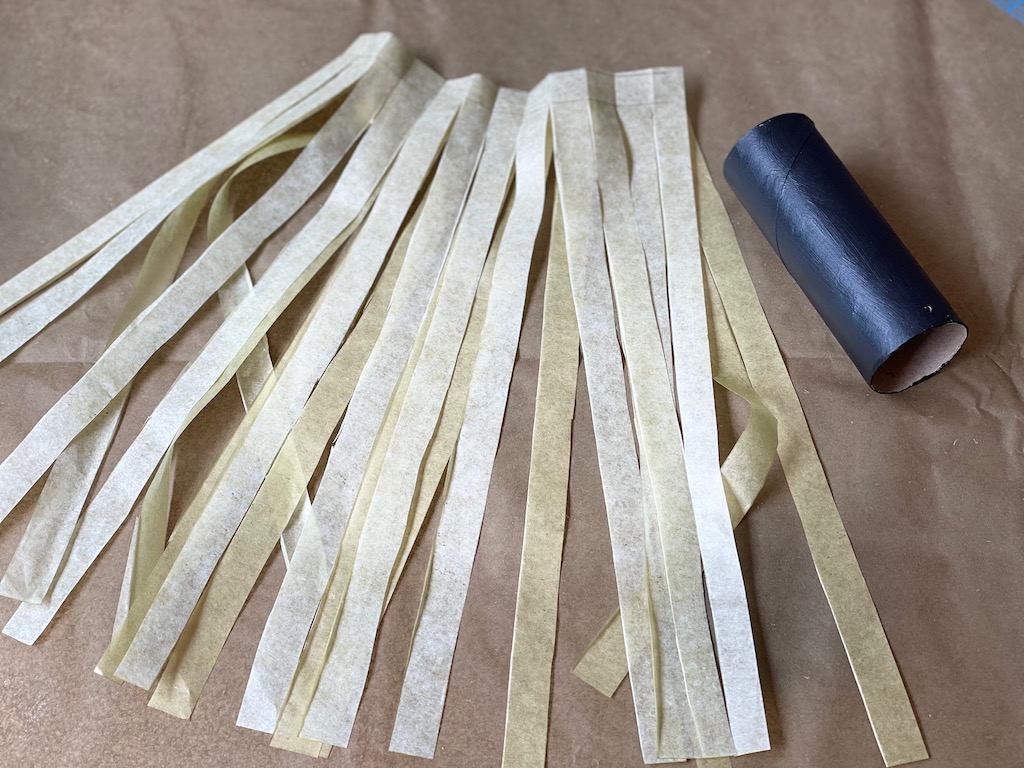
Now, fold the tissue paper in half lengthwise, pencil-side out. Then fold in half again. Keep folding in half until the width of the paper is the size you want your tail strips to be. We kept folding until the width of the folded paper was about 1/2-inch wide. The folds are your guidelines for cutting the tissue paper tail.
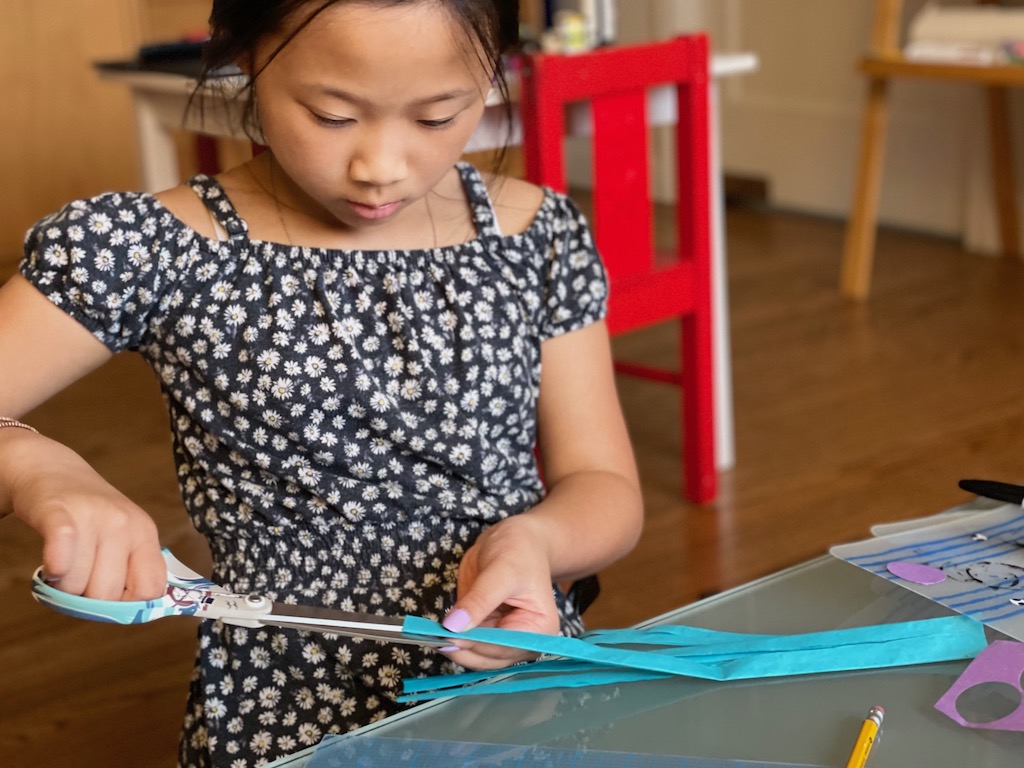
Cut along the fold lines up to the 1/2-inch pencil-marked border.
Unfold the tissue paper carefully. Apply glue to the tissue paper fringe along the 1/2-inch glue line for a few inches, and adhere those few inches to to the bottom edge of the toilet paper roll. Continue to add glue, a few inches at a time to the tissue paper fringe and press it onto the toilet paper roll, until you have circled the entire toilet paper roll. Keep gluing the remaining fringe, circling the toilet paper roll, until all the excess tissue paper has been glued down. You will have considerable overlap.
Make the Eyes
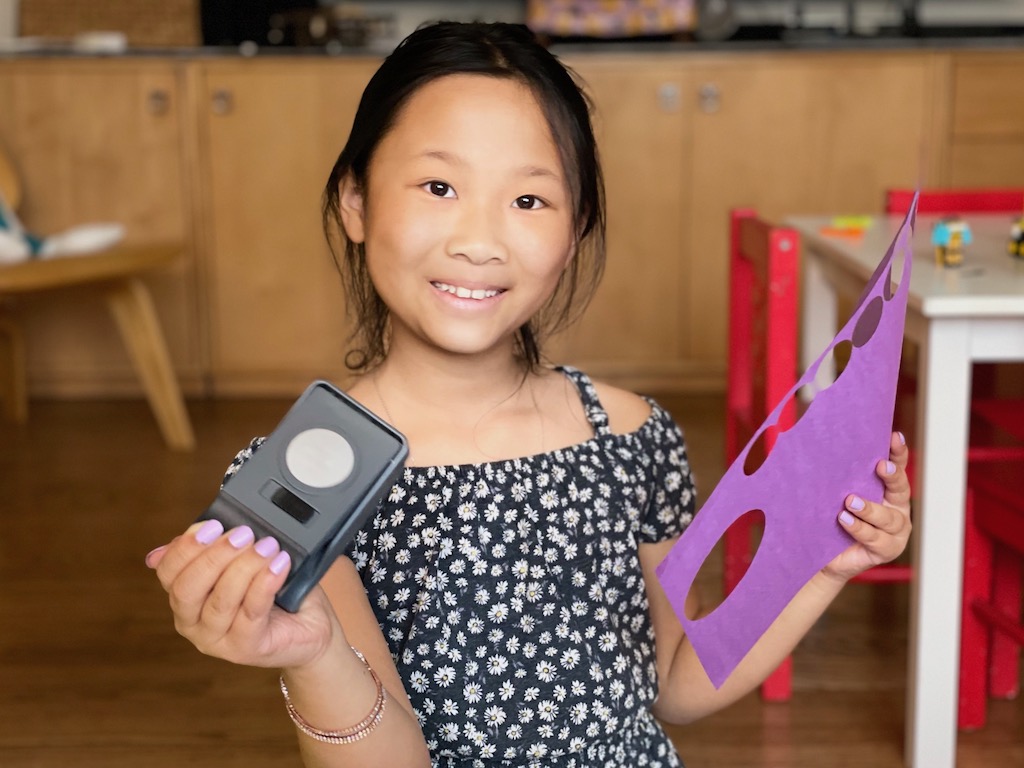
Punch out two white circles for the eyes. I used a regular 3-hole office binder punch but you could make bigger eyes by punching out larger circles or by tracing circles from a bottle cap and cutting them out.
Using a black marking pen, make a dot in the center of the white circle. Miss T chose to outline the edge of the circle, too, which makes the eye pop better. Glue the eyes to the toilet paper roll body.
Variations for this Toilet Paper Roll Craft
Make a shaped fish head: If you want to contour the toilet paper roll for the head, make a snip of about 3/4 inches in the toilet paper roll, perpendicular to the edge. Make a second snip of the same size on the opposite side of the toilet paper roll. Fold the snipped part in at an angle on both sides of the snip. Glue the folded parts together and use a paper clip to hold down the cardboard until the glue dries. Remove clip.
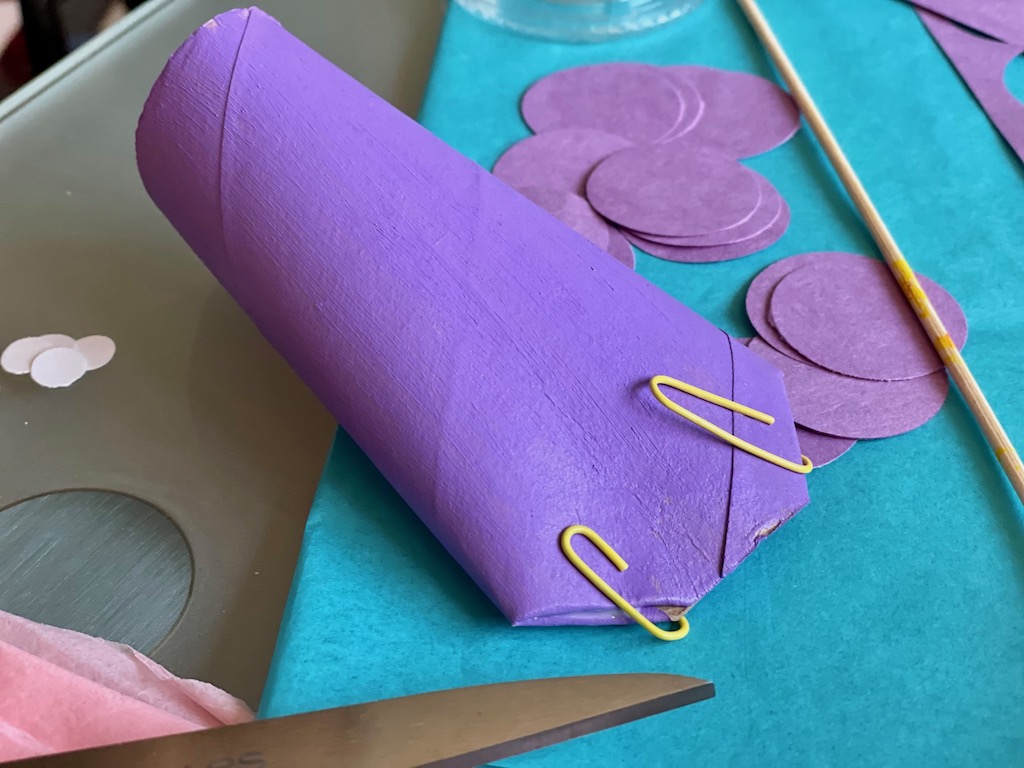
Make paper scales: Punch out holes from a paper punch about 1-inch in diameter. If you don’t have a paper punch, use a bottle cap to trace circles and cut out with scissors. Glue the scales from the tail towards the head, overlapping the circles.
Draw-on scales: Easier to execute, draw scales with a black sharp-point marking pen, omitting the paper circles.
Our Festive Celebrations, to Date:
For my commitment to give the grandkids as many celebrations as possible this year, we’ve observed the following:
- Valentine’s Day: we made Valentine cards and had a Valentine’s Day dinner with little gifts for all.
- St. Patrick’s Day: we had a special Irish dinner with shamrocks on the table and we baked Irish Soda Bread.
- Lunar New Year: we made paper lanterns and sat down to a Chinese takeout feast.
- Easter: we made egg dolls from blown-out shells and had an after-school Easter party with an egg hunt.
- Cinco de Mayo: we are having tacos on Friday. We will stream mariachi music, and decorate our house with Mexican paper flowers.
And the year isn’t even halfway over. Are we having fun yet?
Next week, we’re making a simple, but sensational Mother’s Day gift.
Sign Up!
Don’t forget to sign up for my email newsletter. Every Wednesday, I’ll give you a new idea for an activity or insight to nurture the little ones in your life.
