Arts and Crafts for Kids: How to Get Started Now
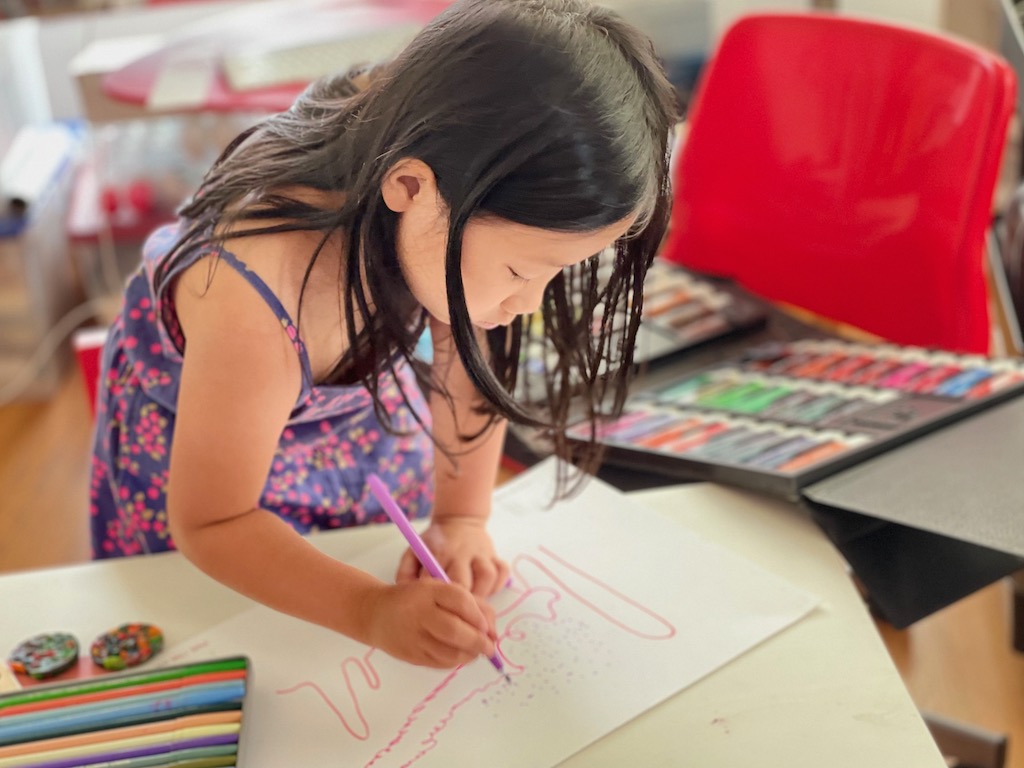
You can give them all the tools–watercolors, acrylics, poster paints, markers…. And some kids will start creating instantly. But others will not.
Maybe there are too many distractions to focus on art. Or maybe they simply have no idea what to make.
I think it’s an age thing.
Introducing Arts and Crafts for Kids
From my own limited observation, younger kids are inherently creative. Preschool and kindergarten artworks are uninhibited and inspired. By middle school, many seem to lose that spark.
An informative article from National Geographic explains why this is so, and gives practical ways to nurture creativity in kids beyond those early creative years.
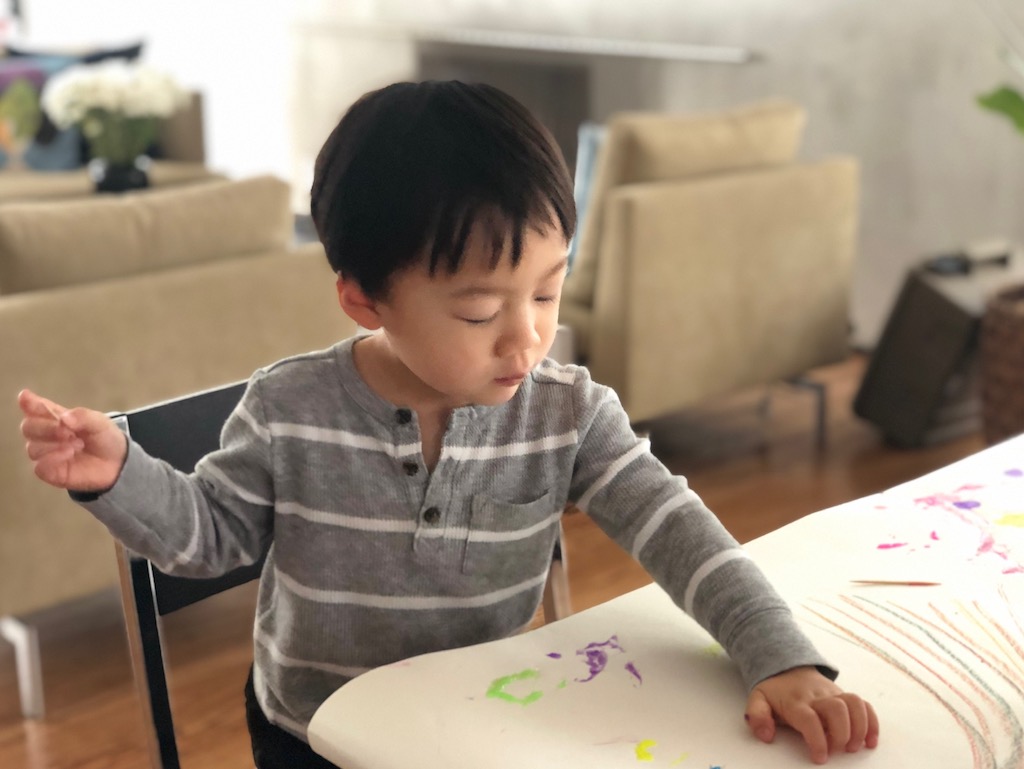
Why is creativity so important? According to the article, “…children who remain creative have shown to be better problem solvers and innovators; they also tend to be less anxious and more resilient, with a greater ability to express their feelings.”
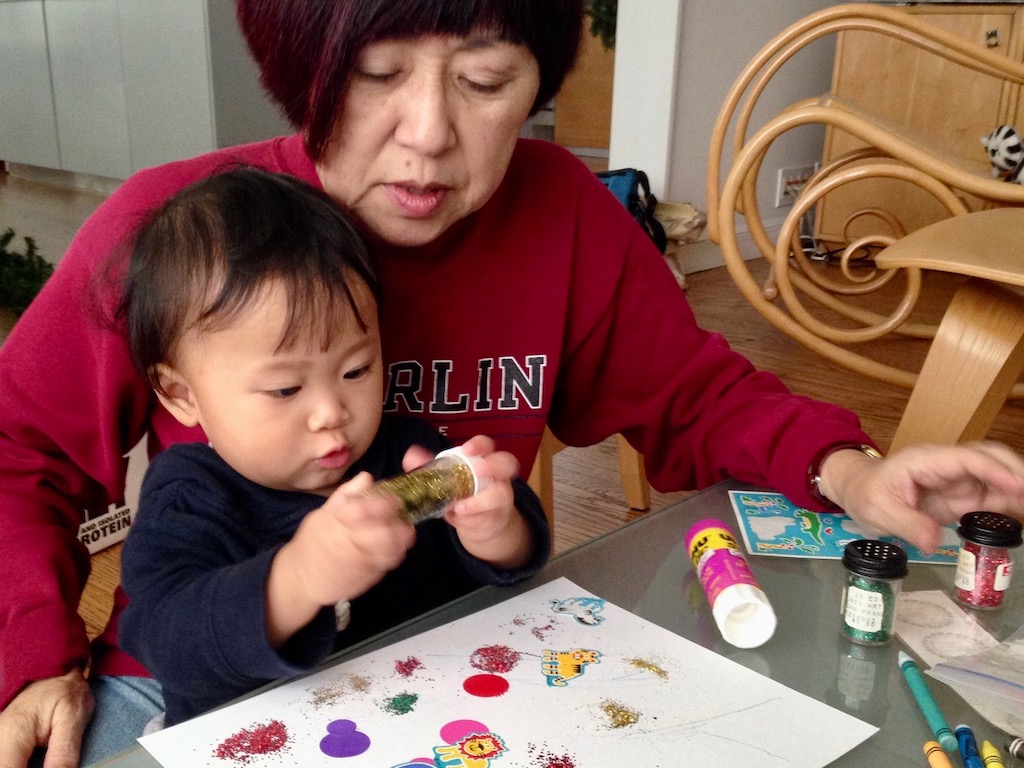
I’m trying to help the grandkids to keeping from losing touch with their inner creativity through arts and crafts.
Starting them Young
One of the best things my son bought for our playroom when Miss T was a toddler was an inexpensive IKEA artist’s easel. The current version of the easel (now $20) is different in design, but like ours, can be used as a chalkboard, whiteboard, or to hold a roll of paper for painting. The 98-foot drawing paper roll is just $5.
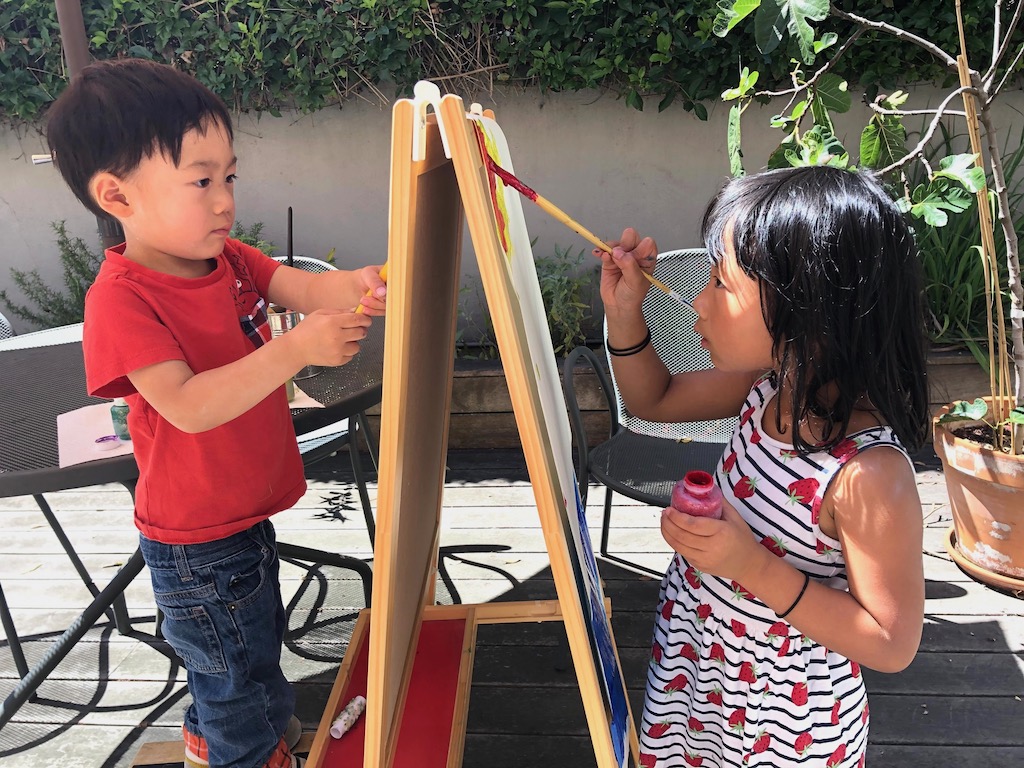
Our seven-year-old seems to have graduated from poster paints to more complex drawings on the whiteboard using colored dry erase markers. Since this art is ephemeral, take photos of the child’s favorite artworks before erasing them.
Get Ideas from Arts and Crafts Books for Kids
The library is a good source to find arts and crafts books. As a child, I used to spend hours at our public library in Hilo, looking for craft ideas. Another good source is art museum bookstores.
The Usborne Complete Book of Art Ideas by Fiona Watt is chock-full of creative art projects, suitable for kids about eight or older. I invited Miss T to leaf through the book and put post-its next to the projects she’d like to do. Then I reviewed her selections to see which appeared most doable and to ensure I have the materials we need.
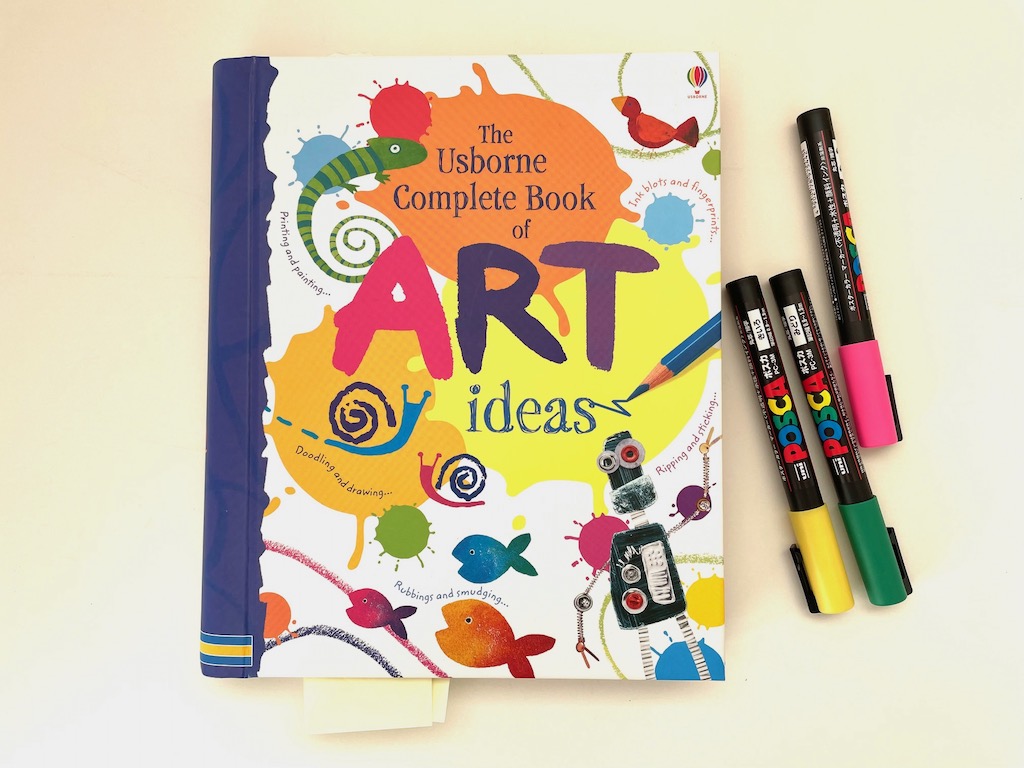
The art materials required in the book are pretty basic: art paper, paints, inks, crayons, pastels, and brushes. Art lessons and techniques are interspersed throughout.
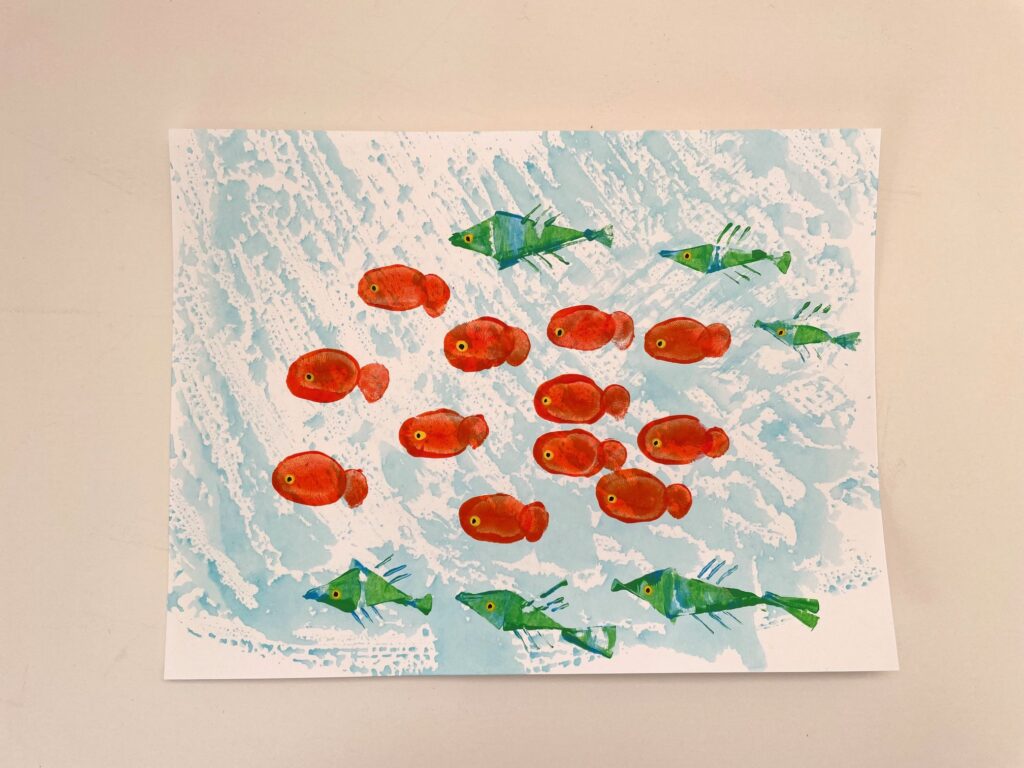
To give you an idea, here are the two artworks Miss made over the weekend, both adapted from this book. The undersea scene features fish made with her fingerprints.
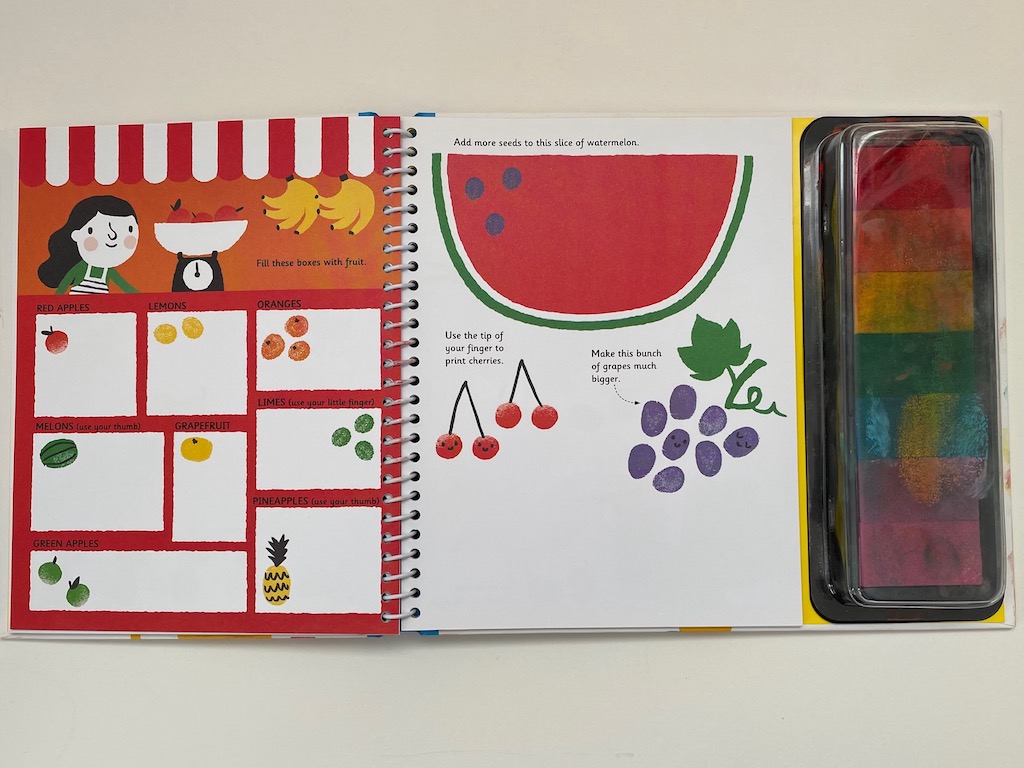
There is a series of Usborne Fingerprint Activities books by the same artist, Fiona Watt. Each interactive workbook comes with a multicolored stamp pad.
For example, in a page from one of the books, you see a rather bare fruit stand. Kids use their fingers as stamps to make lemons, apples, melons, and pineapples to fill the bins.
Working with Kids
In general, I find that, unless a child is super motivated, you can’t leave them to do these projects by themselves, even if they can read the instructions. Your presence–and sometimes, your guidance–is what will keep them interested and focused. Organizing, orchestrating, and being present for the art creation is an excellent role for a grandparent to adopt.
How to Make an Undersea Art Scene
As with recipes, we riffed on the materials and instructions, so our version is not quite like the original.
Materials Needed
- Plastic wrap
- Blue watercolor paint
- Sturdy white art paper (we used 9- X 12-inch mix media paper)
- Acrylic paint or poster paint
- Yellow marker
- Black pen
Tools Needed
- Paint brush
- Artist’s palette, tear-off palette pad, or a white paper plate
- Thin cardboard
To Make the Ocean
This project will get messy, so be prepared with newspapers or an old plastic placemat to use as a protective surface.
Lay out a sheet of plastic wrap larger than your paper on your protective surface. Paint the plastic wrap with thinned-out blue watercolor. Turn your art paper down over the plastic wrap. Smooth the paper with your hands over the plastic wrap then remove the paper. The blue watercolor will have transferred to your paper. Allow to dry.
To Make the Fish
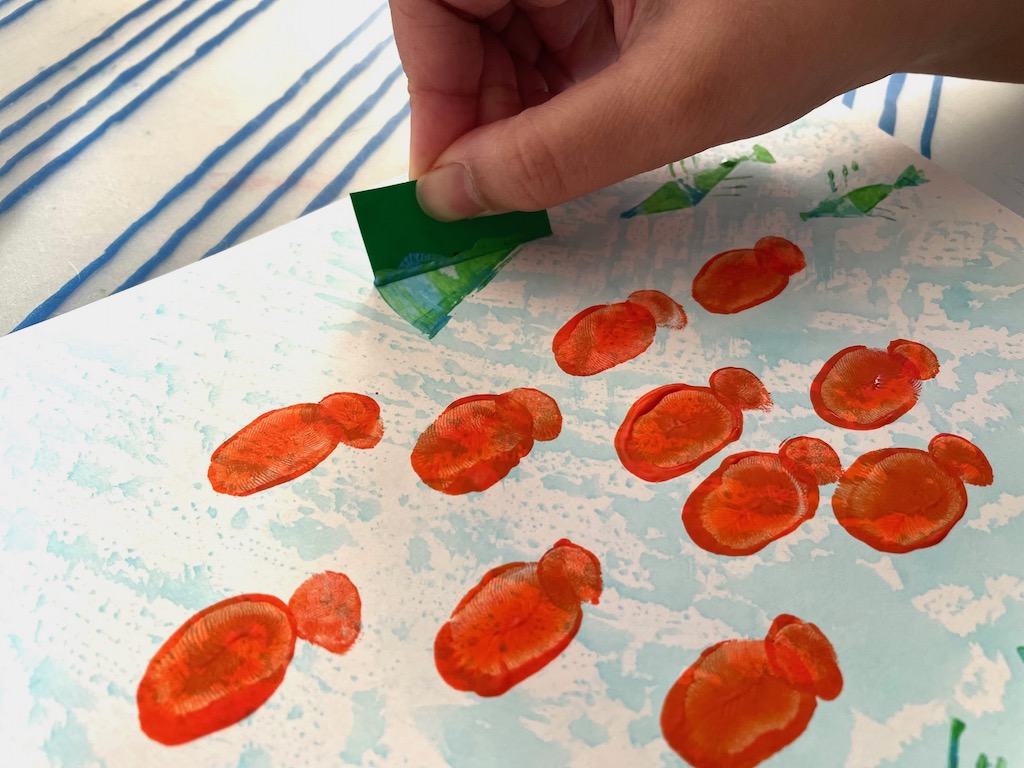
Squeeze two colors of paint, side by side, onto your palette. We used orange and yellow. Dip a thumb into the paint, picking up both colors. Make a thumbprint on the paper. Use your fingertip dipped in paint to make the tail.
For the fan fish, squeeze two colors of paint, side by side, onto your palette. We used green and yellow. Take a small, thin piece of cardboard and dip it into the paint along one edge. With the painted edge on the paper, keep the base steady, while swinging out the opposite end of the cardboard in an arc, to create a fan shape.
Make another fan shape from the opposite direction, connecting to the wide part of each fan together to form the fish. Use a smaller piece of cardboard to make another fan shape for the tail. Dip a small piece of cardboard into the paint and keeping the edge vertical, make lines for the fins.
To make the eyes, we used a yellow marker. Allow to dry then add the eyeball by drawing a black pen circle.
Adapted from The Usborne Complete Book of Art Ideas.
Abstract Pattern Art
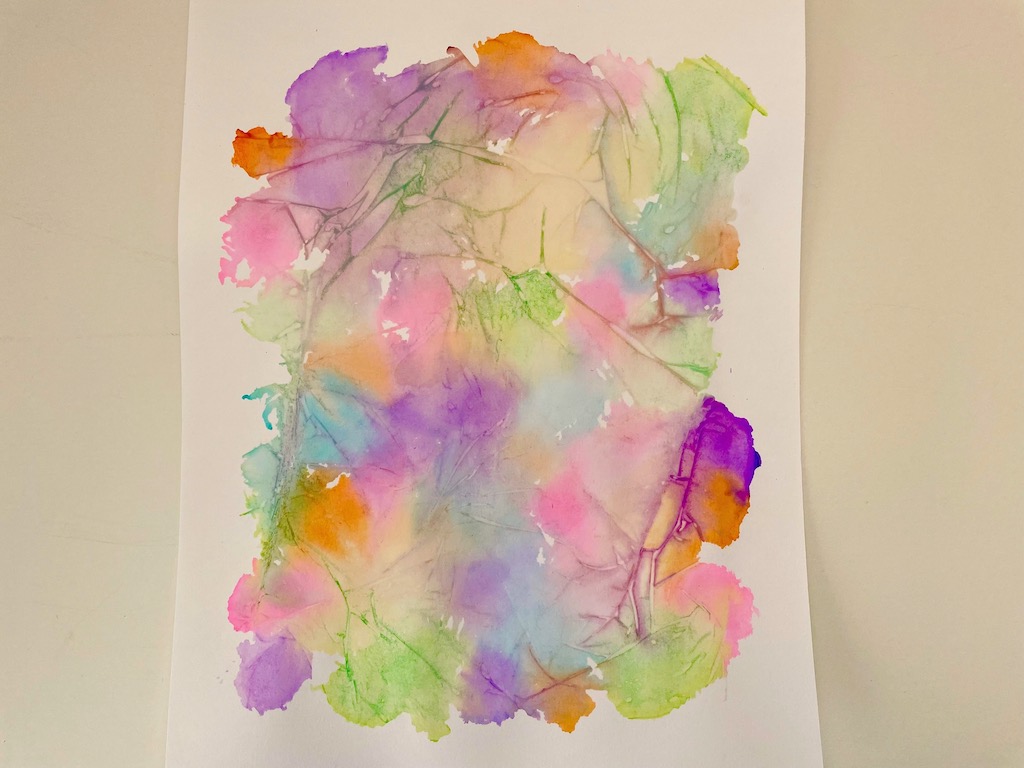
Materials Needed
- Watercolor paints
- Sturdy white art paper (we used 9- X 12-inch mix media paper)
- Plastic wrap
Add water to watercolor paints to make them quite watery. Dab the paint in random patterns on your paper. Cover with plastic wrap.
Putting your hands on the plastic wrap, move the paint around using your fingers to blend the paint colors and create patterns. Let dry with the plastic wrap still on the paper.
Peel off the plastic wrap when paint is almost dry and dry the artwork completely. You may need to iron your paper if it has curled. Use a dry iron on the low setting and put a clean sheet of paper over the artwork to protect the iron from the paint.
Adapted from The Usborne Complete Book of Art Ideas.
An Art Day with a Grandchild
On Sunday, Miss T came over for an art afternoon. First we started on the art projects above, and while the paint was drying, we skipped off to one of our city’s art museums for a few hours.
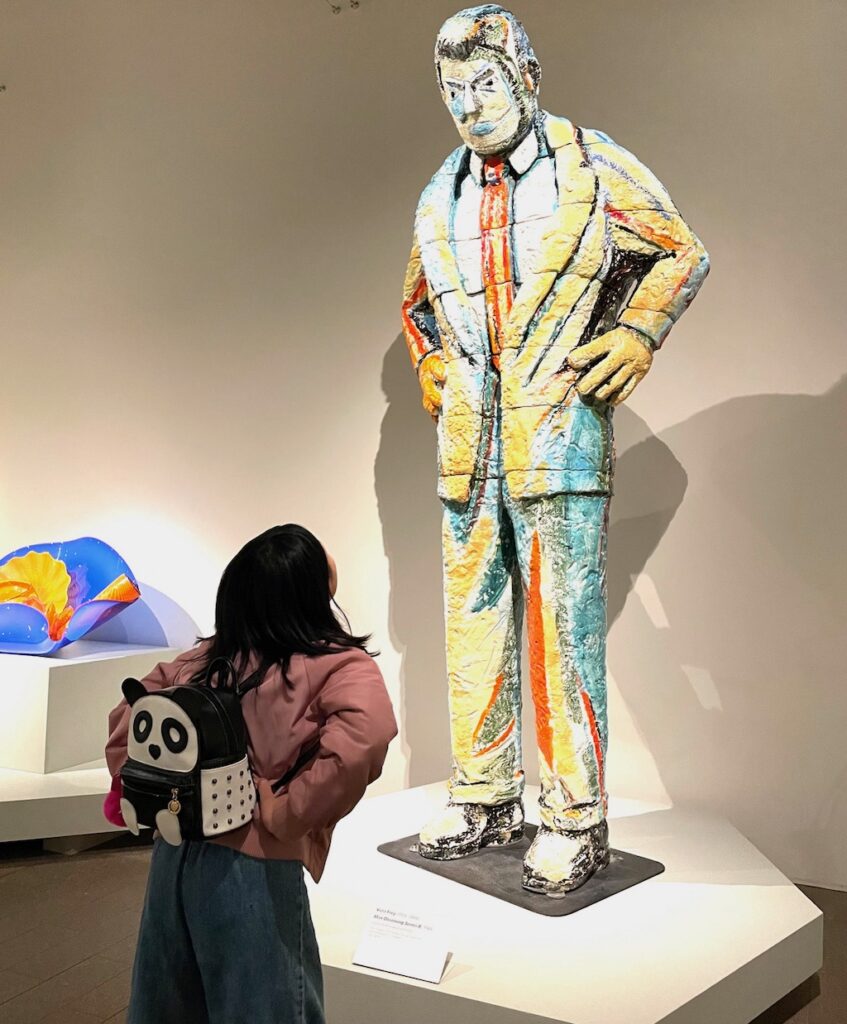
The first time we took the grandkids to an art museum, they went under duress. But Miss T, having been a few times since, is now more familiar with a museum excursion and is more engaged.
The ideal way to visit an art museum with a child is to plan on only spending a couple of hours, and follow what attracts the child. No need to go into a pedantic explanation of the art, unless the child is interested. Just let them explore.
It’s ideal if you can purchase a museum membership; then you can go back later to view the art you wanted to see, but bypassed to accommodate the child. Alternatively, most museums have free days. Take advantage of them. Here are more tips about visiting art museums with kids.
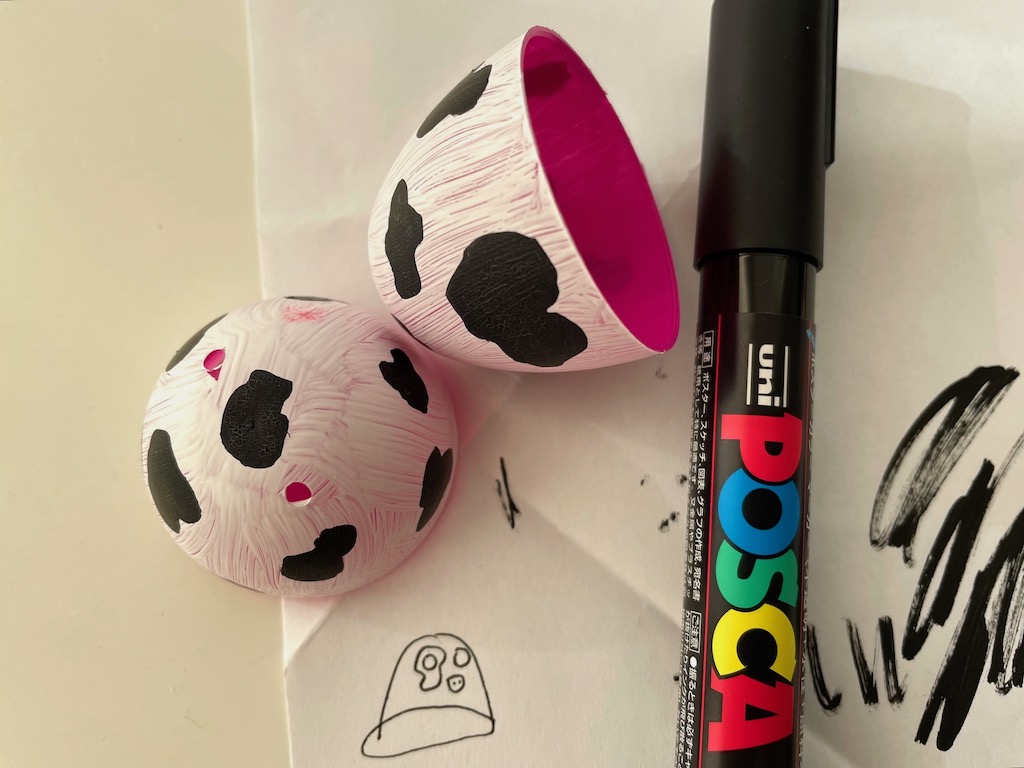
At the end of the museum day and back in my craft room, Miss T decorated one of the plastic eggs that I was turning into Easter egg vases for Sunday’s Easter brunch.
She had an idea…she tested the idea on paper…and she turned her egg into a cow!
Practical Art
There are so many ways to incorporate arts and crafts for kids into daily life and play. For example:
- Signage–have the kids make signs to support their pretend cookie sale, their restaurant, or their puppet show.
- Greeting cards–Mother’s Day, Father’s Day, birthdays, holidays. Have kids do art projects like the ones above and turn them into cards and gift tags.
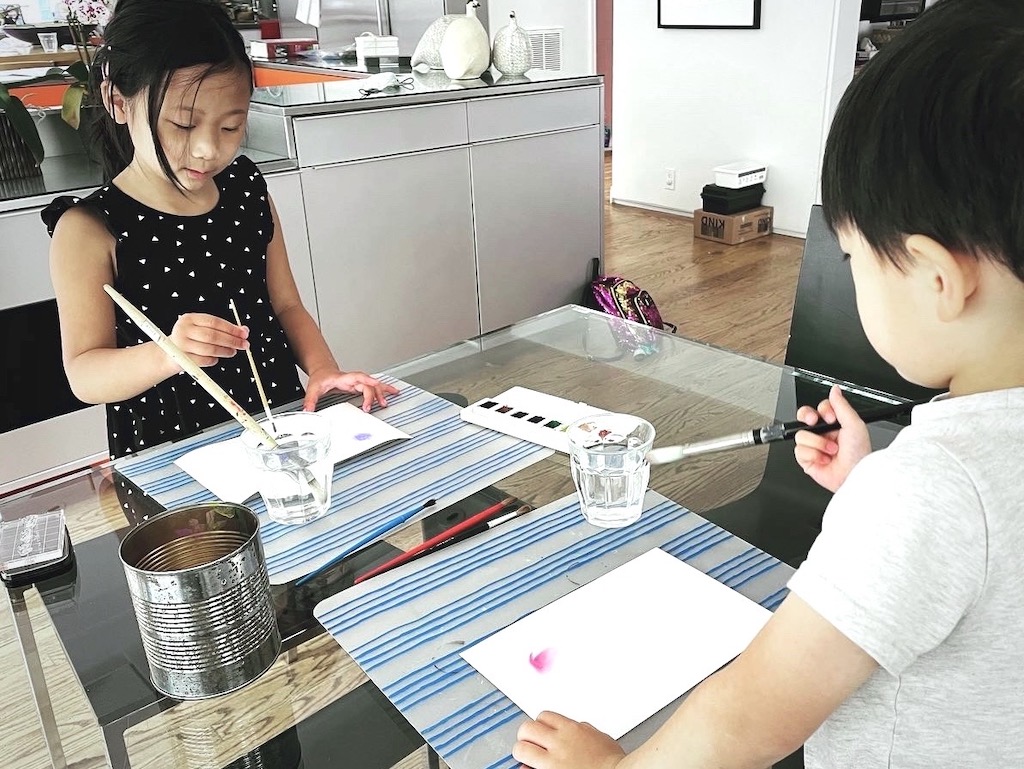
- Gift wrap–stamping designs, by either making vegetable stamps or using purchased ink stamps, is a fun project that is more economical, more ecological, and more personal than buying gift wrap.
- Wall decorations–projects like melted crayon art can be framed inexpensively. Kids can hang their own creations in their room.
- Decorating cookies–kids can work with colors, patterns, and shapes to create beautiful cookies.
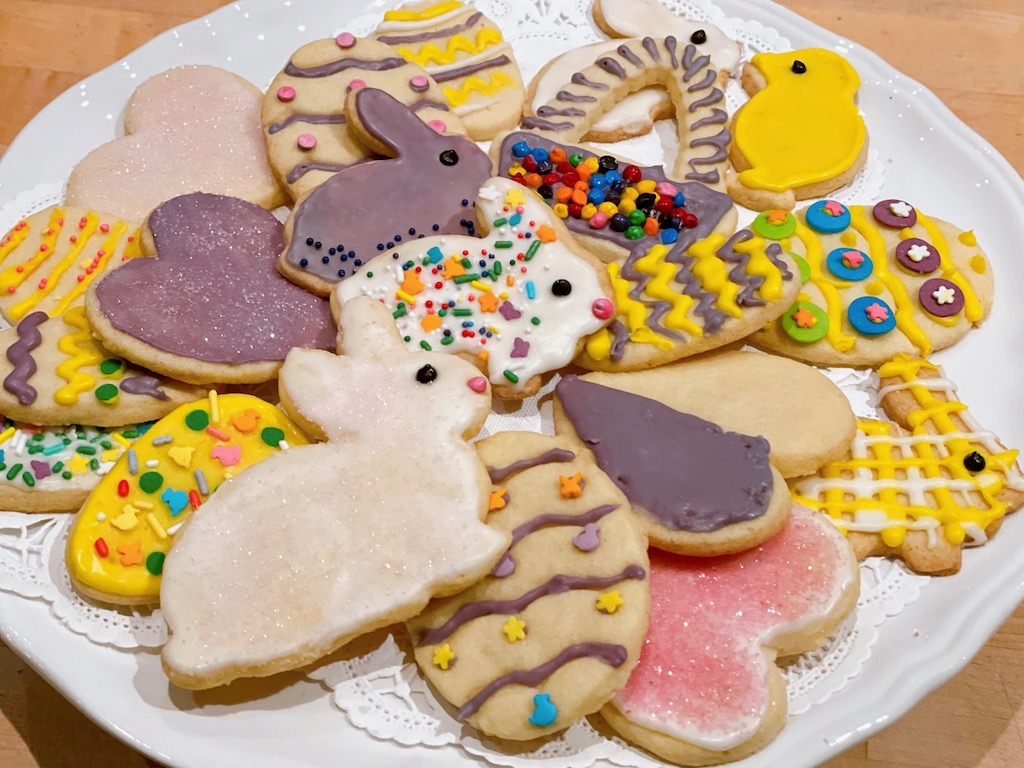
- Holidays–whether its St. Patrick’s Day or Chinese New Year, more and more families are celebrating global holiday traditions. Make Mexican paper flowers or cascarones for Cinco de Mayo. Or Koinobori, Japanese paper carp, for Children’s Day, both observed on May 5.
Arts and Craft for Kids on Call Me Grandma
You’ll find more arts and crafts projects for kids throughout this blog in a section called “Grandma Crafts.” Most projects are for kids, but some are arts and crafts for grandparents to make for grandkids.
Sign Up!
Don’t forget to sign up for my email newsletter. Every Wednesday, I’ll give you a new idea for an activity or insight to nurture the little ones in your life.