Easy DIY Christmas Gift Ideas Kids can Make
On Sunday, the grandkids and I held a Santa’s workshop to make DIY Christmas gifts and Christmas cards. The kids had been looking forward to our annual family gingerbread house party, but with rain likely, we had to postpone. Icing doesn’t set well when it’s humid.
So, on to Plan B!
This Year’s DIY Christmas Gift
I’m always looking for minimalist ideas, since, no matter how well meaning and lovely larger-size kids’ arts and crafts gifts could be, I don’t want to contribute to a storage challenge for the recipients. For example, once, we crafted small photo magnets for the fridge.
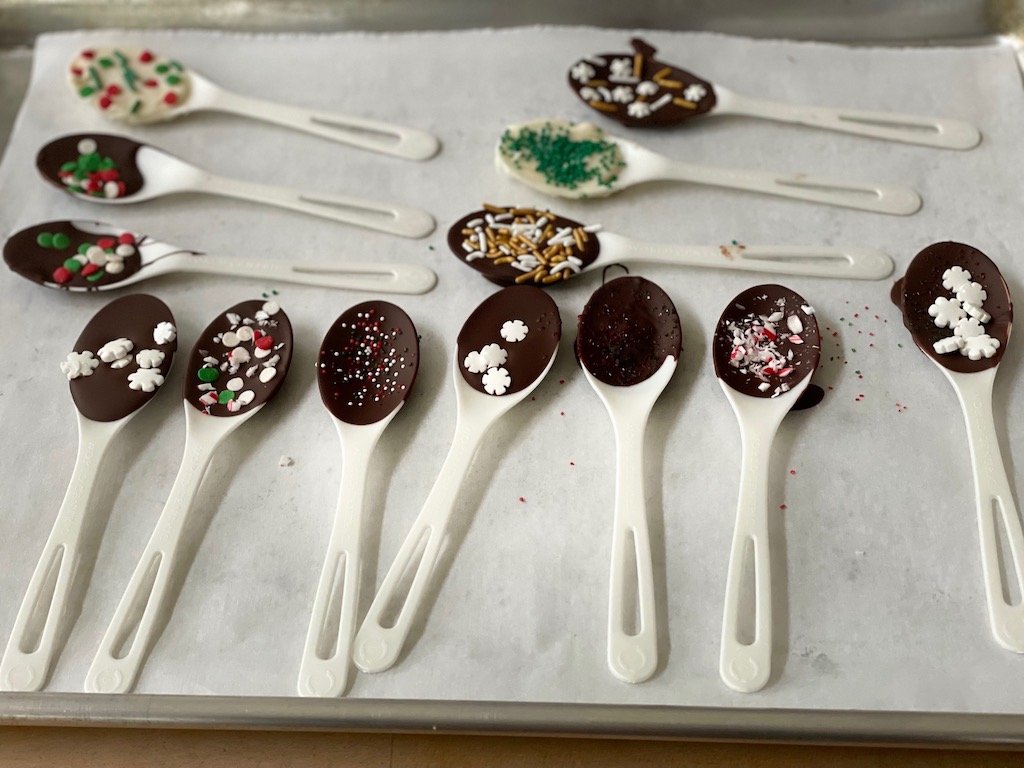
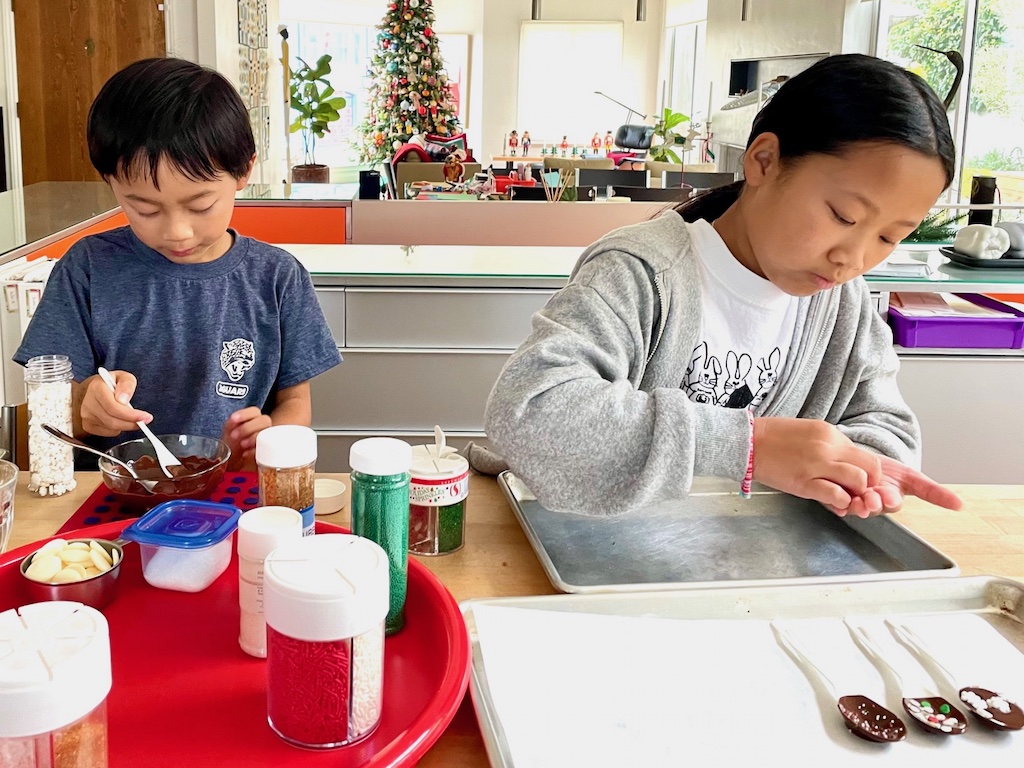
This year, we made a food gift, that could be appreciated, then consumed! Hot Cocoa Stirring Spoons are super-easy to produce and kids had fun making them, sneaking a few candy bits to nibble as they worked.
Hot Cocoa Stirring Spoons
Ingredients
- 1/2 cup bittersweet chocolate chips
- 10 to 12 disposable spoons (compostable preferred)
- Cookie decorating sprinkles and crushed candy canes
Method
Microwave chocolate chips in a heat-proof bowl at 30-second intervals. Stir with a fork after each interval until chips are just melted and glossy.
Lay a sheet of parchment or waxed paper on a small sheet pan. Dip a spoon in chocolate up to the neck of the spoon and filling the bowl of the spoon, then quickly set on parchment paper. Decorate with sprinkles before chocolate has set. Repeat for remaining spoons.
Allow chocolate to set completely at room temperature before packaging. To speed up the process, refrigerate about 10 or 15 minutes.
Note:
- You can use white melting candy wafers; melt according to package directions.
Packaging
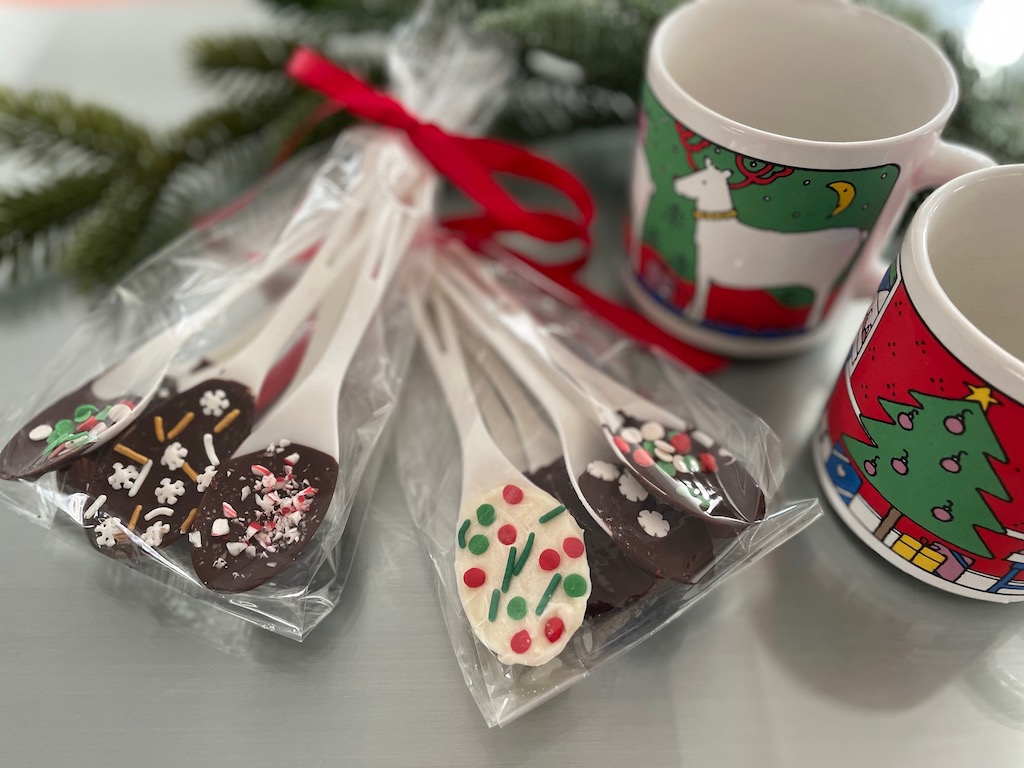
Pack spoons in cellophane bags or plastic snack or sandwich bags. Tie with ribbon. You can add a few mini-marshmallows to the bag for an extra sweet touch.
I plan to buy Christmas mugs to package with the spoons as part of the children’s gift to their parents.
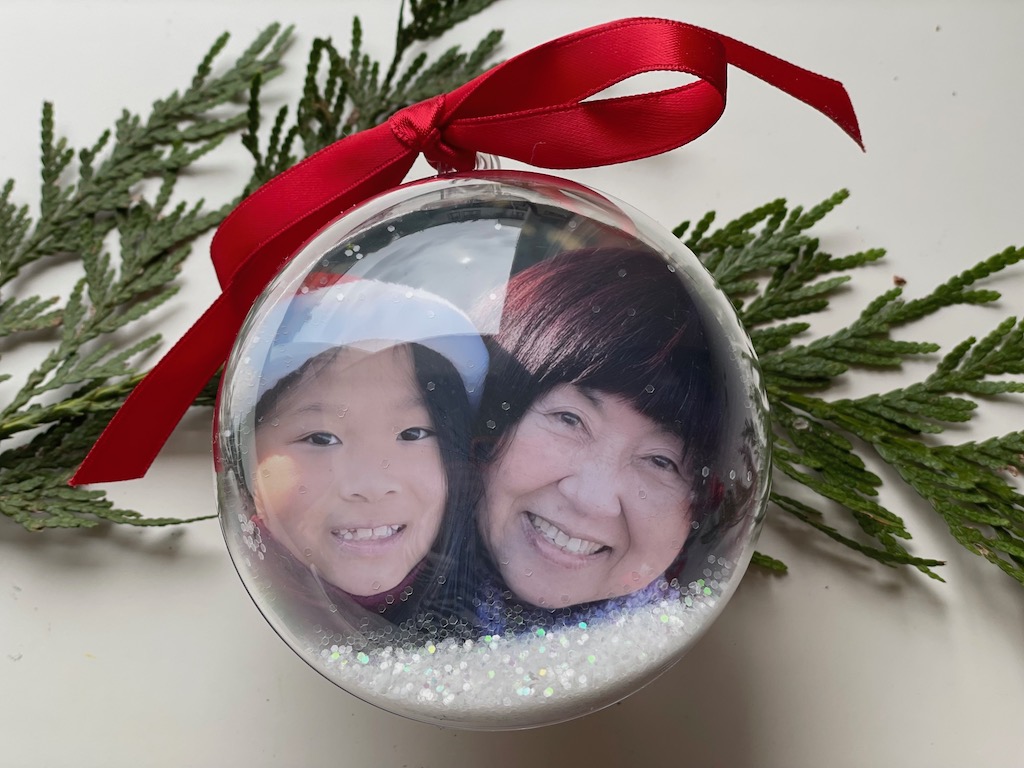
Make photo ornaments to give as personalized DIY Christmas gifts.
Next, We Make Christmas Cards
I find that if you set out stickers and a bunch of markers and walk away, kids will tend to just slap some stickers on the blank card, write a message, and call it a day. It helps if you make a few cards yourself with them, give them a few ideas, and let them know you expect them to put some time and thought to their work.
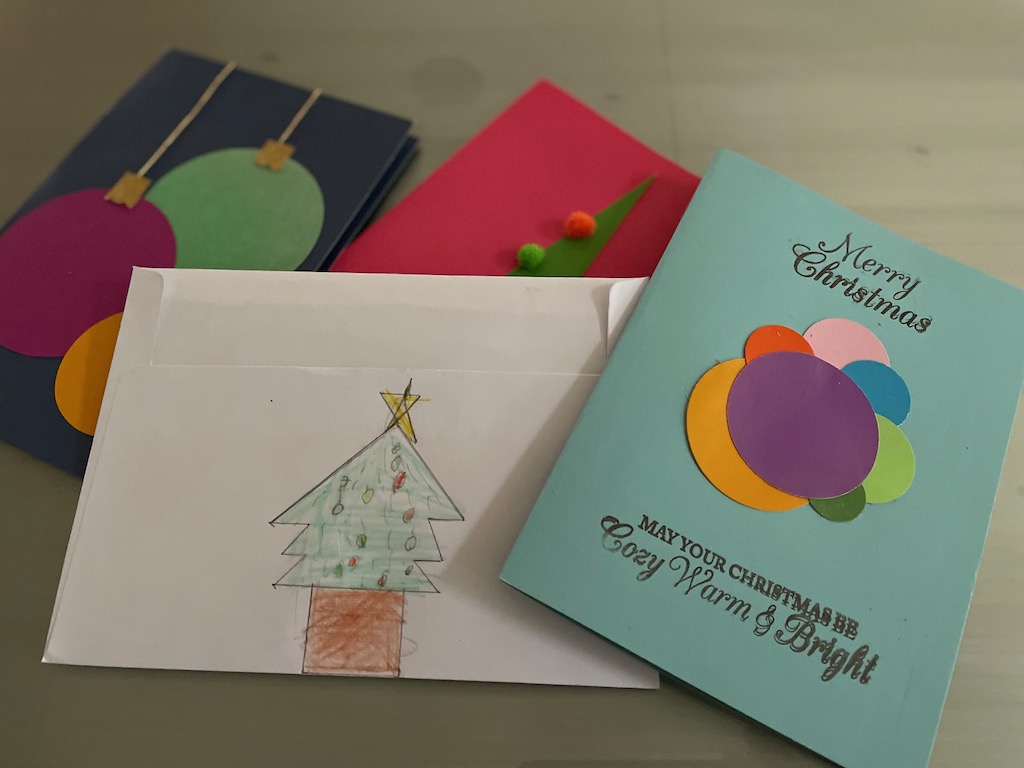
Handmade Christmas Cards
The list below is just a general idea of materials you can use.
Materials
- Cardstock trimmed to greeting card size (5 X 7 inches is a good size)
- Colored construction paper
- Colored cardstock scraps
- Glue stick
- White school glue (such as Elmer’s)
- Christmas stickers
- Colored pencils (for finer art work than markers)
- Assorted bits and bobs–ribbon, tiny pompoms, buttons, gold cord, stick-on “jewels,” etc.
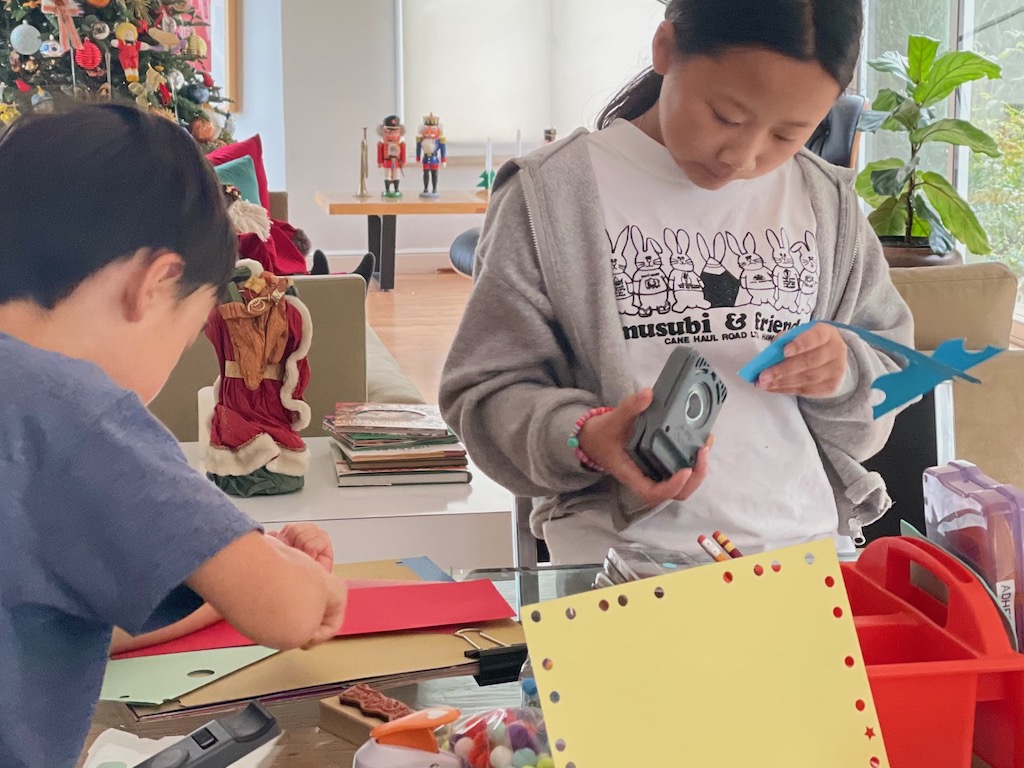
Tools Needed
- Scissors–plain but also scalloped, zigzag, and other scissor blades if you have them
- Assorted hole punches
- Christmas-themed stamps and ink pads
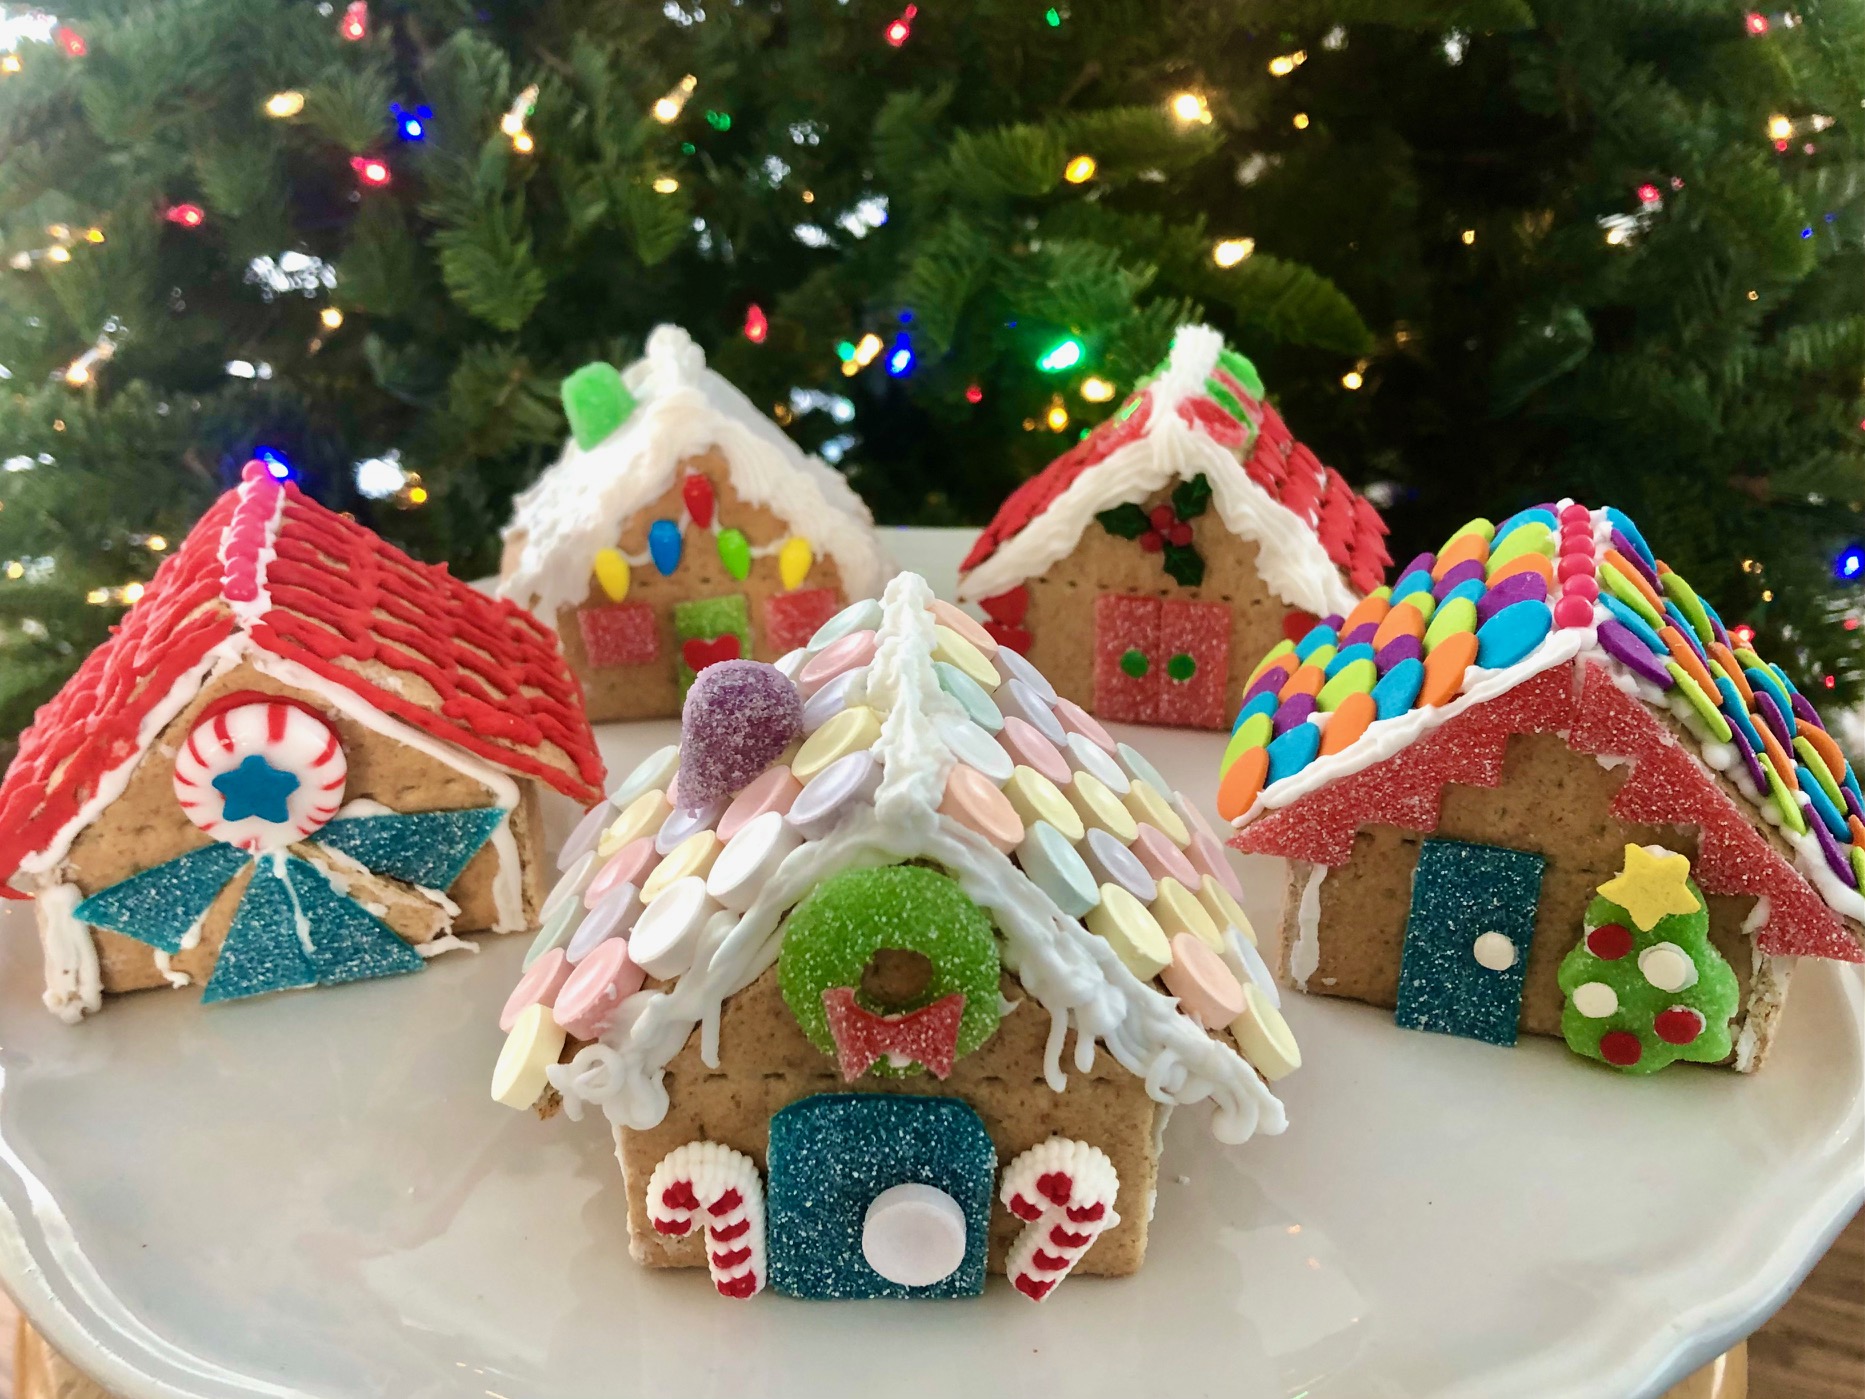
Make easy “gingerbread” houses as adorable, edible gifts.
Method
Set all the materials on a table and give kids free rein. But also give kids some ideas:
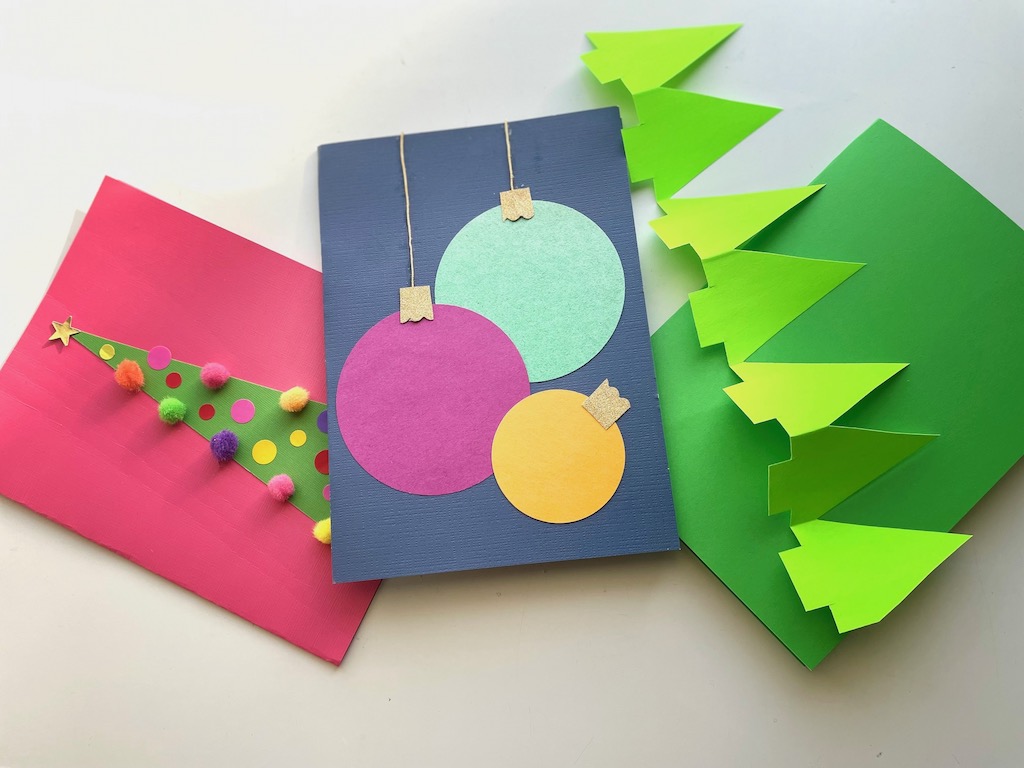
- Accordion-fold some green paper and cut out a string of Christmas trees.
- Show how a colorful circle can be turned into a Christmas ornament or how a green triangle can become a Christmas tree.
Decorating the Tree
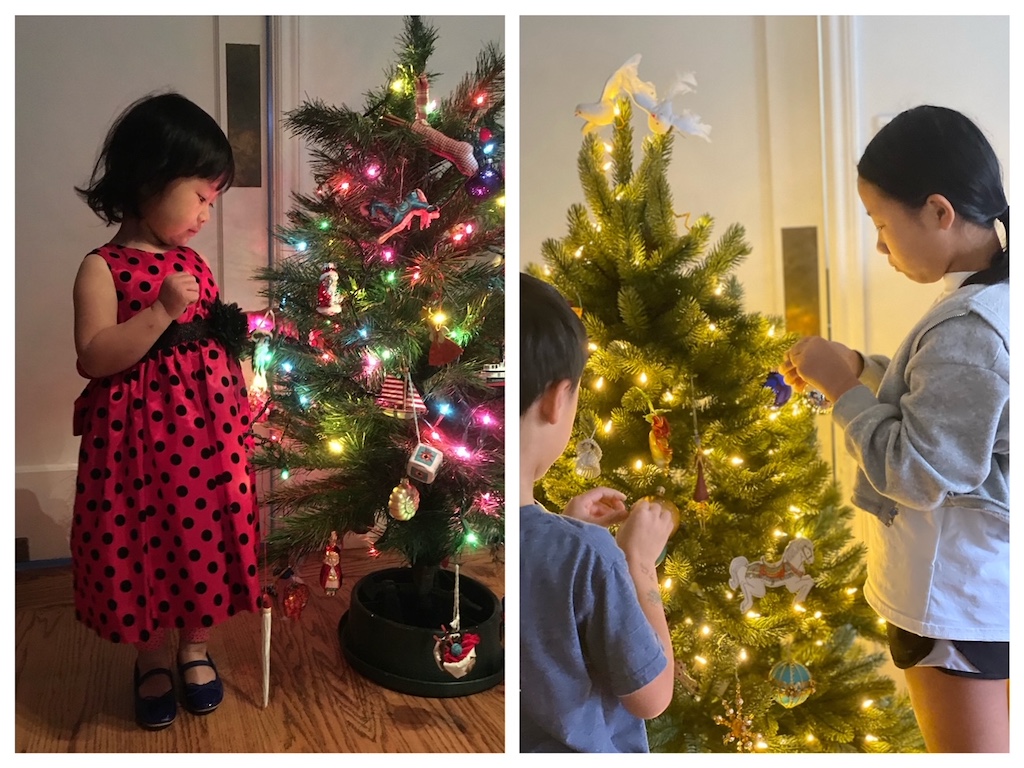
After they had made their gifts, there was still time for the kids to decorate the small tree we set up for them in the playroom. I began the tradition of a children’s Christmas tree when Miss T was just three. I gave her soft ornaments that she could hang herself.
Next week, we’ll do another fun holiday project.
Sign Up
Don’t forget to sign up for my email newsletter. Every Wednesday, I’ll give you a new idea for an activity or insight to nurture the little ones in your life.
