Easy Gumdrop Trees: The Best Christmas Table
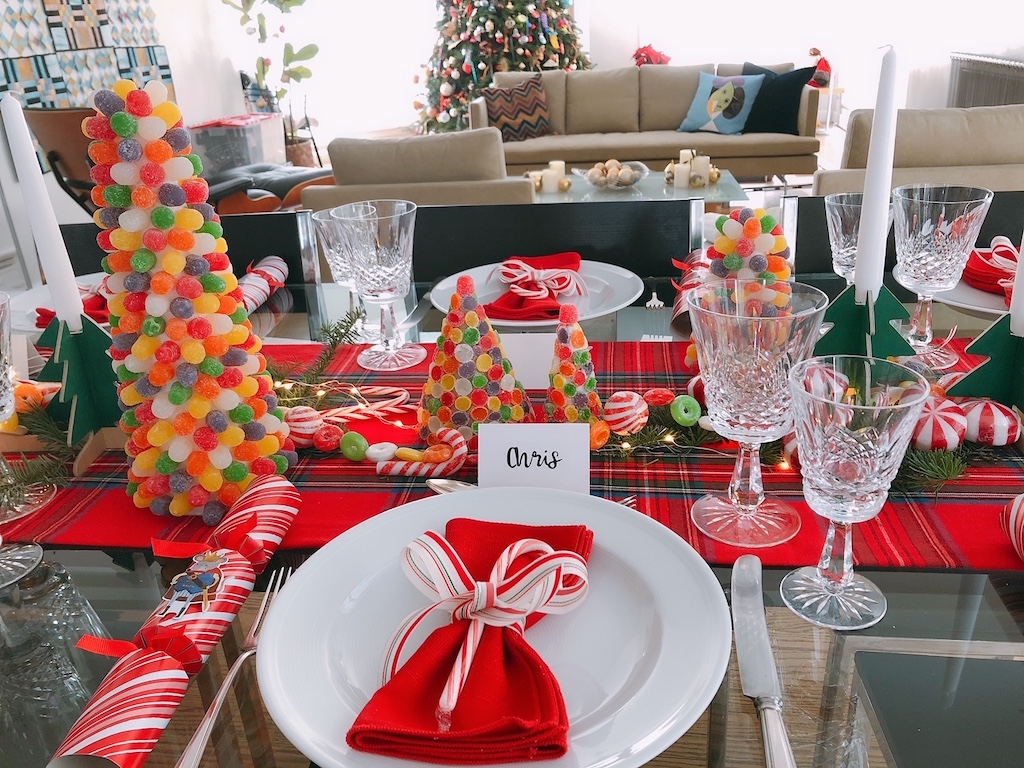
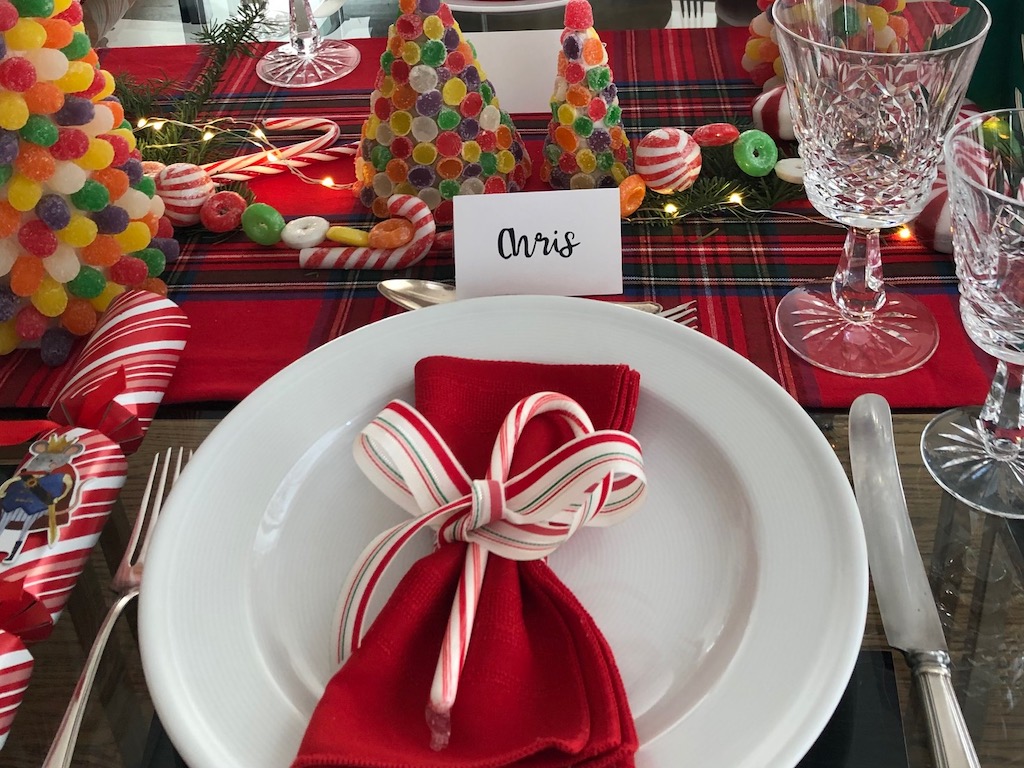
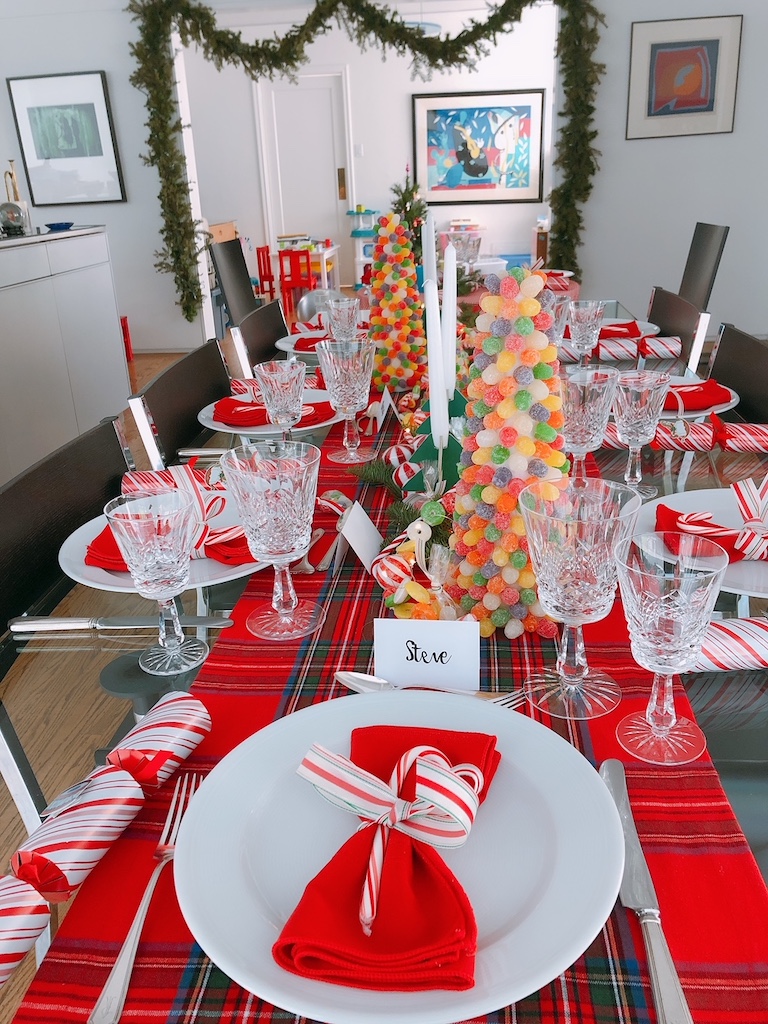
Every year, I try to come up with a table centerpiece that will delight my family for our Christmas Eve dinner. A few years ago, it was gumdrop trees in a candy-themed arrangement.
The Gumdrop Trees
This is a fun project for the grandkids to help with–just keep them from eating too many gumdrops as they work!
There are three types of gumdrop trees on my table pictured above: the tallest is the typical, featuring whole gumdrops pinned with toothpicks to a Styrofoam cone base.
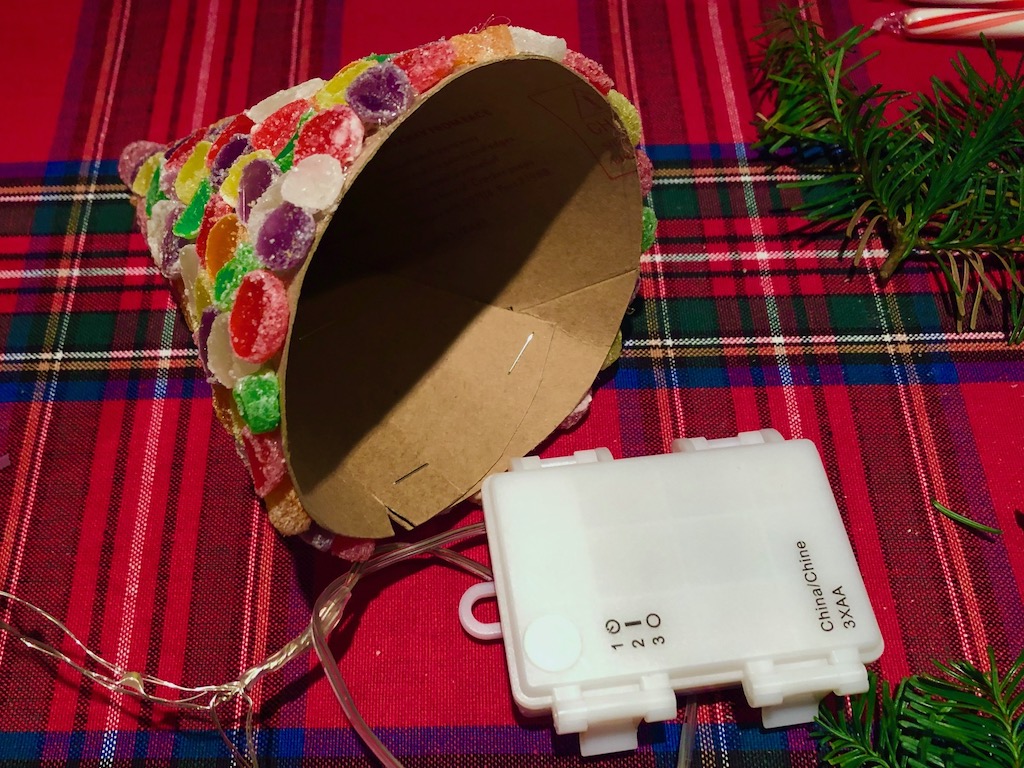
The second uses a cardboard cone. The purpose of this hollow cone is to hide the battery pack for the micro lights I’ve strung along the table runner.
The third is built on an ice cream cone base, to create a different size and shape of gumdrop tree, for variety.
How to Make a Gumdrop Tree
The basic tree is simply made by attaching gumdrops to Styrofoam cones using toothpicks.
Basic Gumdrop Tree
- Toothpicks with sharp points at both ends
- Gumdrops
- Styrofoam Christmas-tree-shaped cones in assorted sizes
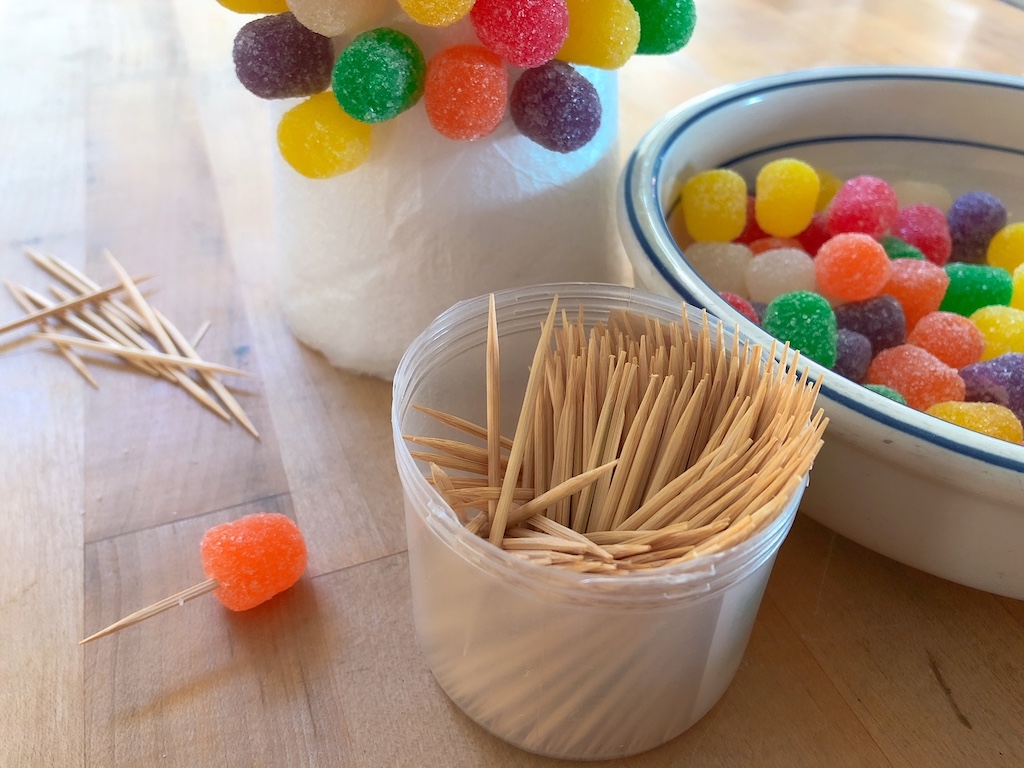
First, snap toothpicks in half to break into two pieces. Then poke the broken end of the toothpick into the flat base of a gumdrop, keeping the pick centered. Now poke the exposed end of the toothpick into the Styrofoam cone. Start at the top and work around the cone, using gumdrops in assorted colors.
Faux Gumdrop Tree
You’ll want to make a gumdrop tree with a hollow cardboard base if you are using micro lights on your table and wish to hide the battery pack. This year, I found a set of lights with an extraordinarily slim battery pack that I used for Miss T’s fairy lantern. If you’re using one of those, you may be able to simply tuck the battery pack under some greenery on the table, eliminating the need for a cardboard tree.
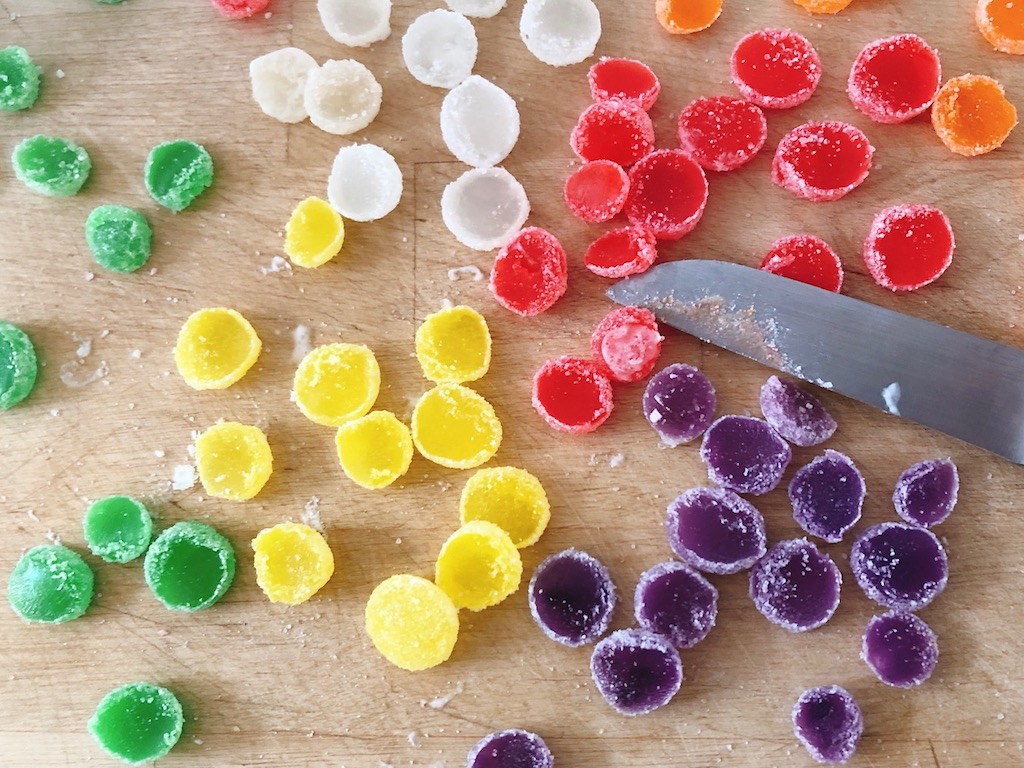
Without toothpicks for support, a whole gumdrop is too heavy to attach easily to cardboard. So, slice the gumdrops into thirds and glue to the cardboard with icing.
- Paper, to make a pattern
- Cardboard that’s stiff, but malleable
- Gumdrops
- Stapler
- Icing from a store-bought tube or homemade
To make a cone, follow the instructions for the ice cream cone, but use heavier cardboard, rather than cardstock, and instead of 6 inches high, make the cone as tall as 8 1/2 inches, depending on the size you need to accommodate your battery pack. Roll cardboard to form a cone and staple closed. Snip a small notch for the micro light cord.
Slice gumdrops in thirds, crosswise. Frost the cone, a section at a time and press gumdrop slices into the icing, starting with a whole gumdrop for the top of the cone.
Small Gumdrop Tree
- Tree-shaped ice cream cones
- Icing from a store-bought tube or homemade
- Gumdrops
Slice gumdrops in thirds, crosswise. Frost the cone, a section at a time, and press gumdrop slices into the icing, starting with a whole gumdrop for the top of the cone.
A Word of Caution about the Gumdrop Trees
- Do not leave the gumdrop trees unattended if there are little ones about. Or better yet, keep them out of reach. Younger children, attracted to the candy, may want to eat them, not realizing the gumdrops are held in place with sharp picks.
- The gumdrop trees–especially the biggest ones, will end up quite heavy when complete. Make sure you have a sturdy surface to hold them.
Finishing the Table Setting
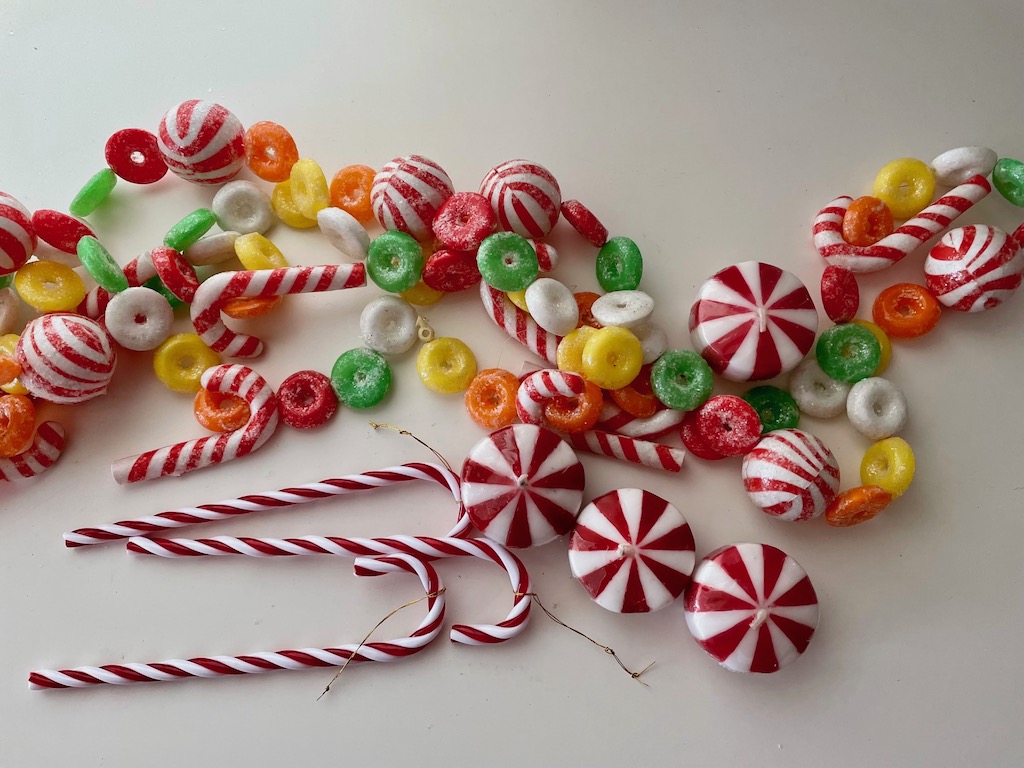
Finish the table setting with “candy” decorations such as an artificial candy garland, candy cane ornaments, and candy-shaped candles. Arrange them over a red plaid runner, along with sprigs of evergreen, looping the micro lights through the whole. You may need two sets of lights, on each side of the cardboard tree.
Table Setting Considerations
I accept that there will be a good amount of after-dinner cleanup. But since the good tableware tableware is only used a few times a year, it seems well worth the effort. Steve does most of the washing, while I dry and put away. It’s a commitment we both make to ensure a special dinner.
Still, I usually compromise. That is, if I am using crystal stemware, I’ll set the table with everyday china that can go into the dishwasher. With the plates out of sight, we’re just hand washing glasses and silver.
Alternatively, I’ll use good china, then go with dishwasher-safe Ikea stemmed glasses.
While they get to use fine china, the children do not get fine stemware. I set Little N’s place with a slightly fancier tumbler; Miss T gets a small but sturdy stemmed wine glass.
Either way, the silver needs to be hand washed, but I don’t mind because they take up so little space in the cleanup, so it doesn’t seem as daunting.
We toss napkins immediately into the clothes washer after the guests leave, which prevents stains from setting.
Even if it’s just the family, I set place cards to create a harmonious seating arrangement. The kids are used to it because when they help grandma set the table for our weekly Friday night dinners, they get to determine who will sit where, setting out our everyday place cards accordingly.
What Kids Learn
When we have a special dinner, here’s what kids learn:
- Good table manners
- Social graces–kids are expected to sit at the table until everyone is done and participate in the general conversation
- Respect for the table–to be able to enjoy a convivial meal together
The children come to dinner in their special holiday attire that grandma buys each year, which has become a part of our holiday traditions. A pretty party dress for Miss T and a bow-tie and vest outfit for Little N. I’m always checking the pre-holiday sales.
When they’re all dressed up and the table is set festively, kids will rise to the occasion. When they know what’s expected of them, they will come through and behave well.
On Christmas Day, everything–including the food–is casual. We know our limits.
Visit “Call Me Grandma!” next week, when we’ll be decking the halls!
.
Don’t forget to sign up for my email newsletter! Every Wednesday, I’ll give you a new idea for an activity or insight to nurture the little ones in your life. Come visit!