How Kids can Make Great Handmade Christmas Gifts
When Steve and I were in Vancouver last spring, we discovered a Japanese store called Paper-Ya on Granville Island. Browsing, I found a set of pens for writing on fabrics and another for writing on ceramics. Handmade Christmas gifts by the grandkids were in the bag!

While I bought the special-purpose pens (with Japanese instructions that I had to Google-translate), you can use Sharpie Paint, an oil-based marker, to decorate mugs. And you can find various brands of fabric paint to make a sleep T-shirt.
Miss T’s Handmade Christmas Gifts
Basically, you’ll do what we did–just with different pens. For a handmade, decorated mug, clean the mug, draw on it, and bake to set the inks.
For the sleep T-shirt, draw the design, cover with a protective cloth, and iron to set the inks.
Miss T was to make a mug for dad and sleep shirt for mom; N would do the opposite: mug for mom and sleep shirt for dad. N hasn’t had time to get his project going.

Handmade Christmas Gifts: Design a Mug
This is a gift that can be done by kids of any age. Even toddlers can simply scribble on a mug with Sharpie Paint.
Because Miss T is older, now 11, I wanted her to think about what she’d like to design and to plan it out first. Here’s how we did it.
Tip #1 How to Center your Design
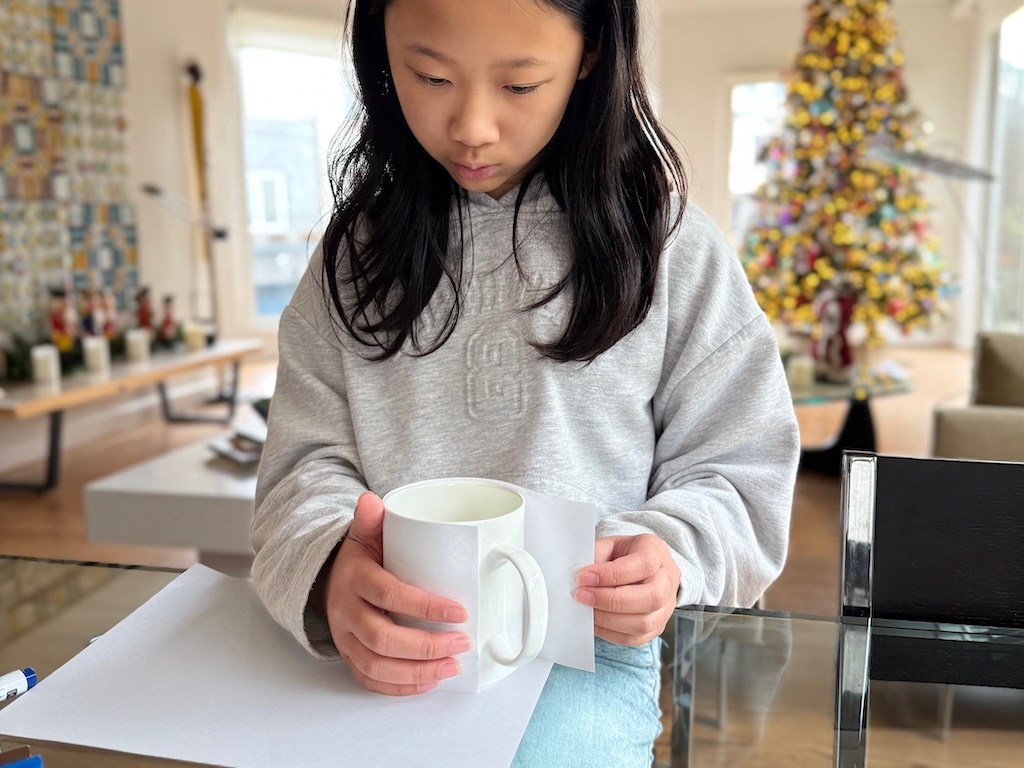
Cut a strip of copy paper the height of the mug and wide enough to wrap around the mug. Draw your design on the strip of paper first. This way, if you’re not satisfied with the design, you can continue to revise and redo.
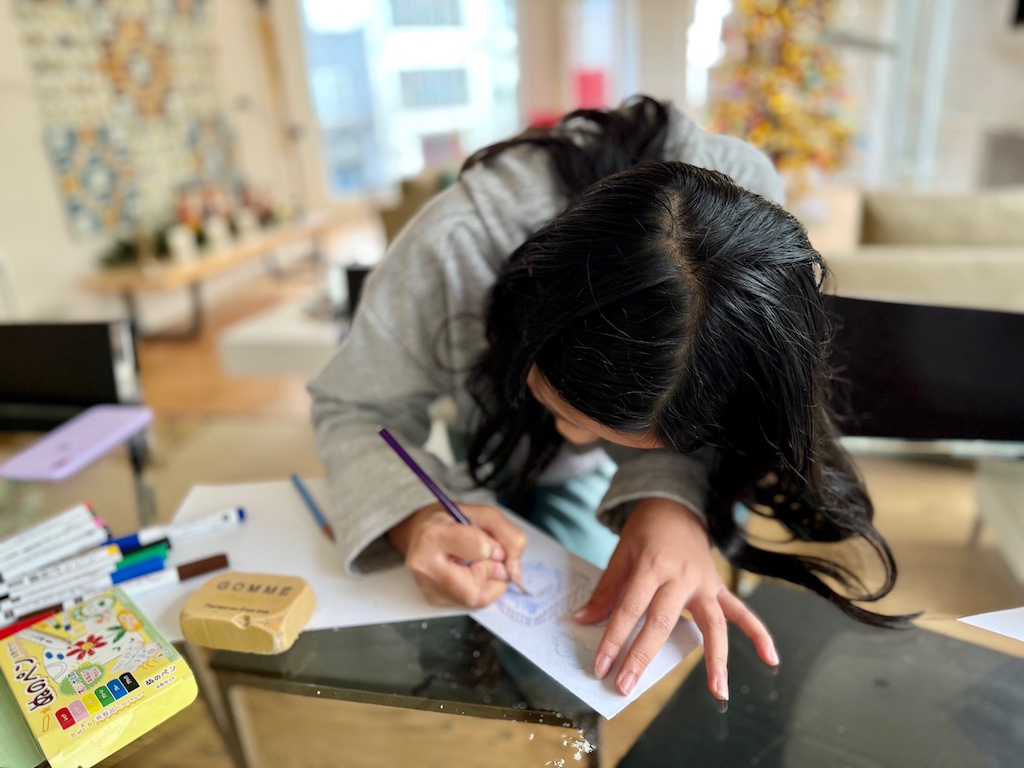
Tip #2 How to Transfer your Design
To transfer the design to your mug, cut tracing paper to the same size as the copy paper strip. Align the two sheets of paper to match and tape in place on your work surface with blue painter’s tape to secure.
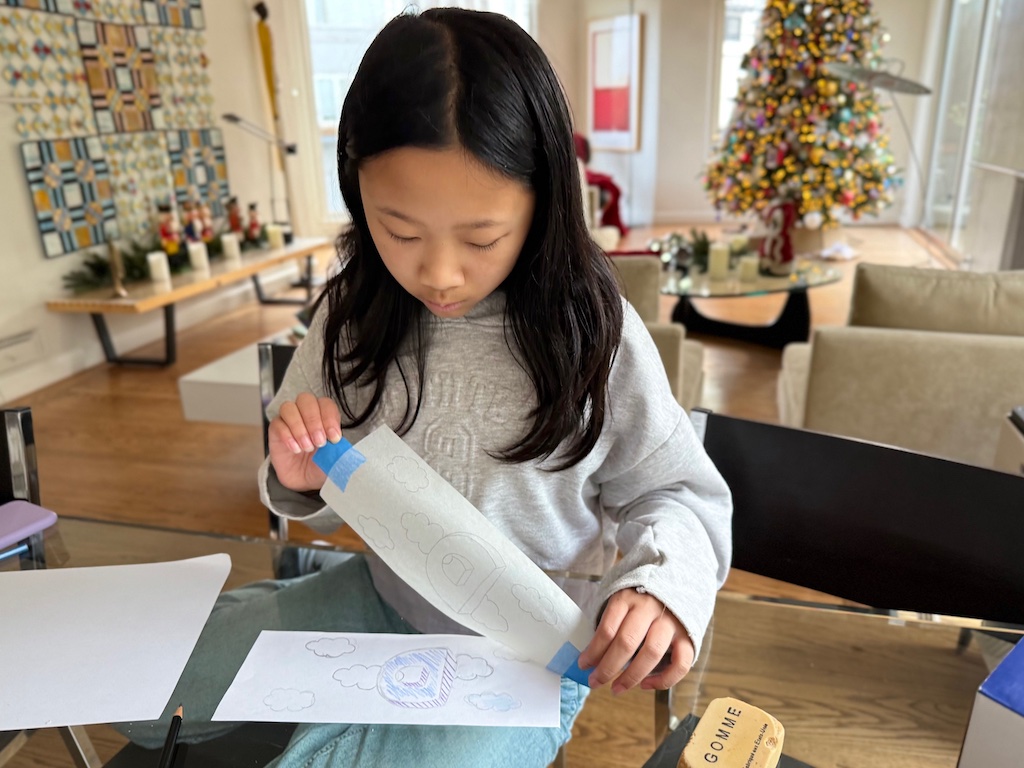
Trace the design onto the tracing paper. Flip the traced paper strip and shade the design lines from the back side of the tracing paper with a soft graphite pencil, such as a 2B sketching pencil.
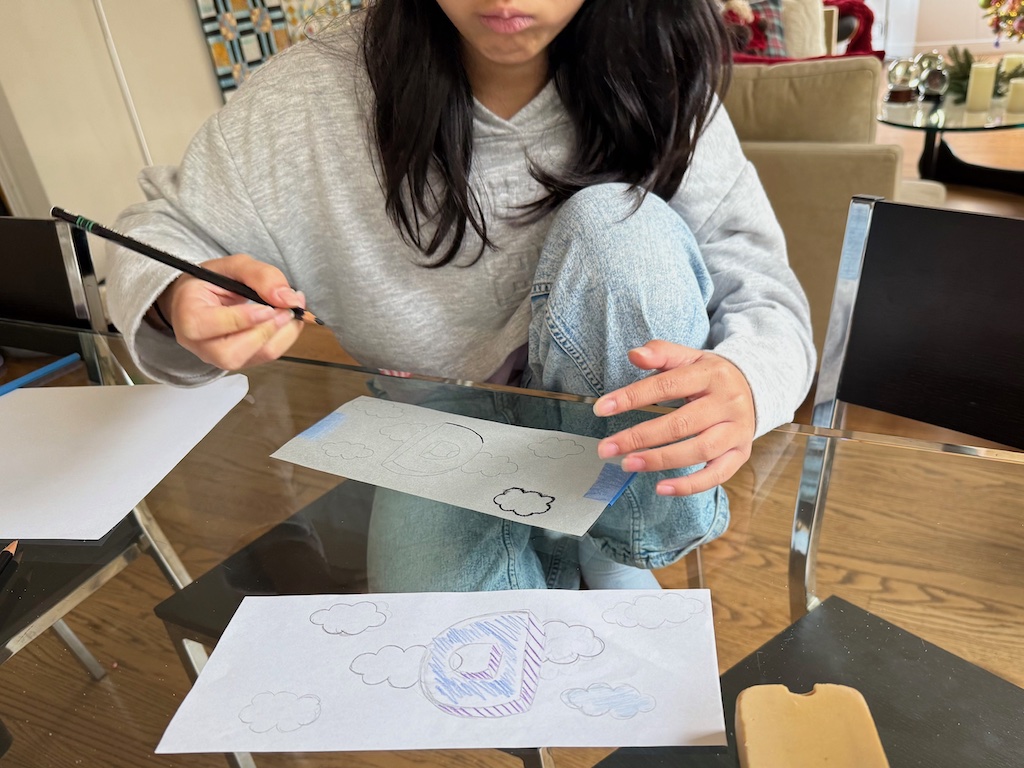
Next, flip the tracing paper drawing back to the right side and tape it to your mug. We used blue painter’s tape to hold the drawing in place, top and bottom and side to side.
Now using an ordinary #2 pencil, carefully and firmly trace the lines of the drawing. The lines will transfer to the mug.
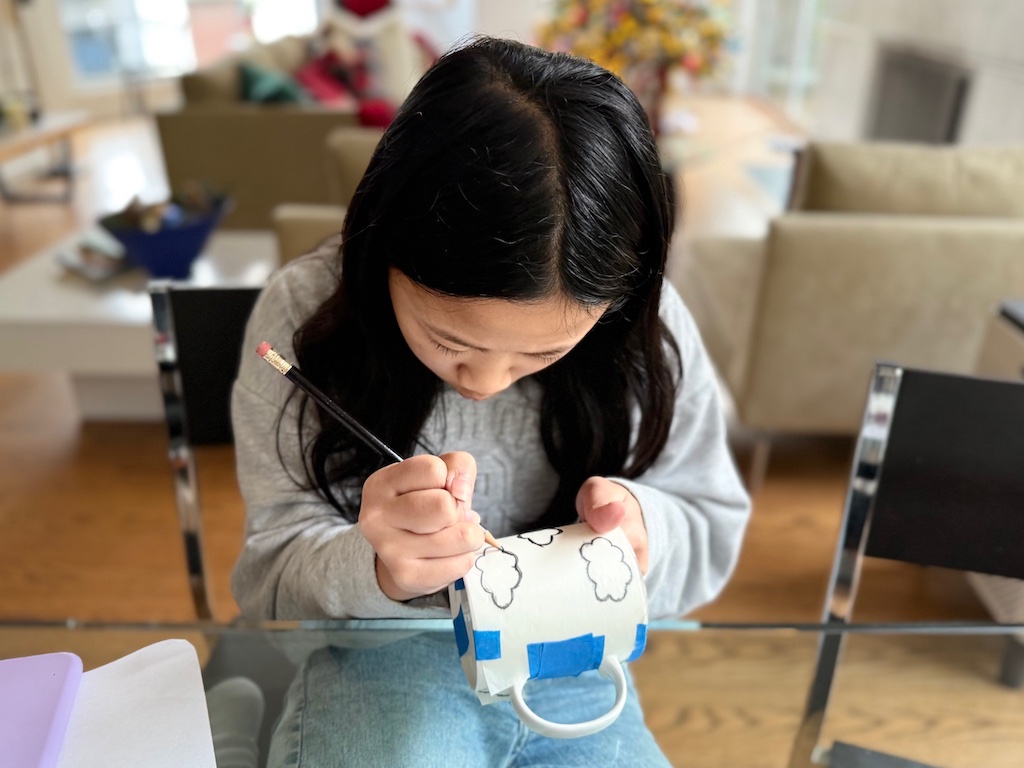
Then, simply color in the lines with your special ceramic pen or Sharpie Paint and bake in the oven following directions for time and temperature.
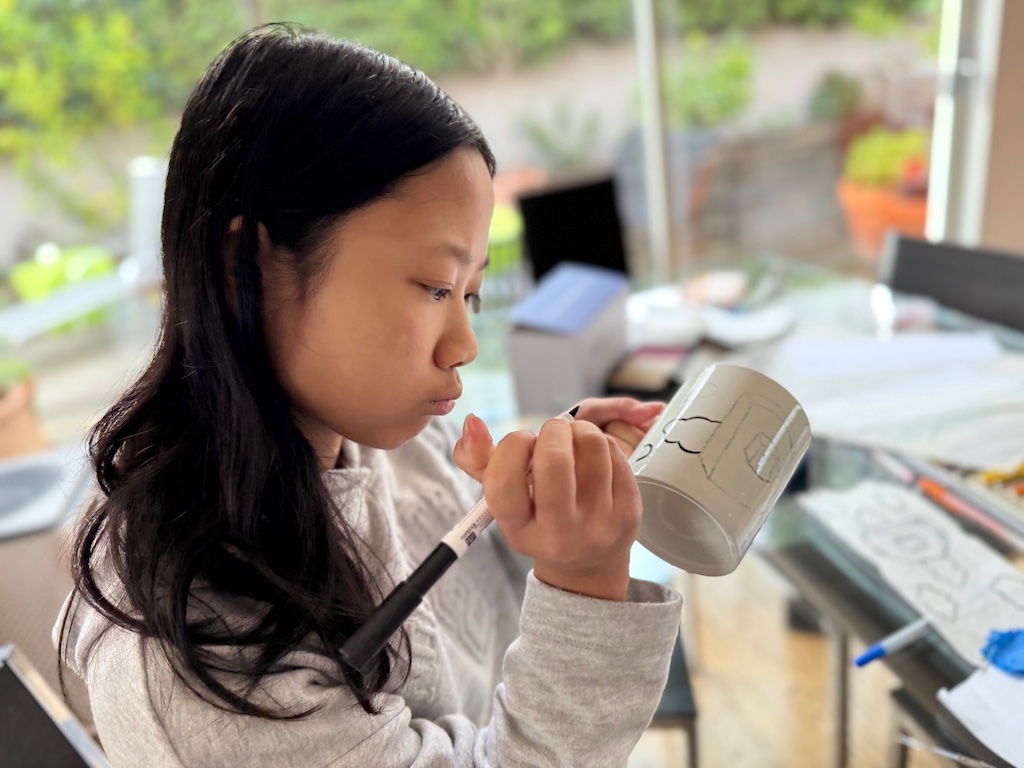
We’ve used pencil shading to transfer designs before. Once to do an embroidery project using Miss T’s original art and another time for an art tracing project with N, to work on his fine motor skills.
About the mugs:
I’ve seen instructions that say any glazed mug–even from the dollar store–will do. Instead, concerned that they might crack in the high oven heat, I bought mugs that were billed as oven-safe ($18.99 for two). I can’t guarantee them because we only made one mug.
Cocoa Stirring Spoons are a Super-Easy Holiday Gift Kids Can Make
Handmade Christmas Gifts: Design a T-Shirt
I billed this gift as a sleep shirt. That way, there’s no obligation for the recipient to wear it out.
Again, Miss T created her design on paper first. We followed the same procedure: traced the design on tracing paper, flipped the paper over and shaded the lines. Then we retraced the lines onto the shirt.
Tip #1 Center the Design
To center the tissue paper design on the T-shirt, fold the shirt in half lengthwise to find the middle and put a few pins as markers. Then fold the tracing paper in half lengthwise and align the folds.
Tip #2 Prep the Shirt
We used blue painter’s tape to hold the tracing paper, shaded side down, on the T-shirt. Insert cardboard inside the T-shirt so the markers won’t bleed through. I used a manilla folder.
Now with an ordinary #2 pencil, carefully and firmly trace the lines of the drawing. The lines will transfer to the fabric.
Peel off the tape to peek at a small section at a time and check to see if the markings have come through. If not, re-tape and trace the lines again.
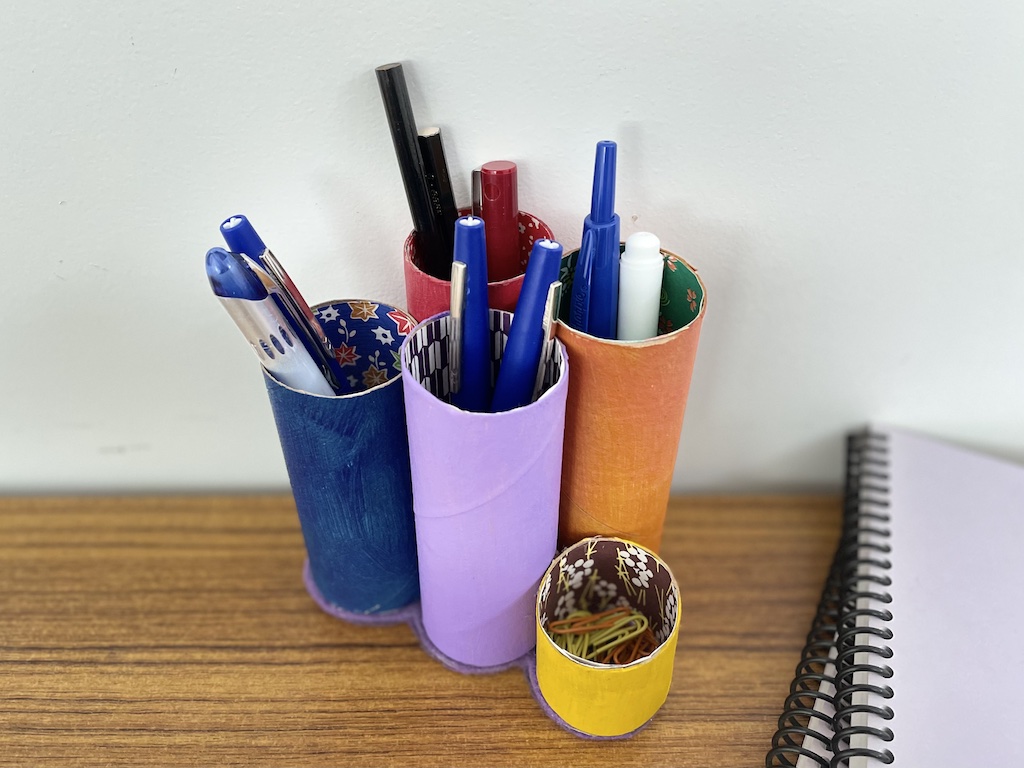
Make a Desk Caddy for Mom or Dad
Tip #3 How to Trace over Cloth
Trying to trace over tracing paper lines onto fabric is not easy; the paper will tear. The best way to trace is to hold two fingers over the small area you are working on to keep the paper tightly in place.
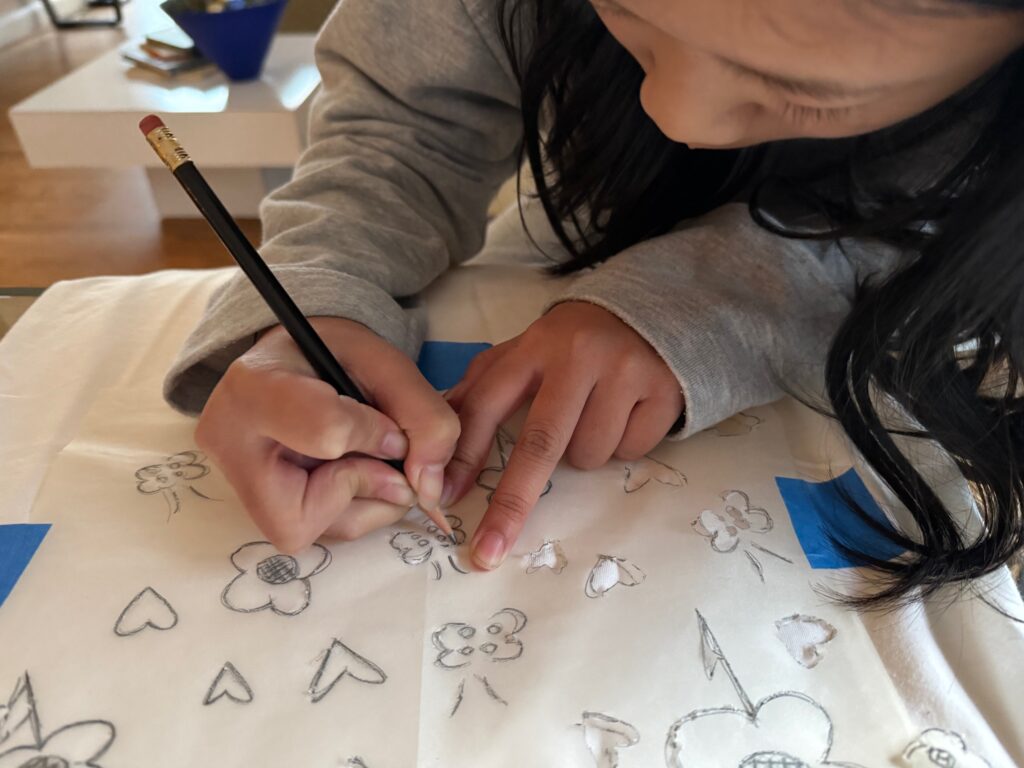
Once all the design lines are transferred to the shirt, color the lines with fabric markers. Miss T chose to just outline her design in black and add color spots as accents.
Tip #4 Ironing Hints
Now iron the artwork using a dry iron (no steam) at the cotton setting or whatever high heat your fabric can tolerate (check care label), with the cardboard still between the front and back of the shirt.
You will need a pressing cloth to cover the design and you will iron over the pressing cloth. I used a kitchen towel. Press 3 to 5 minutes, continually moving the iron the prevent burning.
Tip #5 Follow your Marker Instructions
Your fabric pens may have specific instructions for time and temperature. And the manufacturer may suggest appropriate fabrics. You might want to test in an inconspicuous area first. I had Miss T draw a small red heart on the bottom hem of the T-shirt for our test.
To find fabric markers, search fabric markers for t shirts. Here’s a review of permanent fabric markers that might help.

“Call Me Grandma!” Takes a Winter Break
I’ll be on winter break starting tomorrow, returning Wednesday, January 8. Miss T, N, and I wish you the happiest of holidays and a wonderful new year. Thank you for visiting “Call Me Grandma!”

Sign Up!
Don’t forget to sign up for my email newsletter. Every Wednesday, beginning January 8, I’ll give you a new idea for an activity or insight to nurture the little ones in your life.

LOVE this!
Thanks, Glenn. Your little one will be crafting in no time!