How to Make a Snow Globe and Angel Ornament
Kids can hardly contain themselves with excitement during the holiday season, so it’s good to get them focused on fun projects.
Make a snow globe–it’s magical. Then craft an angel ornament for the Christmas tree and a small wreath.
How to Make a Snow Globe
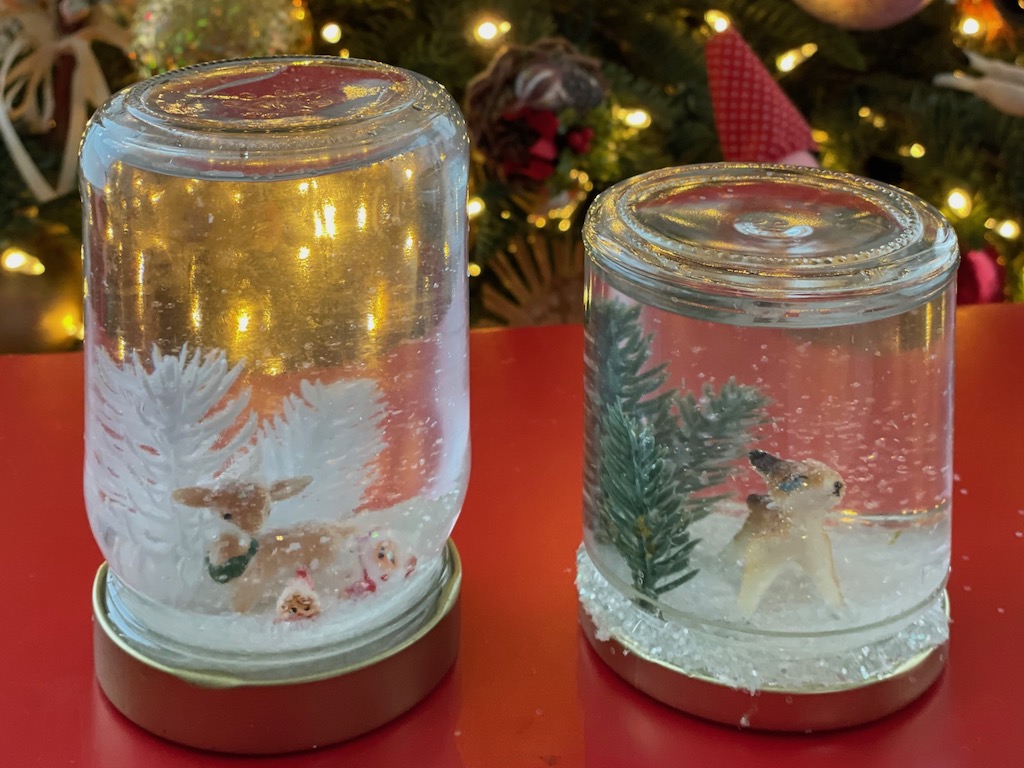
Snow globes are fascinating for kids and adults alike.
Materials Needed
- White polymer clay, such as Sculpey
- Empty jar with screw-on lid (*)
- Small plastic Christmas decorations like reindeer, snowmen, Santa, etc.
- Distilled water
- Glycerin (found in drugstores or food stores)
- Glitter
(*) Note: choose a small, wide-mouth jar, like a condiment jar or jelly jar, without writing on the lid edge or paint out the writing with oil-based, enamel paint.
Tools Needed
- Glue gun
- Conventional oven or toaster oven
Make the Snow Globe: Step 1
Turn the jar lid upside down. This will be your base. Take a wad of polymer clay and shape it into a mound that covers most of the inside of the jar lid. You want the mound to be thick enough so that your decorations can be pressed into the clay and stay firmly in place, but not so thick that the clay will take long to bake.
Make a Snow Globe: Step 2
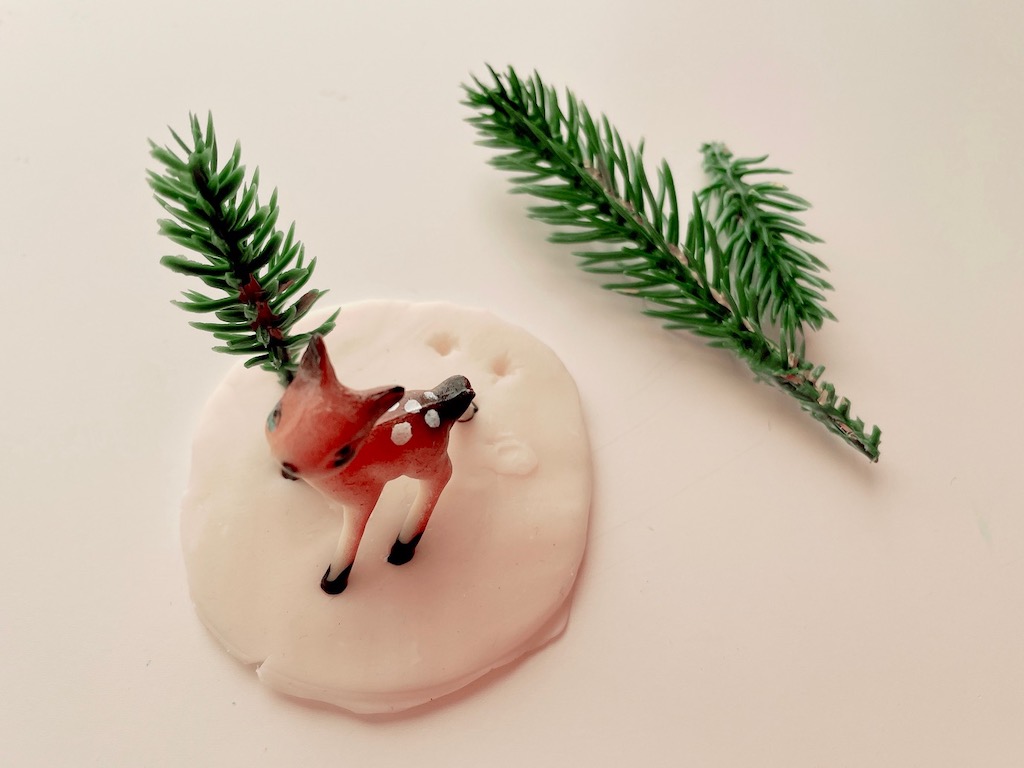
Arrange the decorations, pressing them into the clay. You’re creating holes you will need to anchor the decorations later. Remove the decorations and bake the clay. Sculpey recommends 275 degrees F. for 15 to 30 minutes per 1/4 inch thickness.
Make a Snow Globe: Step 3
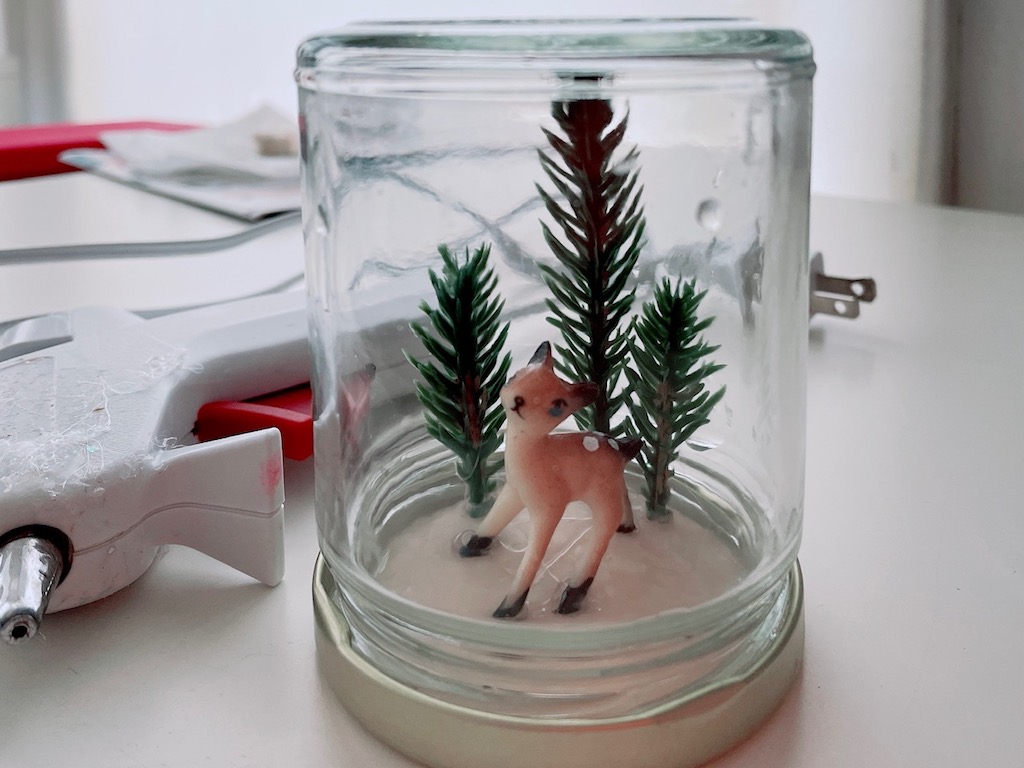
When the clay has cooled, glue the clay to the inside of the jar lid using your glue gun. Then glue the decorations in place on the clay with the glue gun, positioning the decorations in the holes you made previously.
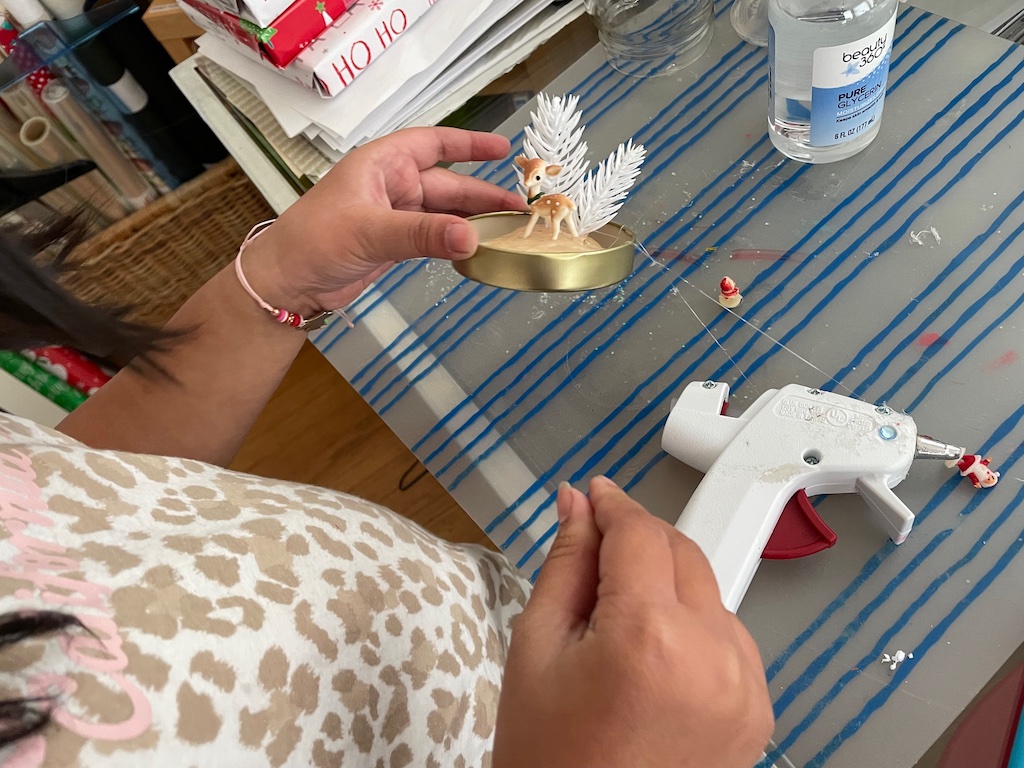
Make a Snow Globe: Step 4
Add distilled water to your jar and enough glycerin to thicken the water so the snow will fall gently to the bottom, about 3 teaspoons per 1 cup of water. Do not fill water all the way to the top. Add about 2 teaspoons of glitter. Put the lid on the jar and screw tightly. Adjust amount of glycerin, water, and glitter as desired. Seal the jar tightly. (See caution below.)
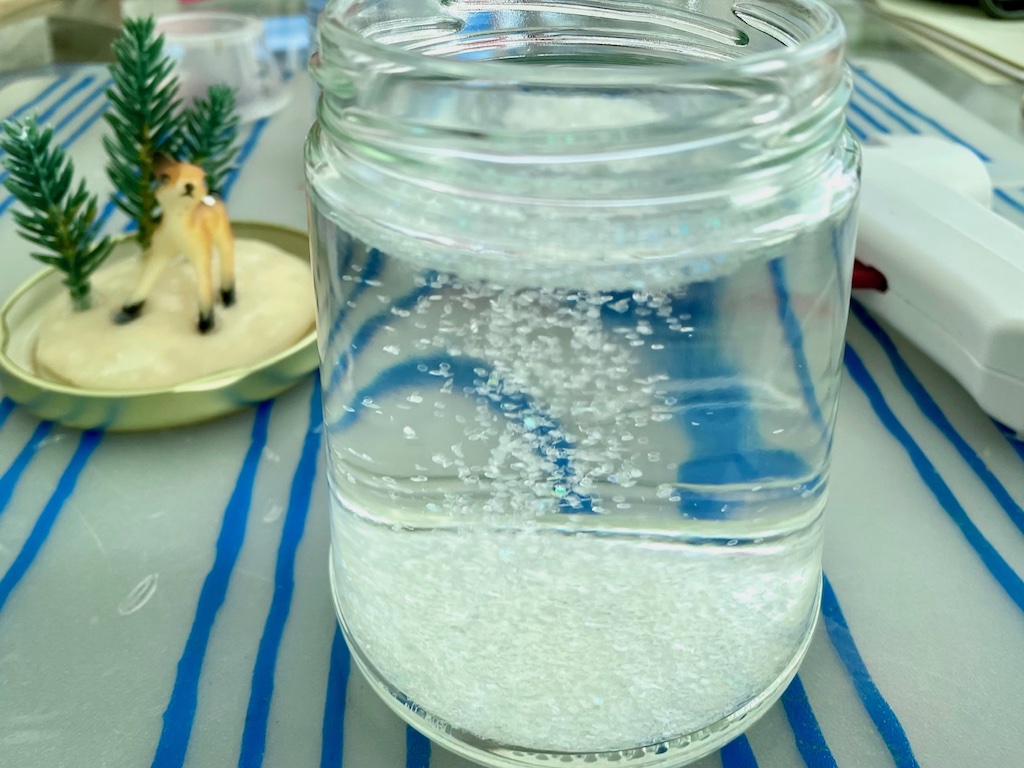
CAUTION: I learned (the hard way) that a jar lid, no matter how tightly screwed on, will leak. So after screwing and tightening the lid, we sealed the lid to the jar with a glue gun and sprinkled glitter into the seam. Or use a silicone sealant.
TEST: Turn the jar upside down in a pan or bowl and leave it overnight to check for leaks. Just to be safe, I wouldn’t put this snow globe on a good wood table or any other surface that could be damaged by water, even if I have tested for leaks.
And if you are keeping your snow globe for another year, be sure to store it with lid-side up to ensure there is no leakage during storage.
How to Make an Angel Christmas Tree Ornament
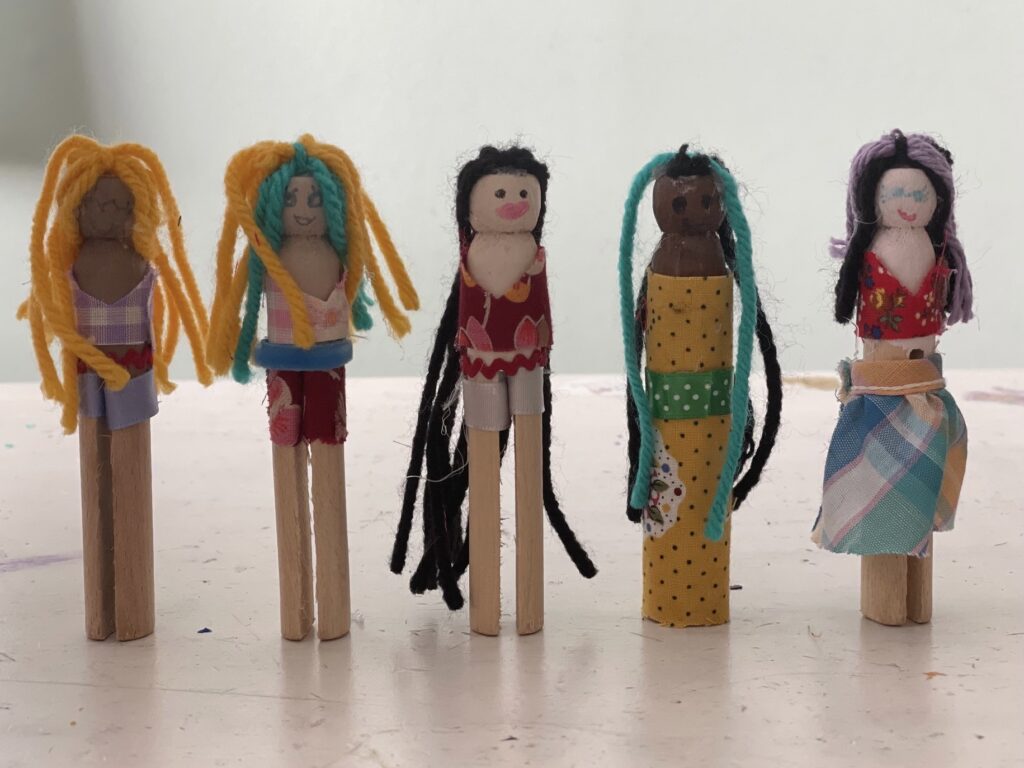
Miss T and I made clothespin dolls when she was seven. All you need is some acrylic paint, yarn, fabric swatches and trim. Plus, indelible ink for drawing faces, and a heavy-duty glue stick. You’ll find directions for make the dolls here.
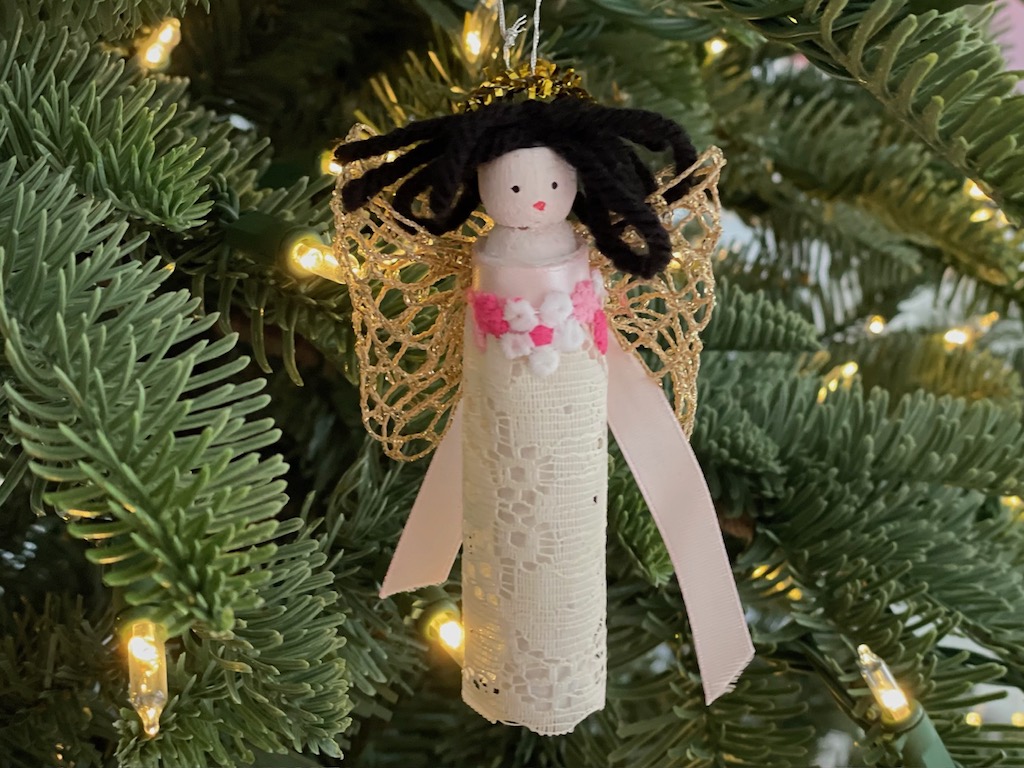
It’s not difficult to turn clothespin dolls into Christmas ornaments. I made the sample above to give you an idea. Below are her original clothespin dolls.
Angel Ornament
Materials Needed
- Wooden clothespins
- Acrylic paint in various flesh tones
- Indelible ink for painting faces, such as fine-point Sharpies
- Yarn for hair
- Wide white lace for skirt
- Satin ribbon for bodice
- Bits of ribbon, lace, rickrack, etc., for trim
- Gold mesh lace for wings
- Glue stick, such as Elmer’s Extra Strength Glue Stick
- Gold pipe cleaner
- Sewing thread
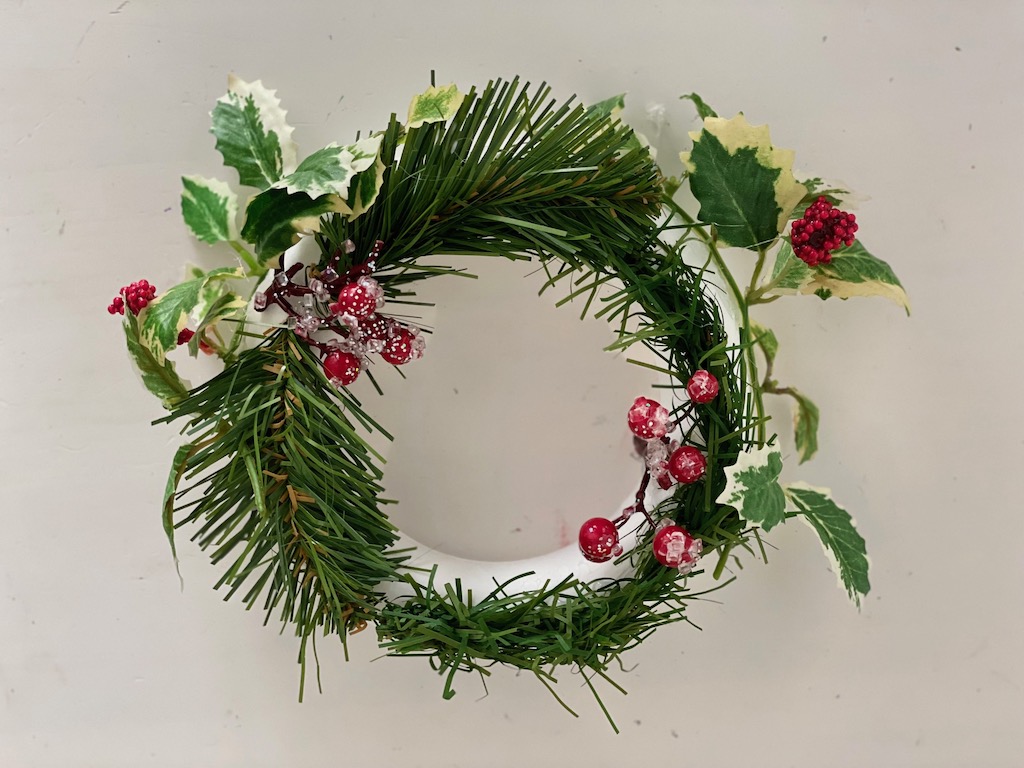
Kids can make a festive wreath for Christmas.
Tools Needed
- Paint brush to paint the clothespins
- Low–temperature mini glue gun
- Small, sharp scissors
- Sewing needle
How to Make It
Follow basic instructions for clothespin dolls. Use a band of white lace for the angel’s skirt, tie on a strip of satin ribbon for the bodice, leaving a few inches of “tail,” at each end. Glue trim between bodice and skirt.
To make the wings, cut gold mesh lace a little more than twice the wing span you would like for your angel. Fold both cut ends of the lace to the center, overlapping about 1/2 inch. Sew a running stitch through the center, pull thread and tighten to gather; knot thread to secure. Glue wings to back of the angel with the glue gun, with raw cut ends against the back of the angel.
Make a halo from a gold pipe cleaner and glue to the angel’s hair with the glue gun. Make a loop for hanging by stitching through the angel’s hair and tying thread ends together.
Next Week, More Holiday Ideas
We are cooking, crafting, and decorating at “Call Me Grandma!” If you are looking for even more holiday ideas, check out my previous Christmas posts.
Sign Up and Get Grandma’s Favorite Recipes–Free

