How to Make a Volcano Eruption: a Grandson Craft
Miss T is a crafter’s mini-me, so finding a project for us to do on an afternoon is easy. Her brother N? Not so much.
So, when N came to spend a few hours during a school break, I had to think hard. I proposed we make a volcano eruption; he was intrigued.
There are 7 DIY baking soda science projects on the Arm & Hammer website that are easy to do and that kids would love. We chose the volcano. And this is our version.
We used air-dry clay molded around a spice bottle for the crater. A 5-pound bucket of air-dry clay can make a lot of craft projects, like the heart-shaped ring dish Miss T made for Mother’s Day.
We cut an island out of a used manila file folder. And then we added trees made from small branches.
Make a Volcano Eruption
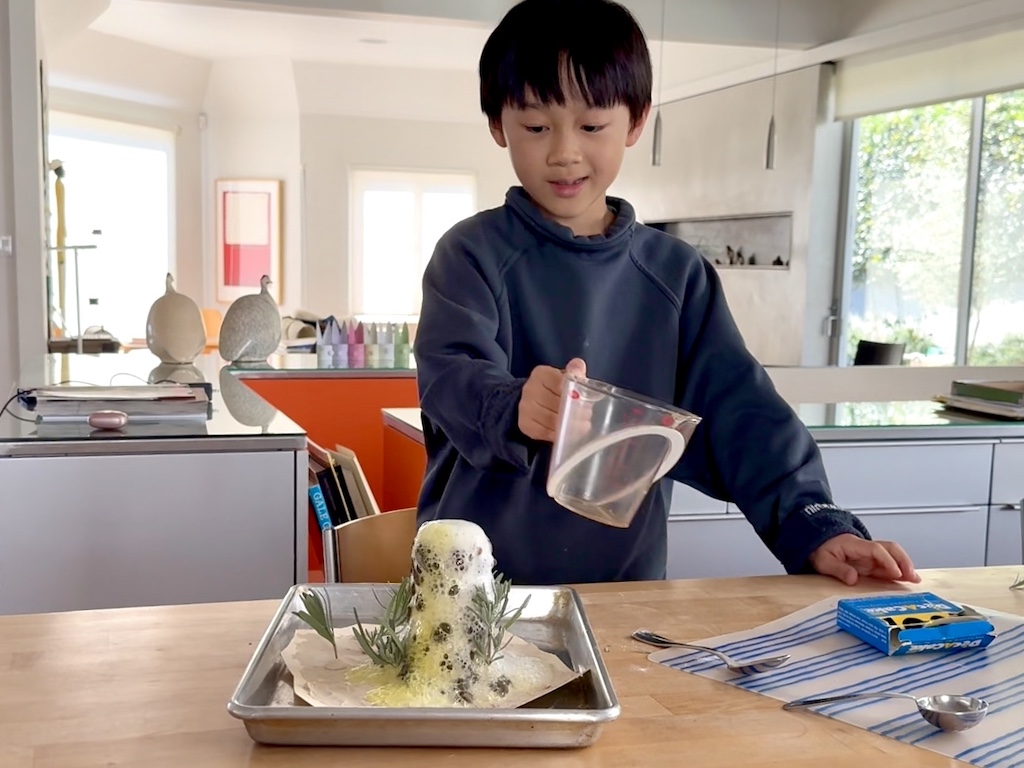
When vinegar comes in contact with baking soda, carbon dioxide is released, which is the source of our eruption.
Materials Needed
- Cardboard, such as a manilla folder, to make an island (optional)
- White or earth-toned air-dry clay
- Small jar (we used a spice jar)
- Pebbles (optional)
- Small branches (optional)
- Small rimmed sheet pan to contain the volcano eruption
- 2 tablespoons baking soda
- 1/4 cup white vinegar
- Food coloring
- Dish soap
Equipment Needed
- Scissors for cutting the island
- Liquid measuring cup
- Spoon
- Tablespoon measure
Make the Volcano
Use scissors to cut an island shape out of cardboard. Set the island on the sheet pan and set the jar on the island.
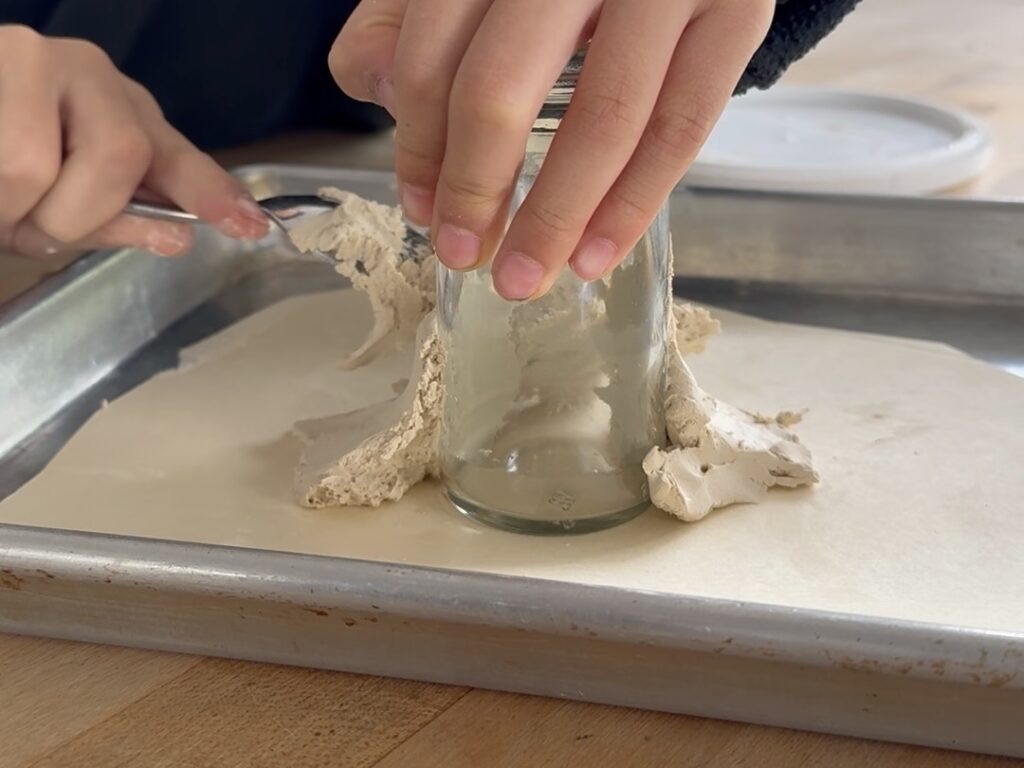
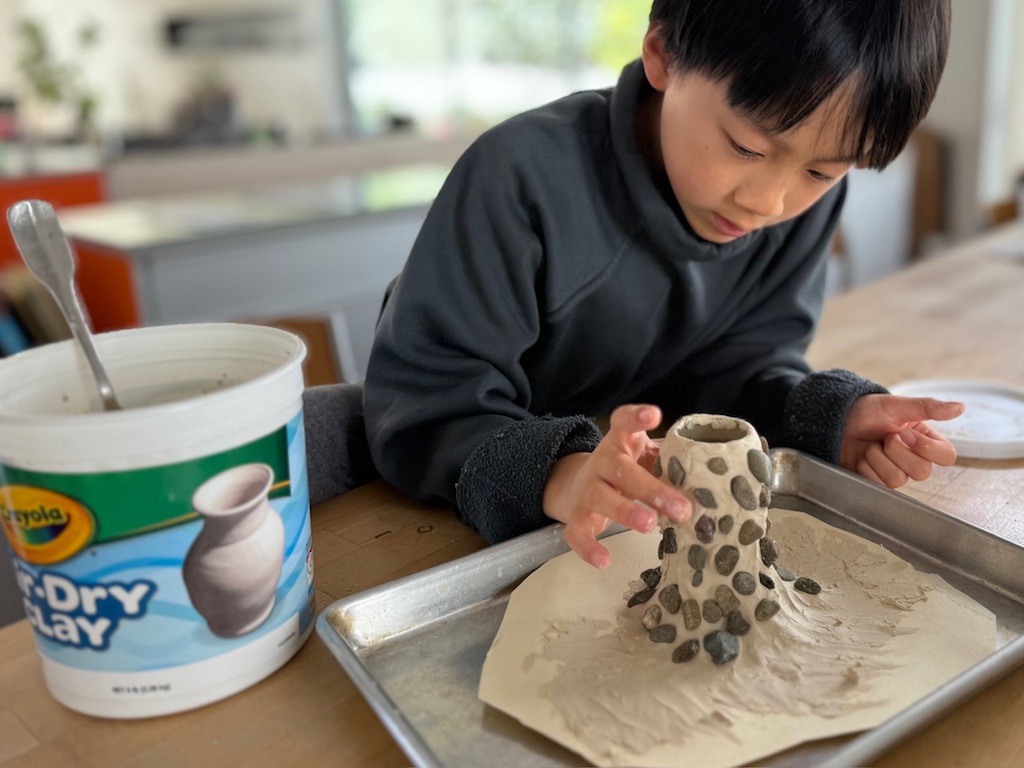
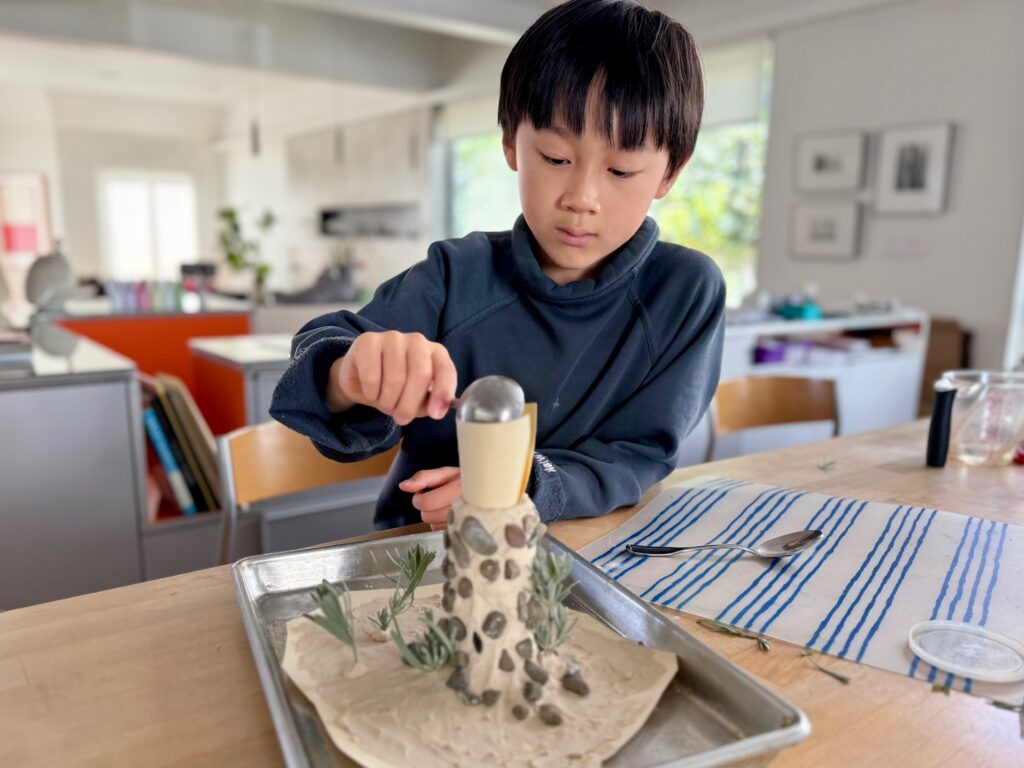
Next, make the volcano by covering the spice jar with air-dry clay. The clay is sticky, so it’s messy work. N used a spoon first, to get enough clay on the jar, then his fingers to shape the clay.
Start with a light coat of clay along the top of the jar, then gradually add more clay towards the bottom to get a sloping, mountain shape. Leave a hole at the top at least 1.5-inch in diameter.
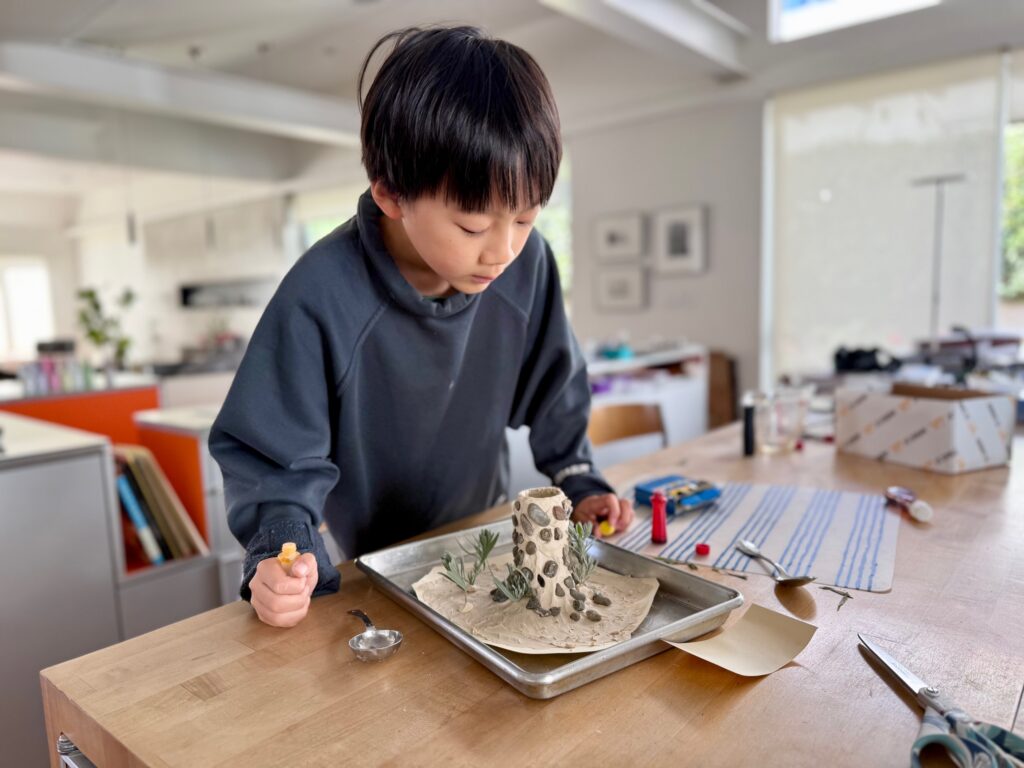
If you have time, let the clay dry hard overnight, but if you don’t—as we didn’t—just continue on with the project. Embed small pebbles into the clay to make the volcano less sticky.
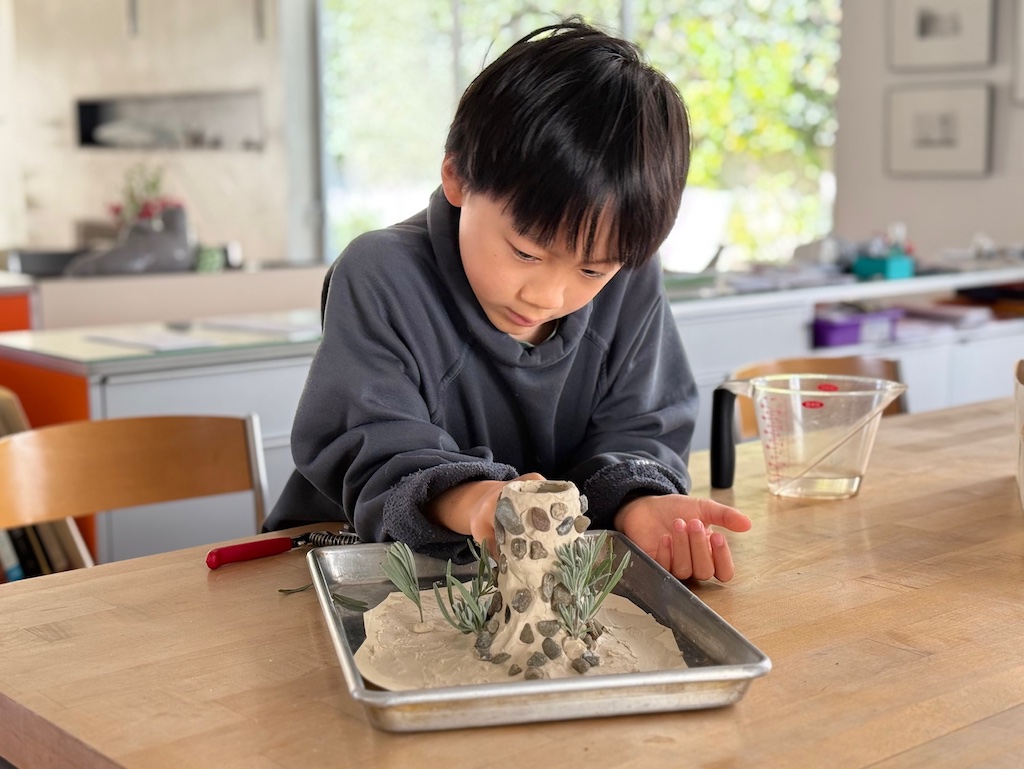
Plant small twigs into the island as trees.
How to Make the Lava
Spoon the baking soda into the volcano. We rolled cardboard to make a funnel.
To the measuring cup with the vinegar add a few drops of food coloring and a few drops of dish soap. Stir gently to combine. We used yellow and red food coloring, but more red would have made a more realistic eruption.
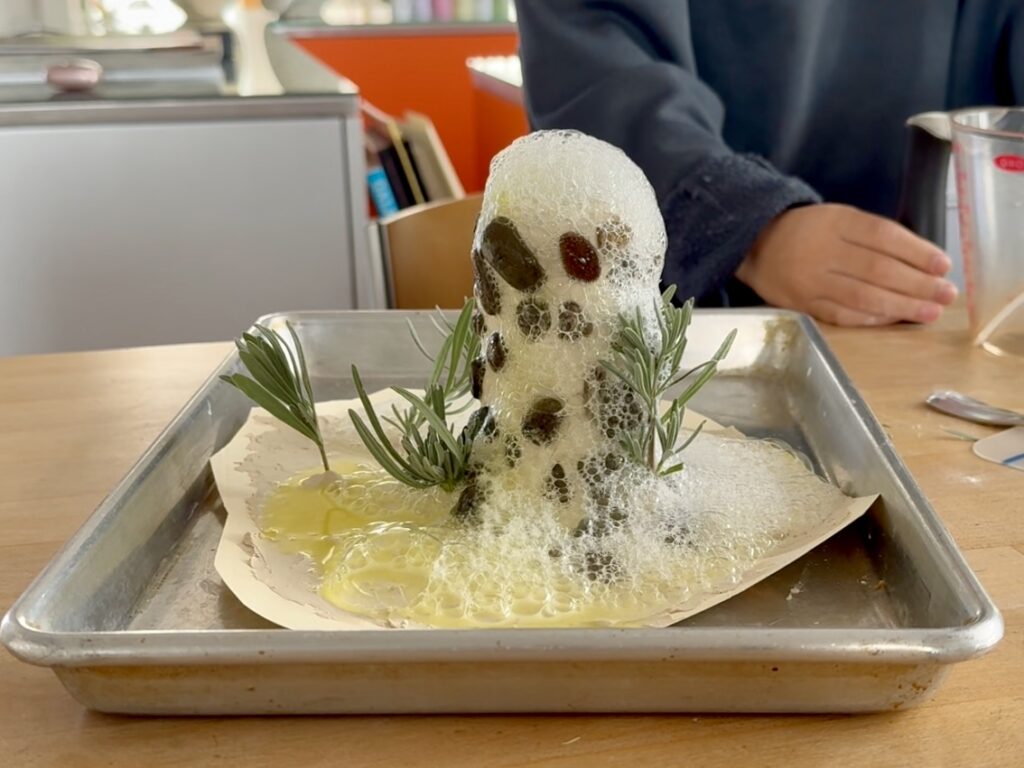
N was totally thrilled at seeing the eruption. We saved the volcano to dry out and use another time when we can experiment with redder lava colors.
Other Projects to Round out the Day
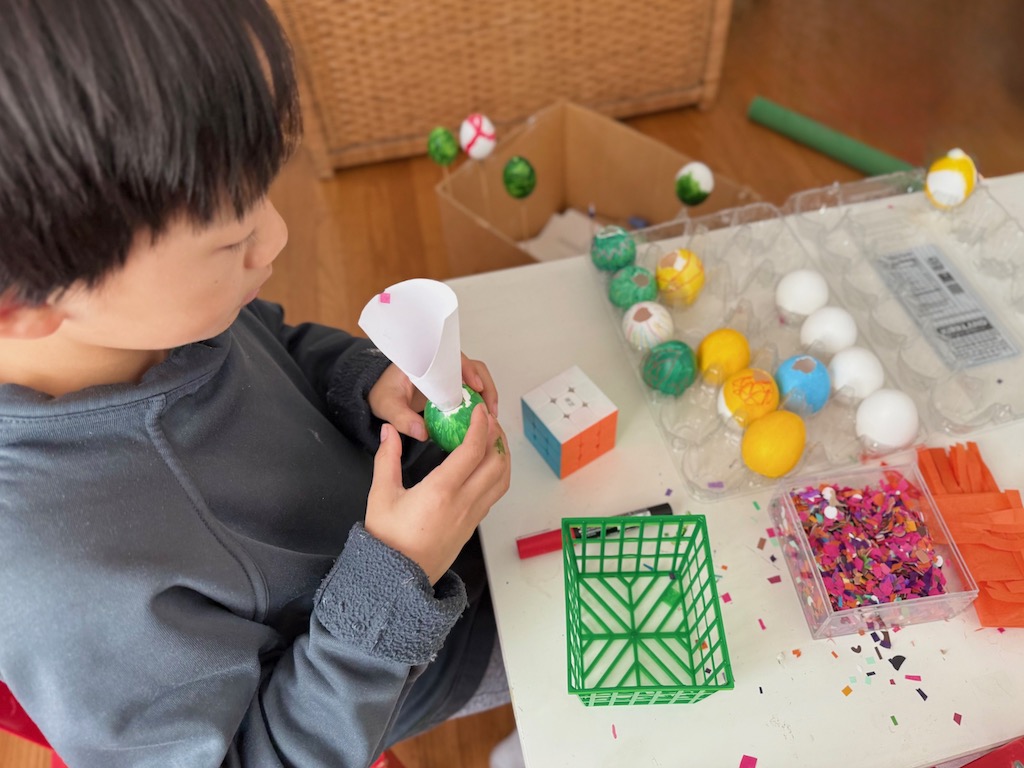
There was a little more time left so we decorated a few more eggs for cascarones, Mexican confetti eggs. With the scarcity and high price of eggs, we have been saving the shells far in advance of Easter to ensure we have enough, stuffed and decorated, to shower each other with confetti for good luck.
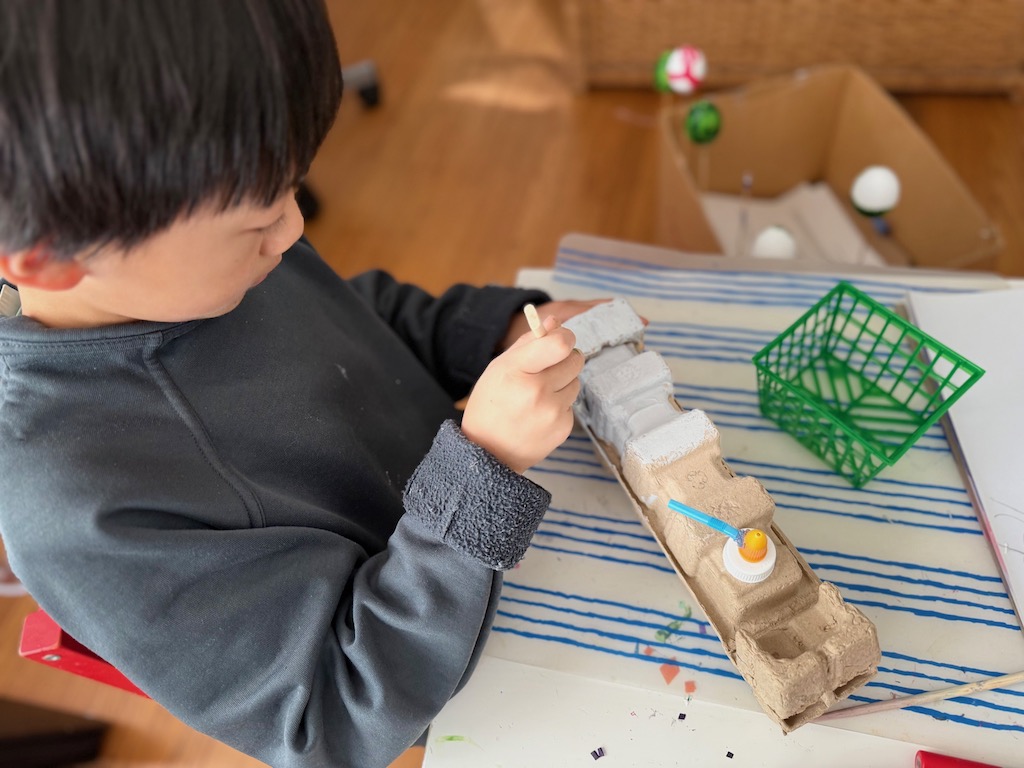
Next, N painted the troop carrier he had started months ago, made from toner cartridge inserts. This was part of our creativity exercise to find uses for trash bin items. This child has many complex LEGO Star Wars sets, but the troop carrier, made from trash and his creativity, holds a special place.
When it was time to go, N and I had had a satisfying day creating together.
Sign Up to Get Grandma’s Favorite Recipes–Free!
Sign up here for my email newsletter. Every Wednesday, I’ll give you a new idea for an activity or insight to nurture the little ones in your life. And once you subscribe, I’ll send you a link so you can download your set of quick and easy recipes as my thanks to you.