Kids Crafts: the Best Easy DIY Christmas Wreaths
Grandkids can get in the spirit of the holidays by decorating their room. Start by stringing some fairy lights for instant festivity. Then help kids make a mini DIY Christmas wreath to hang on their door.
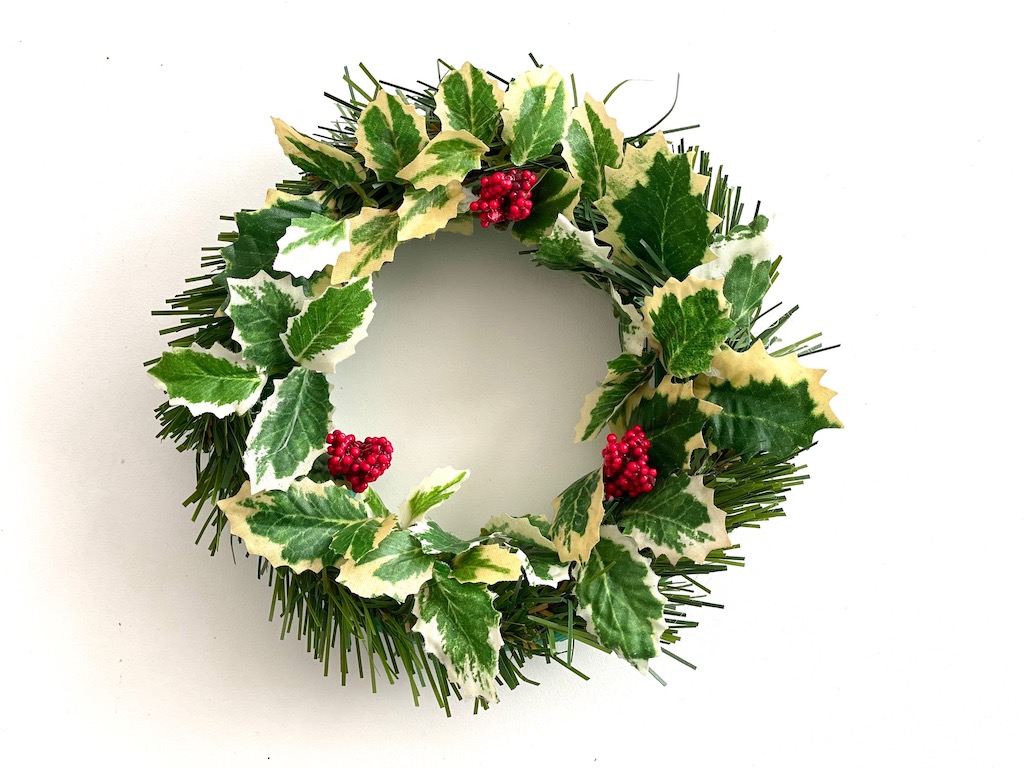
Here are two wreath ideas. The first requires some artificial greenery to glue onto a styrofoam base; the second, an inexpensive wreath (see below) uses recycled cardboard and green tissue paper.
DIY Christmas Wreath on a Styrofoam Base
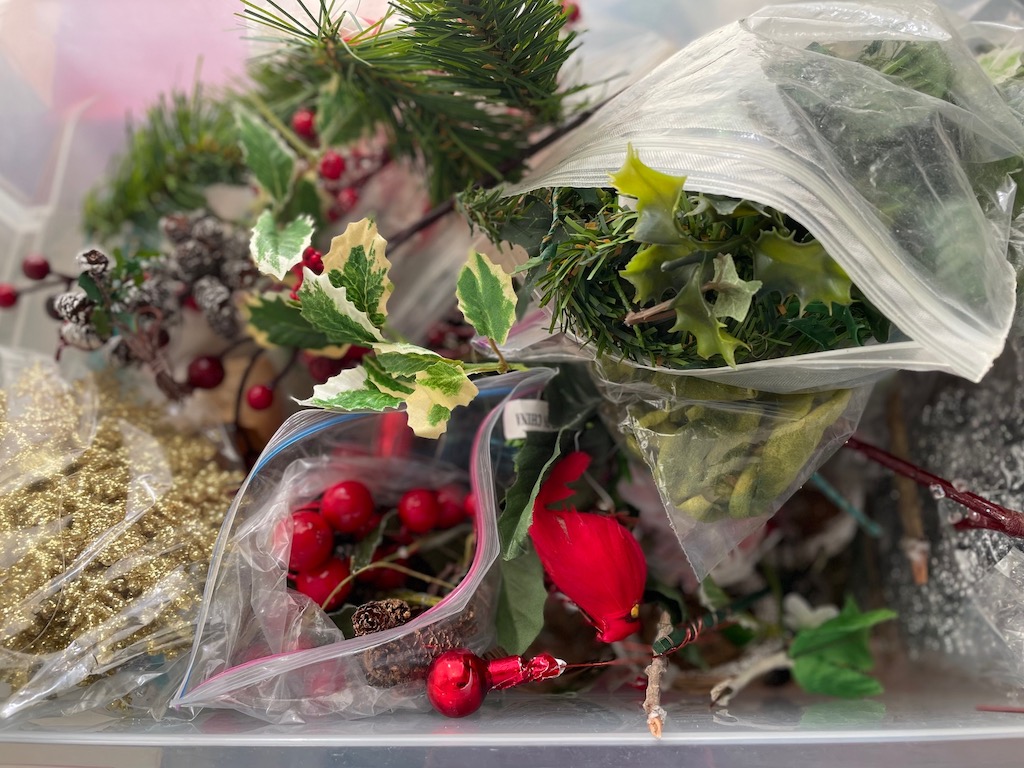
For this wreath, you need a styrofoam ring and some Christmas decorations, such as artificial greenery and holly. I have a boxful inherited from my mom, who made and sold Christmas ornaments at craft fairs. So I just needed to purchase the styrofoam wreath base.
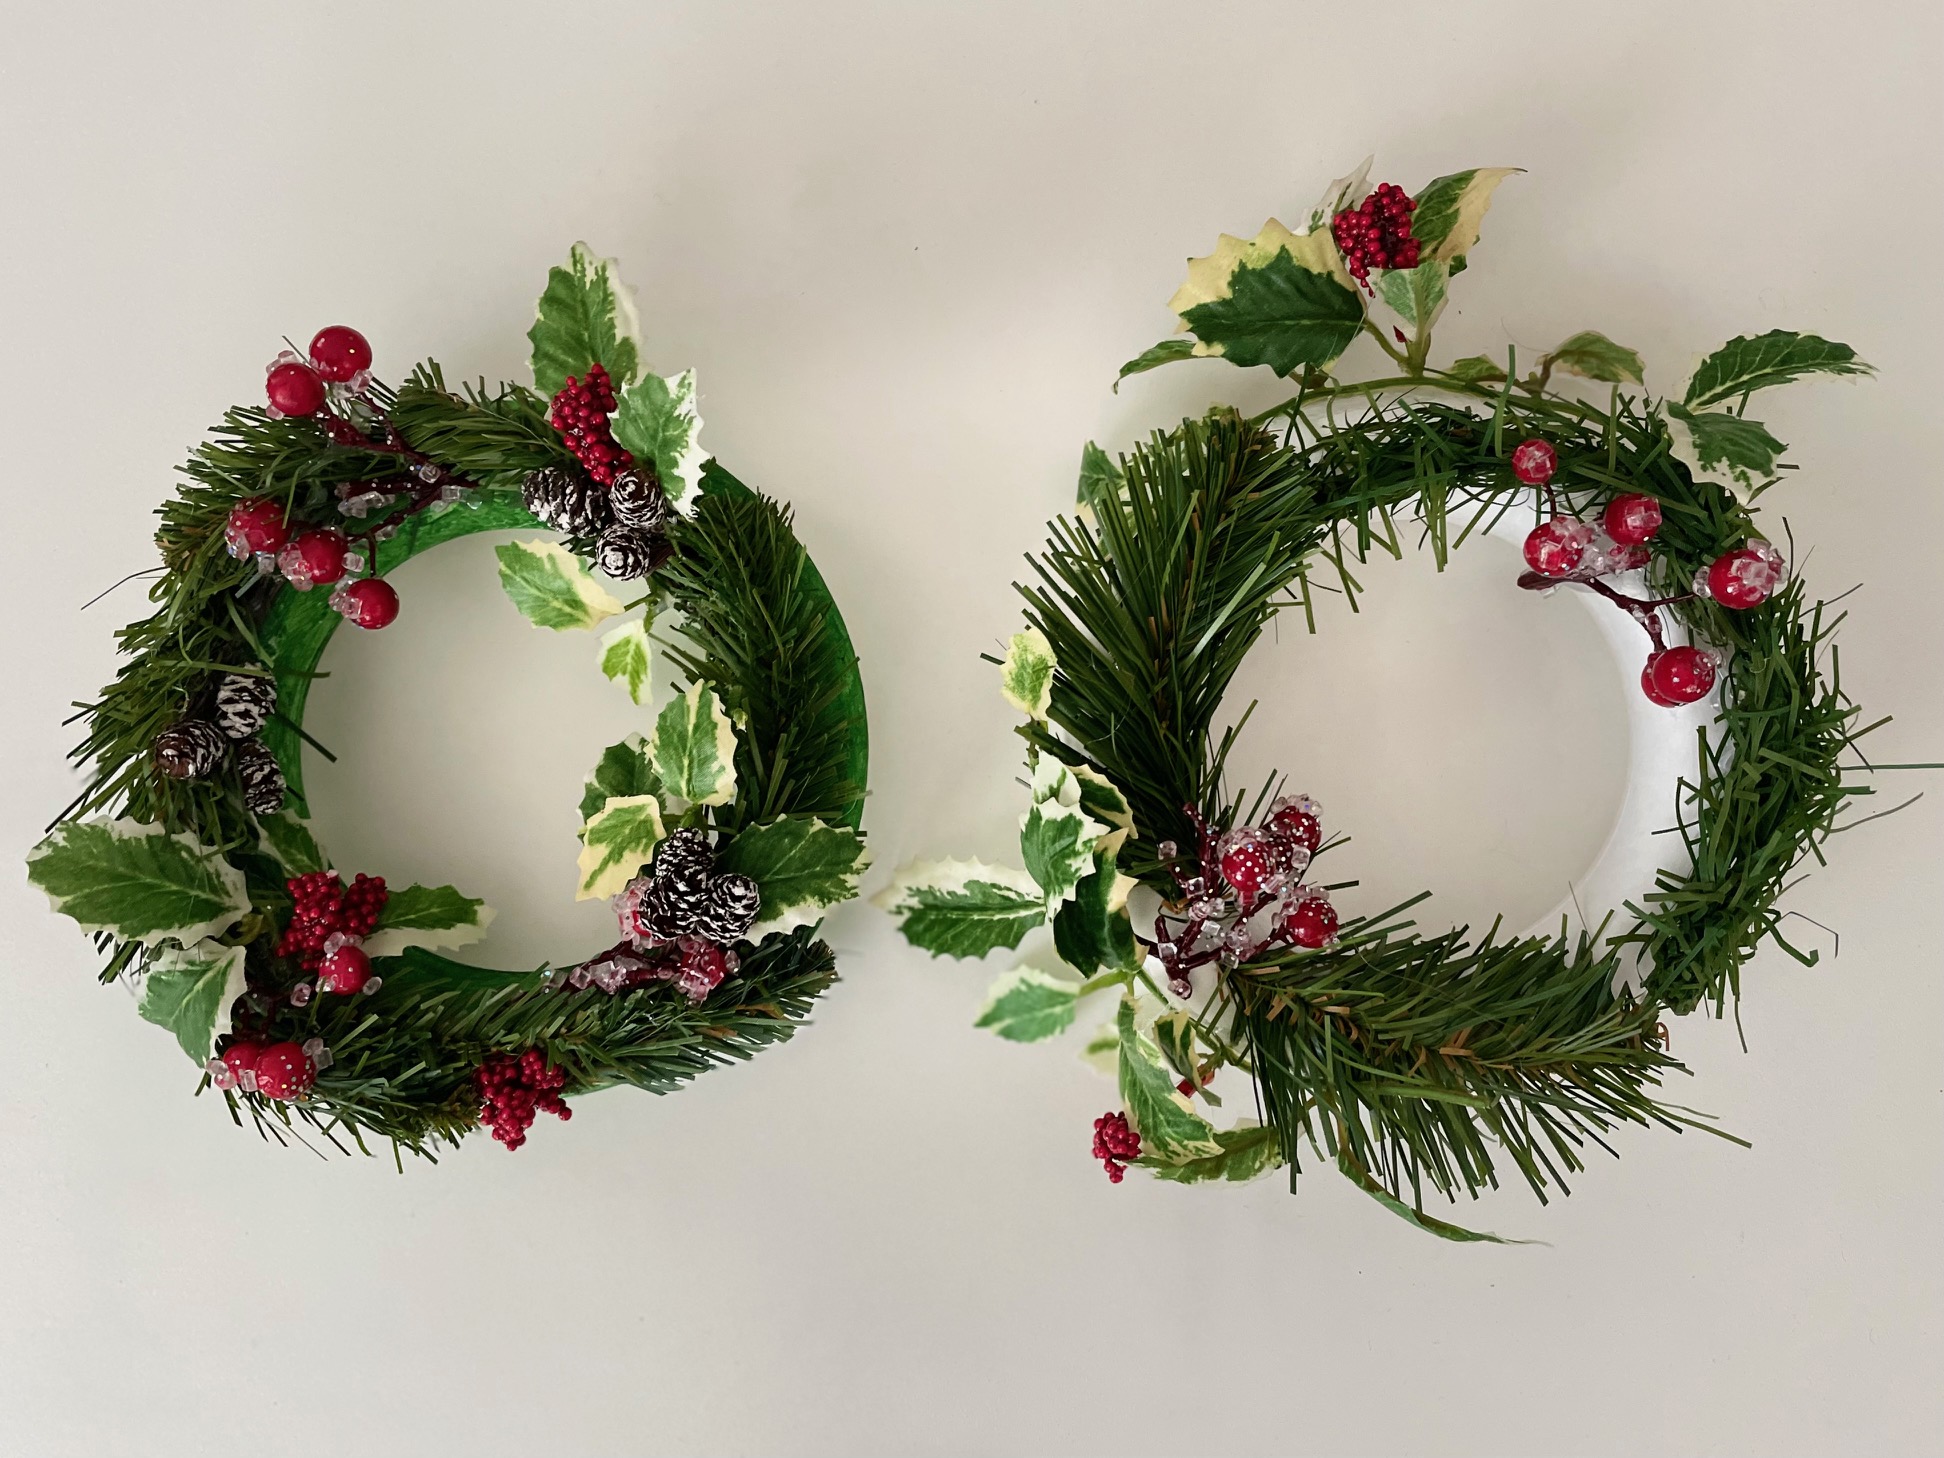
Craft stores are having major sales so it’s a good time to for this holiday prject.
Materials Needed
- One 6-inch foam wreath form
- Artificial Christmas greenery and decorations
Tools Needed
- Hot glue gun
- Wirecutter (for cutting thick greenery stems)
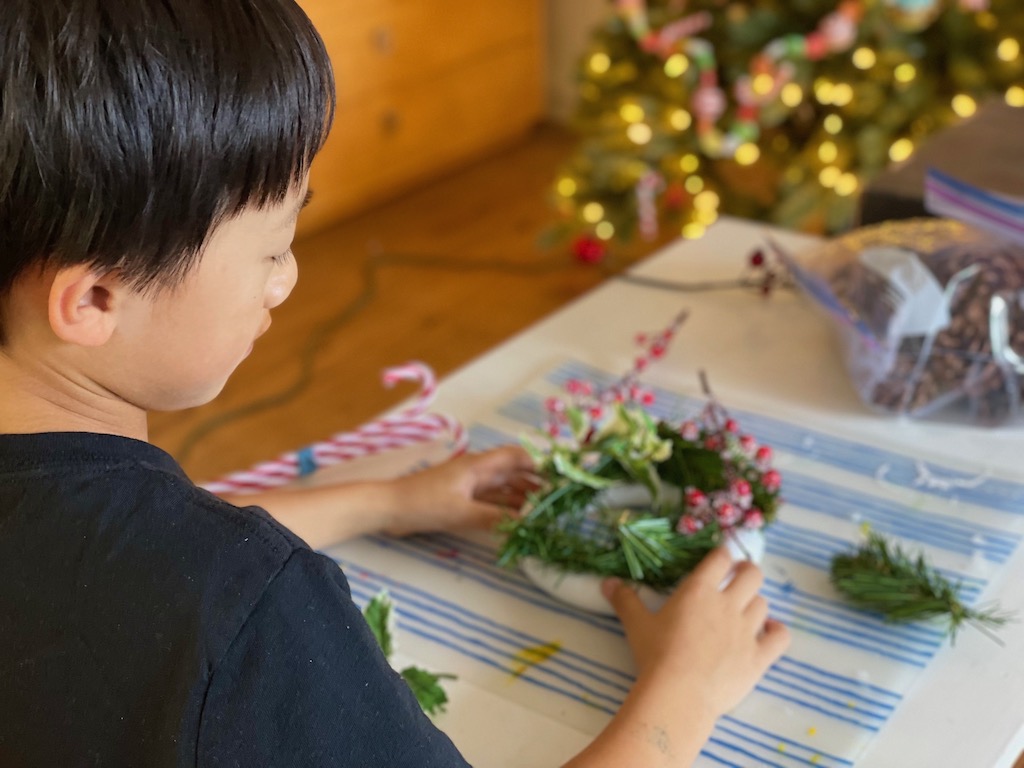
Simply have the child select materials for their wreath and arrange the elements on the styrofoam ring. Either have the child glue the decorations on the ring with a hot glue gun if they can do this safely, or do it yourself for younger kids.
Notes
- You could paint the styrofoam with green acrylic paint first to camouflage the white background.
- Add a bow, birds, small ornaments, or other decorative elements to dress up your wreath.
Tissue Paper-Cardboard DIY Christmas Wreath
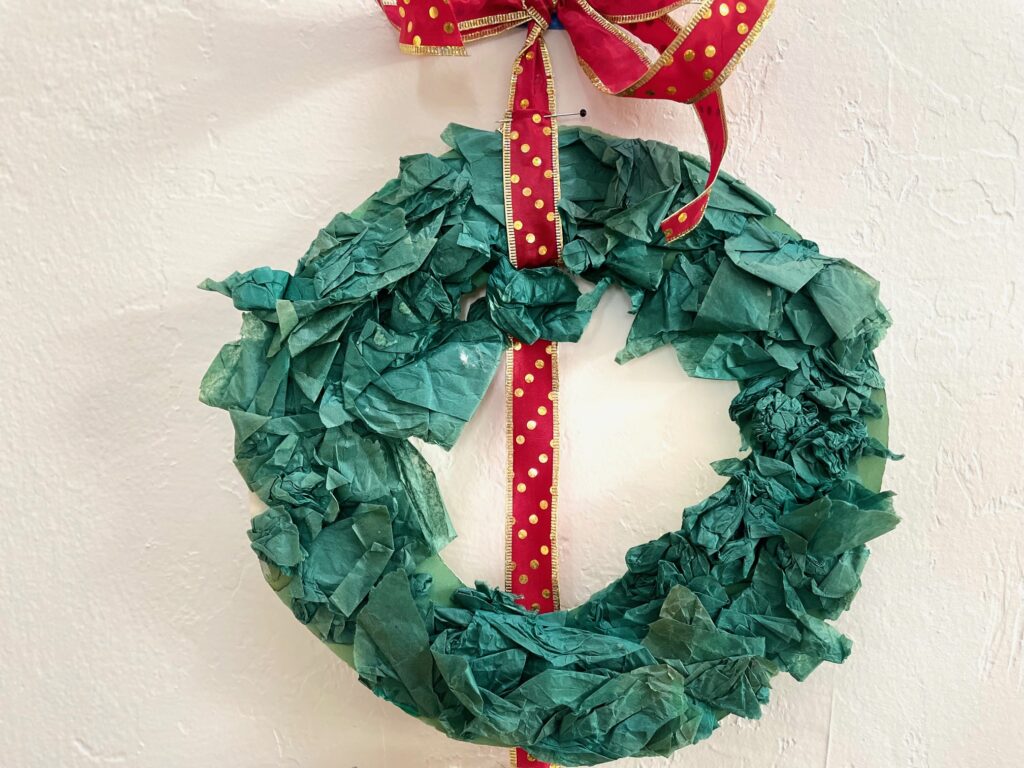
For decades, I’ve been hanging a tissue paper DIY Christmas wreath my son made in kindergarten. It’s faded and squished, but still loved and treasured.
It occurred to me that the grandkids could do what their daddy did as a child, and replicate this wreath.
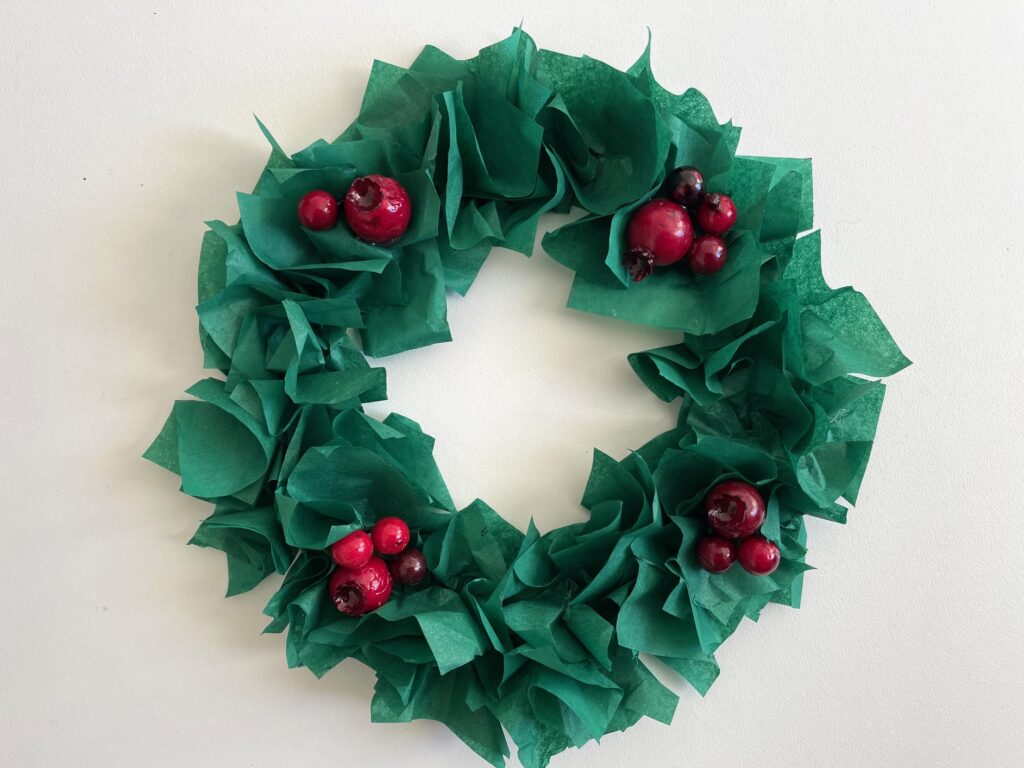
Materials Needed
- Cardboard (I used two thicknesses of a green manilla folder glued together)
- Green tissue paper
- Decorations such as artificial holly or small Christmas balls (optional)
- White school glue (such as Elmer’s)
Tools Needed
- Pencil
- Ruler
- Paper cutter (optional)
- Scissors
- Bamboo skewer or glue brush
- Hot glue gun (optional–if you plan to add holly and other decorative bits)
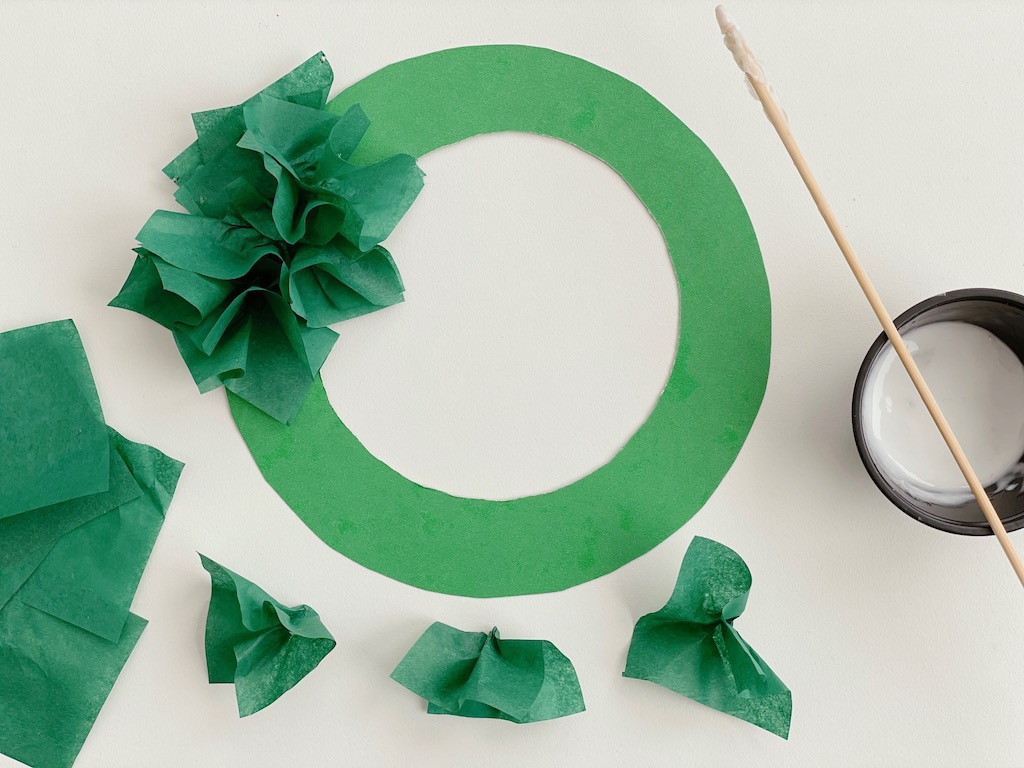
Draw a circle about 6 inches in diameter on cardboard and a smaller circle inside it to form the wreath shape. I gave my ring a 1 1/4-inch margin. Cut out circle and the center of the circle with scissors.
To draw the outer circle, you can use a salad plate. To draw the inner circle without a compass, check out how to use two pencils and string to draw a circle of any size, as I did when Miss T and I made fascinators.
Cut green tissue paper into 2-inch squares. The easiest way to do this is to cut several layers of tissue paper into 2-inch strips with a paper cutter if you have one. Then use scissors to cross-cut the strip layers into squares.
Using a bamboo skewer or glue brush, brush a little white glue on the cardboard circle. Take a tissue paper square and pinch it in the center to fluff it up. Lay it on the glue surface. Continue to add squares, and glue, until the entire ring is covered with green tissue. Decorate as desired.
Upcoming Next Week
Next week, I’ll be posting a compendium of holiday ideas from past posts and another “Short Takes” feature, revisiting our tiny stockings work in progress. I’ll show you how we decorated these stockings and turned them into an Advent calendar.
After December 20, “Call Me Grandma!” will be on holiday break for the next three weeks, returning on Wednesday, January 10.
Sign Up
Don’t forget to sign up for my email newsletter. Every Wednesday, I’ll give you a new idea for an activity or insight to nurture the little ones in your life.