Make a Homemade Father’s Day Gift Dads will Love
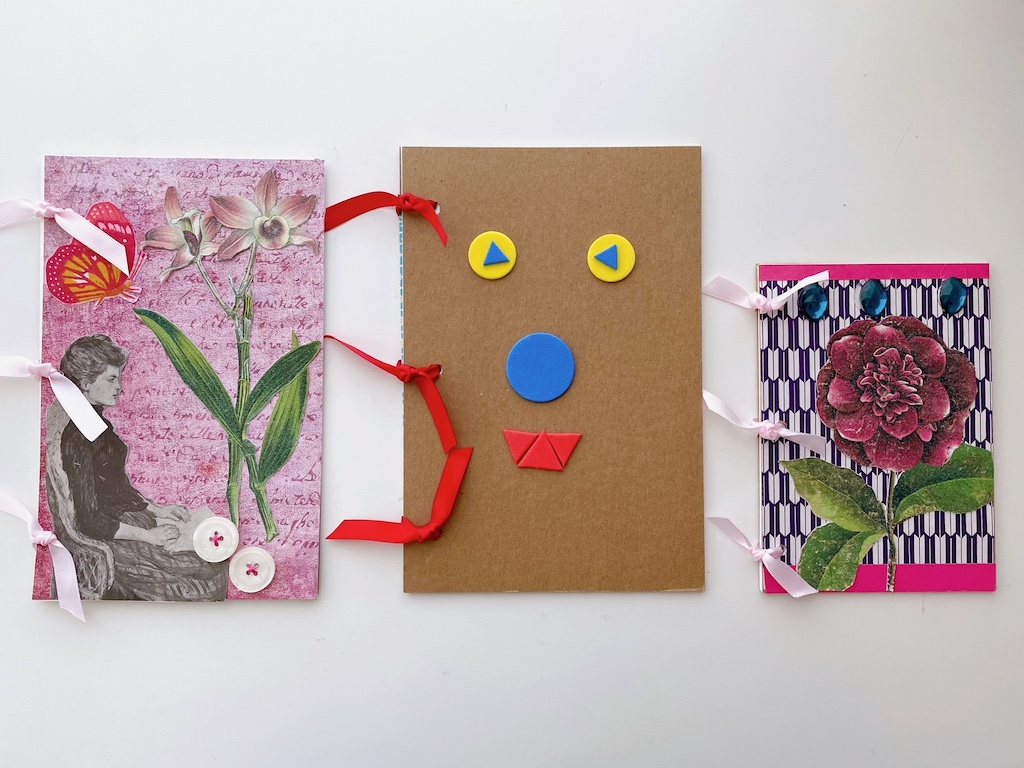
When the grandkids create a gift for their parents, I try to guide them towards ones that don’t take up too much space. For Mother’s Day, we made a video. For a Father’s Day gift, we’re crafting notebooks.
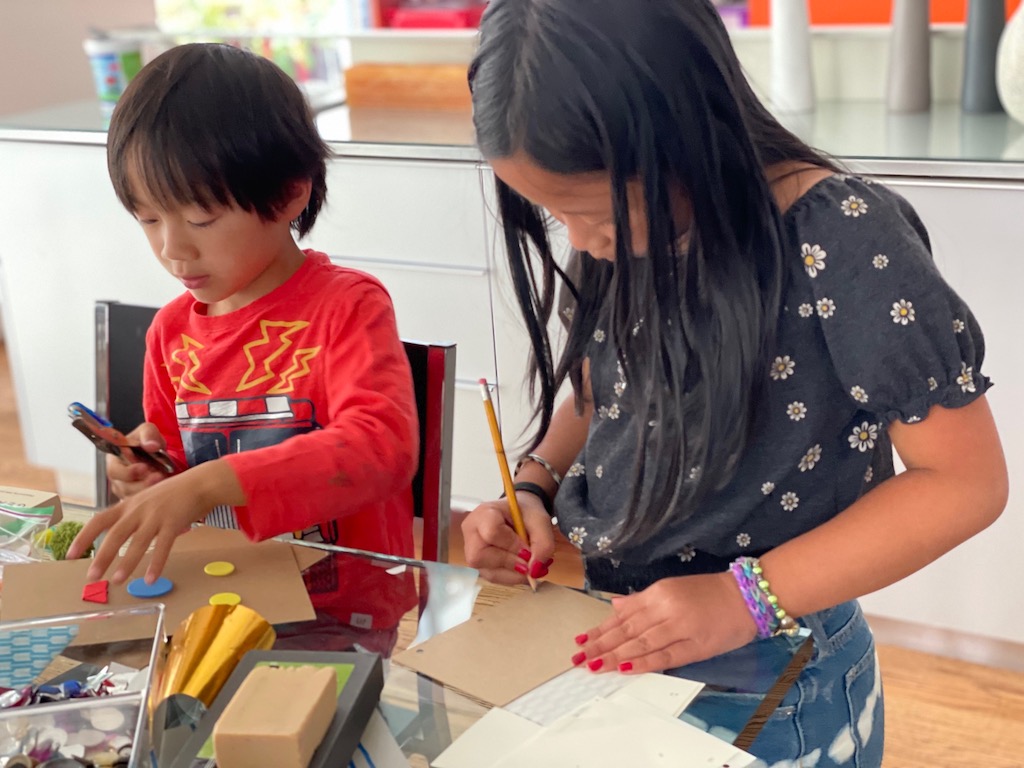
The original idea for this Father’s Day gift is from the De Young Museum’s resources for parents web page; the project was to make a Frida Kahlo journal. I stumbled upon the page when I was researching what to do with the kids before we took them to the museum recently.
We conceived of our books as notebooks, rather than as journals. Their father lives in a digital world, but I’m sure there will be occasions when a pad of paper can come in handy for jotting down a note or two.
Materials Needed for this Father’s Day Gift
- Light cardboard for the back and front cover–tear the backs off used steno pads and legal pads if you have them
- Sheets of printer paper for the inserts –I used outdated letterhead paper, trimming off the words
- Patterned and solid paper or cardstock for the background
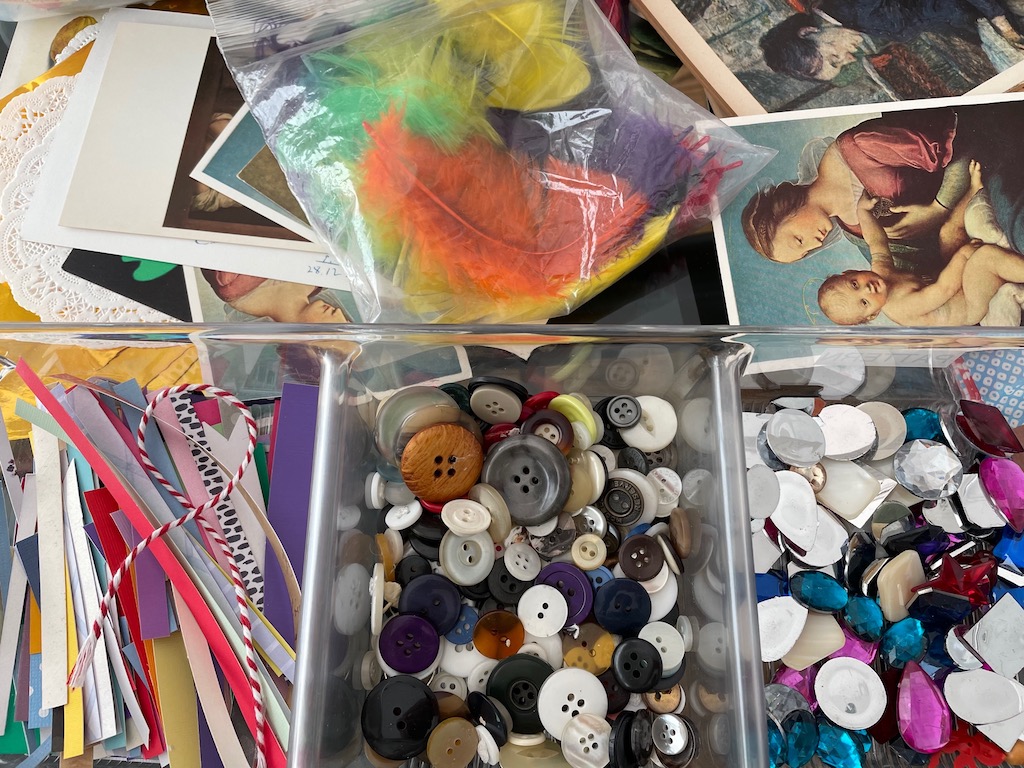
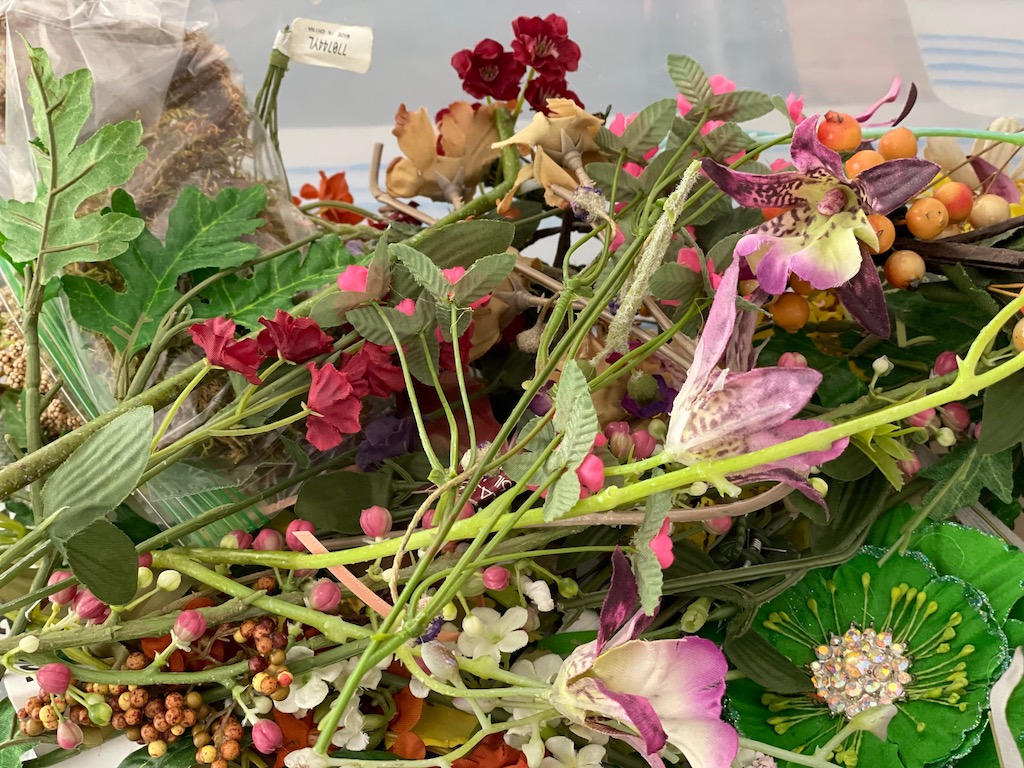
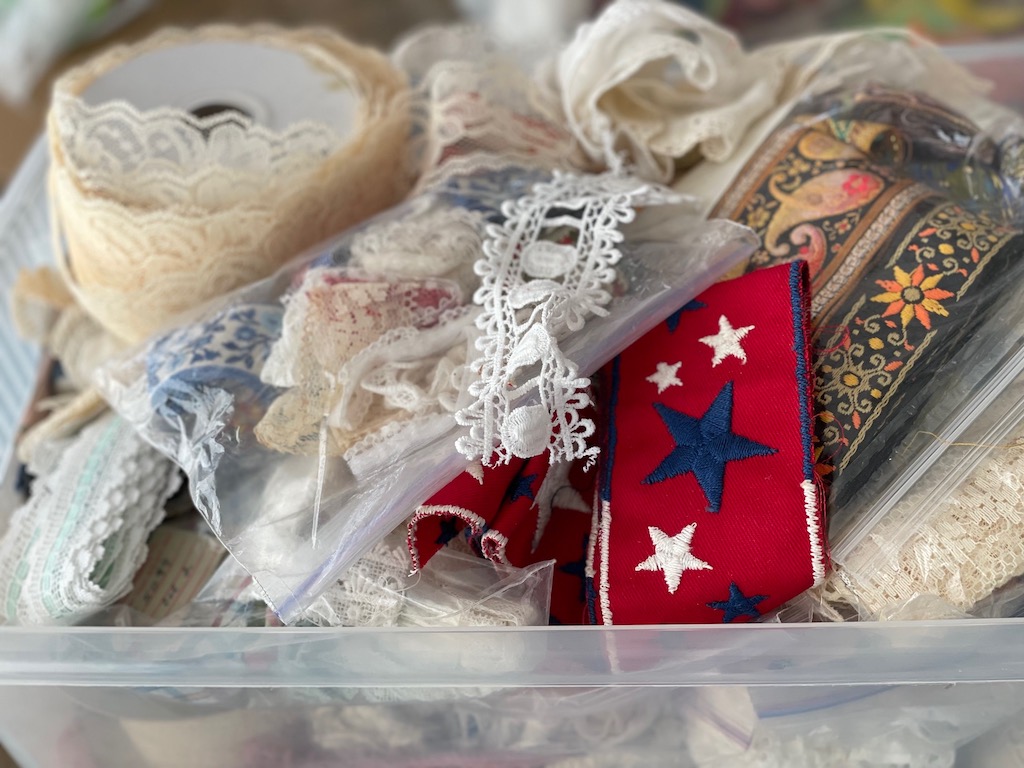
- Art reproduction postcards, buttons, “jewels,” artificial flowers, lace, and other decorative items
- Ribbon or twine to hold the notebook together
Tools Needed
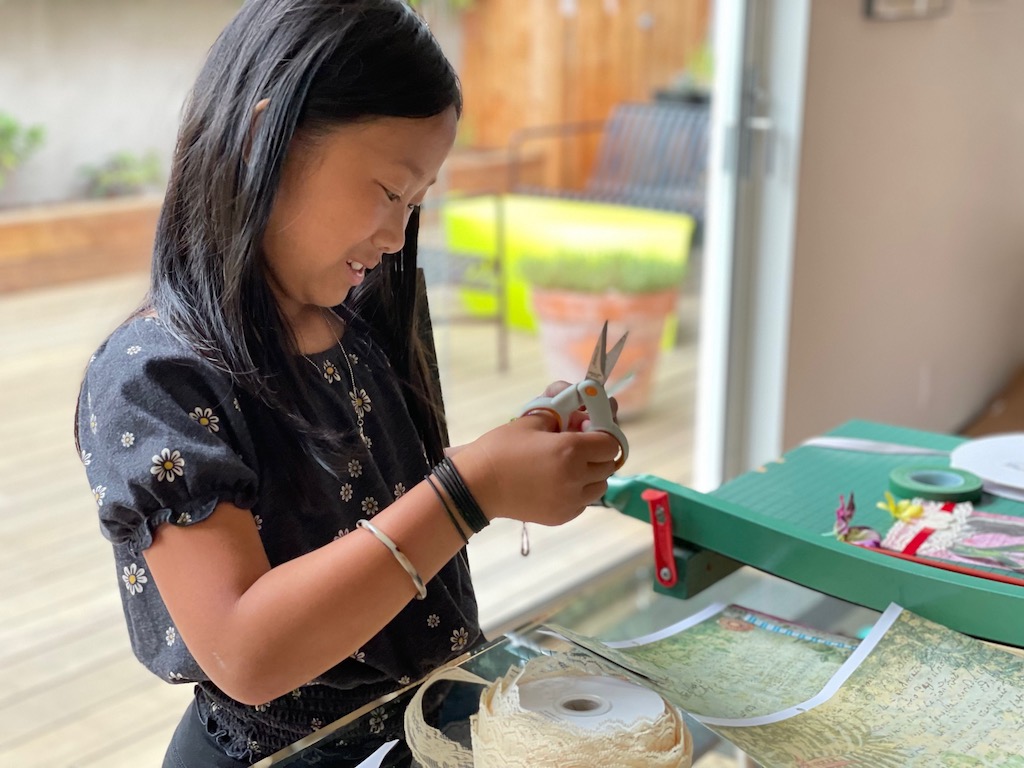
- Ideally, a guillotine-type paper cutter that can measure and cut cardboard; alternatively large sharp scissors and a ruler
- Pencil
- Small, sharp scissors for cutting out images
- Glue stick for gluing paper
- Low-temperature glue gun for gluing buttons and other heavier items
- Hole punch or awl
How to Make It
Determine the size you want your book to be and cut two pieces of cardboard to the size. Miss T’s was 4 1/4 inches by 6 1/4 inches–that’s about as small as a book should be to allow for decorations.
Cover the cardboard with paper or cardstock, gluing in place with a glue stick. Determine where holes should be to fasten the book together, and punch the holes.
Cut printer paper to the size of the cardboard cover and using the cover as a guide, trace the hole locations with a pencil; punch holes in the paper.
Decorate the cover as desired using art reproduction postcards, buttons, “jewels,” artificial flowers, lace, and other items.
Now stack the components of the book together in proper order with cover on top, followed by inside pages, and then back cover. Thread ribbon through the hole in the cover, then through inside pages and to the back cover; tie together loosely. Do not tie tightly or your book won’t open easily.
Repeat with remaining holes.
Tips
- Many of our craft projects require the same materials. Keep them organized in clear plastic bins. For example, flowers are used to make fascinators (hats), a fairy lantern, and fairy houses.
- Recycle materials when you can. Reusing steno book covers and outdated stationery gives these throwaway items new life.
- An old-fashioned, guillotine-style paper cutter is a worthwhile investment. Clean, neat, accurate cuts ensure a good end result.
Sign Up!
Don’t forget to sign up for my email newsletter. Every Wednesday, I’ll give you a new idea for an activity or insight to nurture the little ones in your life. Come visit!