How to Make a Different Kind of Valentine Card
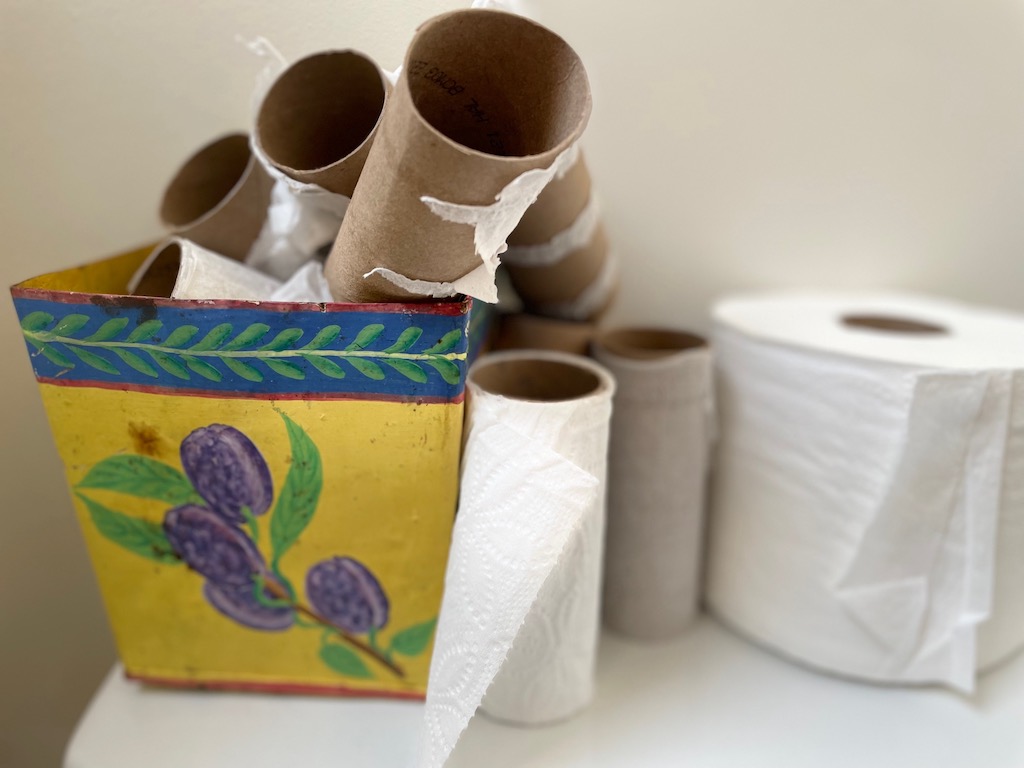
I was looking for a different kind of valentine card for the grandkids to make. I was also despairing over the proliferation of empty toilet paper rolls collecting on my toilet tank.
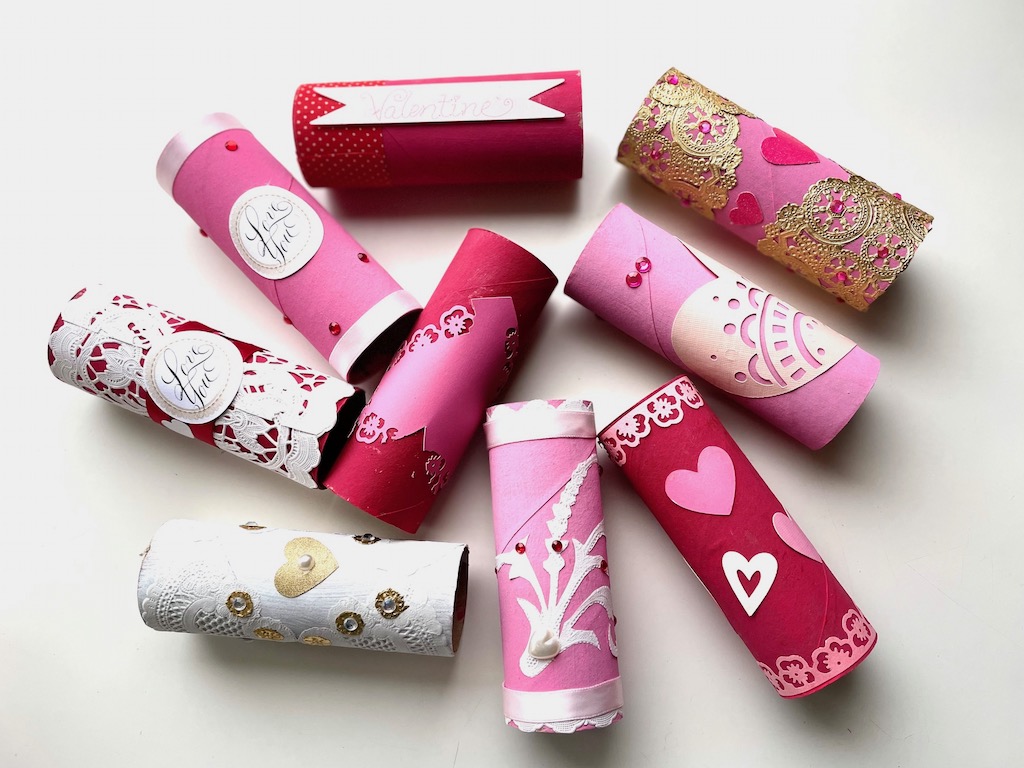
Those tubes have an interesting cylindrical shape, are nicely made, and they’re begging for a new life.
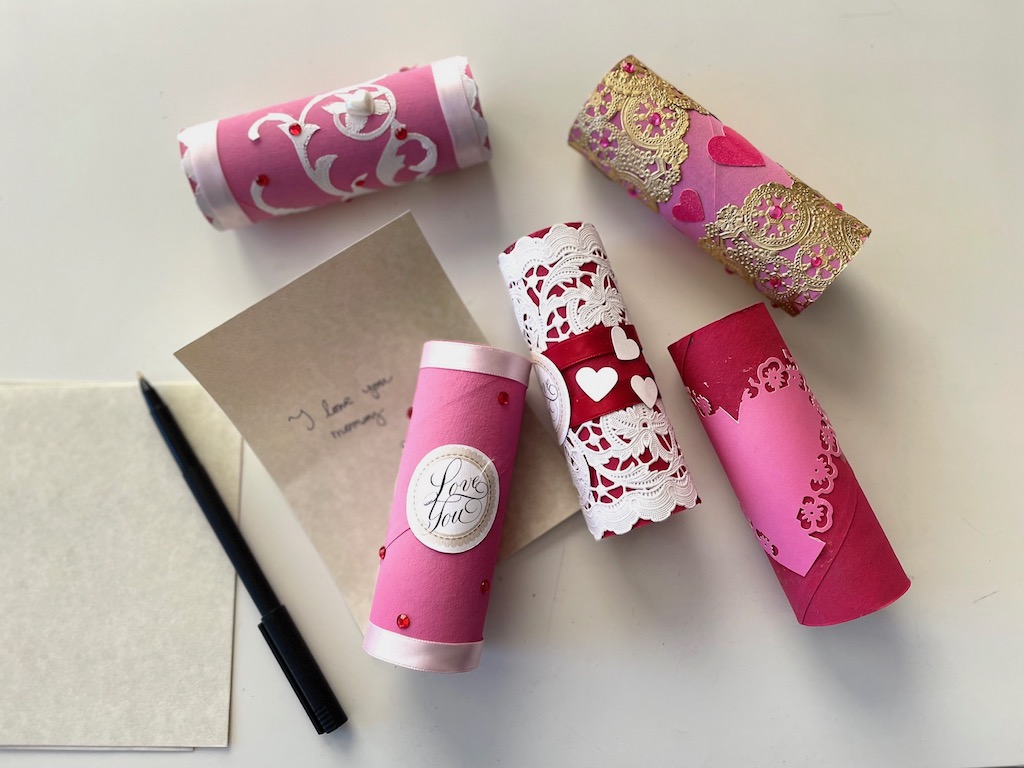
So, I used them to make a different kind of Valentine “card.”
The card is the decorated tube. The sentiment, like a message in a bottle, is rolled up and fitted into the tube.
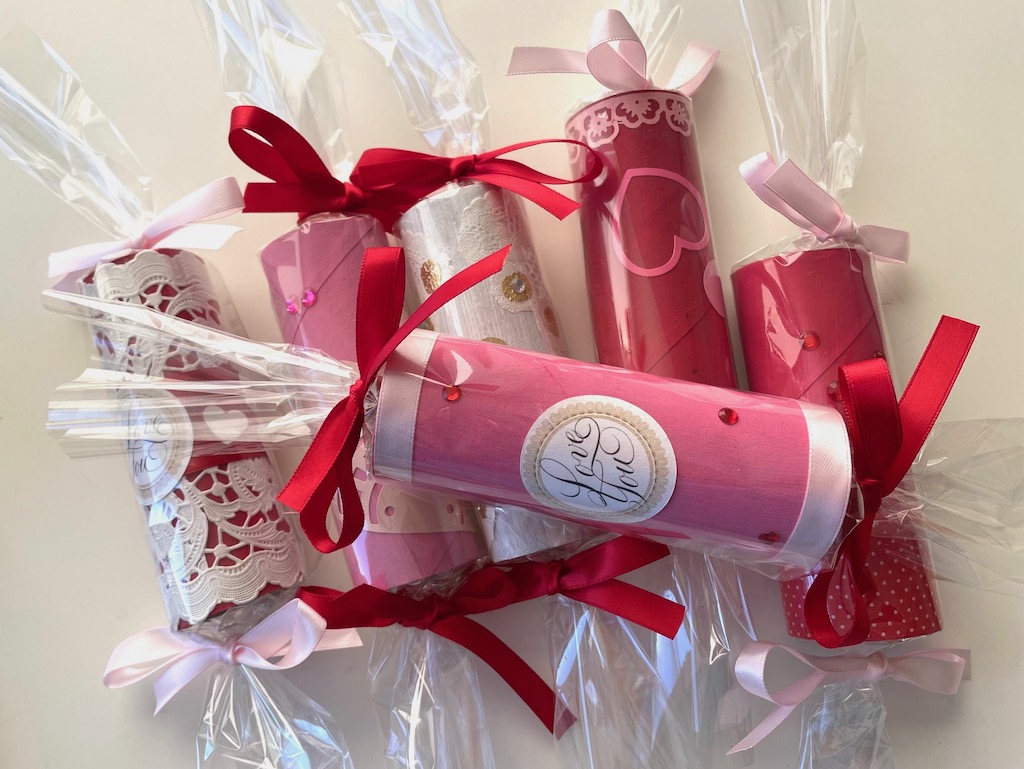
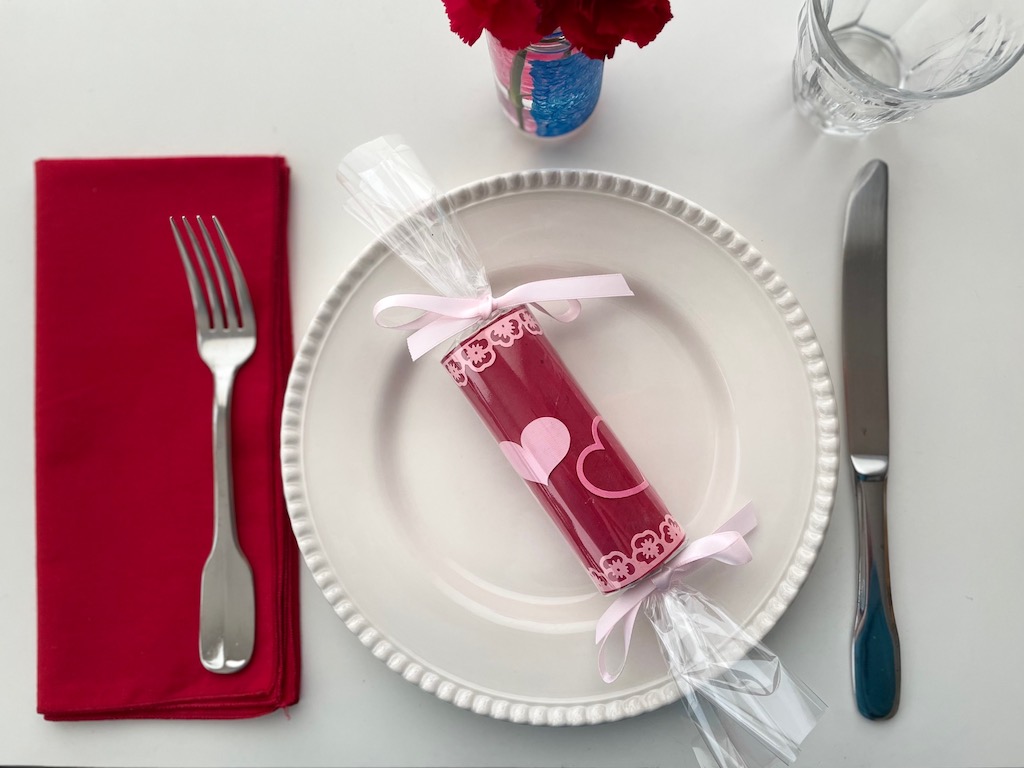
You can stop here. Or you can go the extra mile and wrap the tube in cellophane, tying each end with satin ribbon to finish it off.
How to Make the Valentine Card
Valentine Card Materials Needed
- Empty cardboard toilet paper rolls
- Red, pink, and white tempera or acrylic paints
- Paper doilies
- Paper-punched hearts or sticker hearts in different sizes and colors (see note)
- Colored paper or cardstock to cut up for decorations
- Self-adhesive rhinestone stickers
- Any other decorative elements you might have on hand
- White school glue (Elmer’s) and glue stick (see note)
- Cellophane for covering tubes (optional)
- 3/8-inch satin ribbon for tying (if using cellophane)
- Paper to write Valentine sentiment, sized to fit into the cardboard roll
Materials Notes:
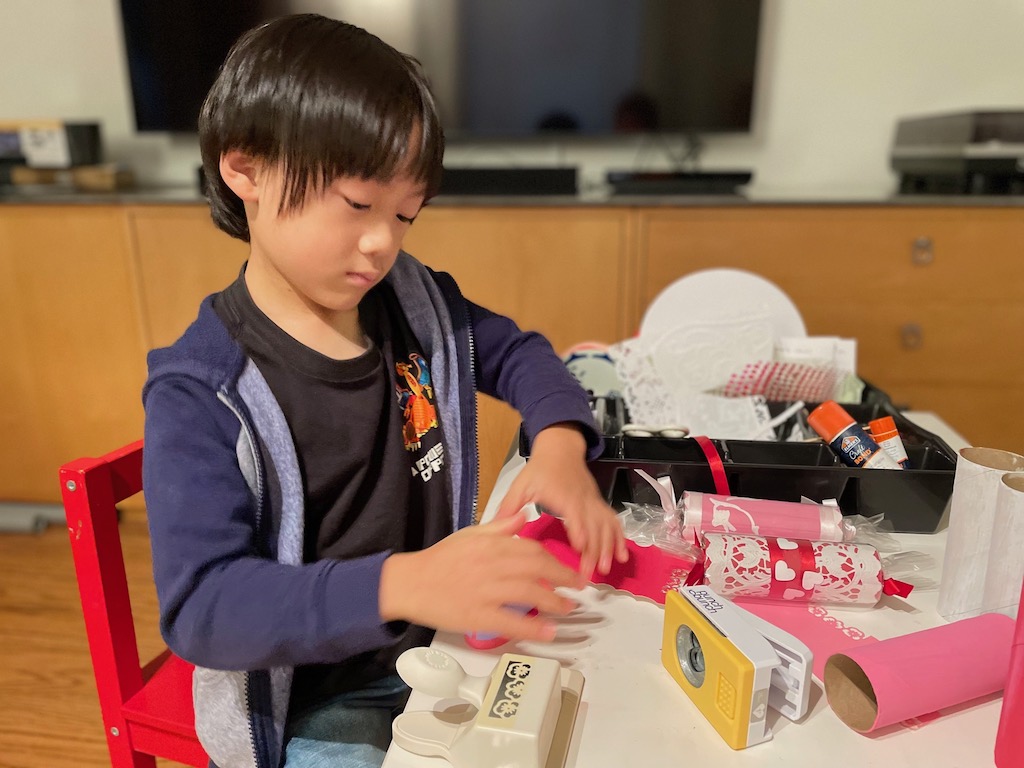
Stickers: I tend not to like stickers for projects like this, because the kids can be tempted to slap on stickers, willy-nilly, and call it a day. Instead, I provided heart-shaped paper punches, which require more work and thought about the design of their valentines.
More ways to use toilet paper rolls for craft projects.
Glue: We had trouble getting the heart shapes (punched out from cardstock) to stick using a glue stick; the white glue worked better. However, if your paper is thin, white glue can make the paper too wet and turn it wrinkly.
Valentine Card Tools Needed
- Small, sharp scissors
- Paint brushes
- Small plastic sauce cups to hold paint
- Bottle of water to rinse paint
- Heart-shaped paper punches (optional)
Preparation
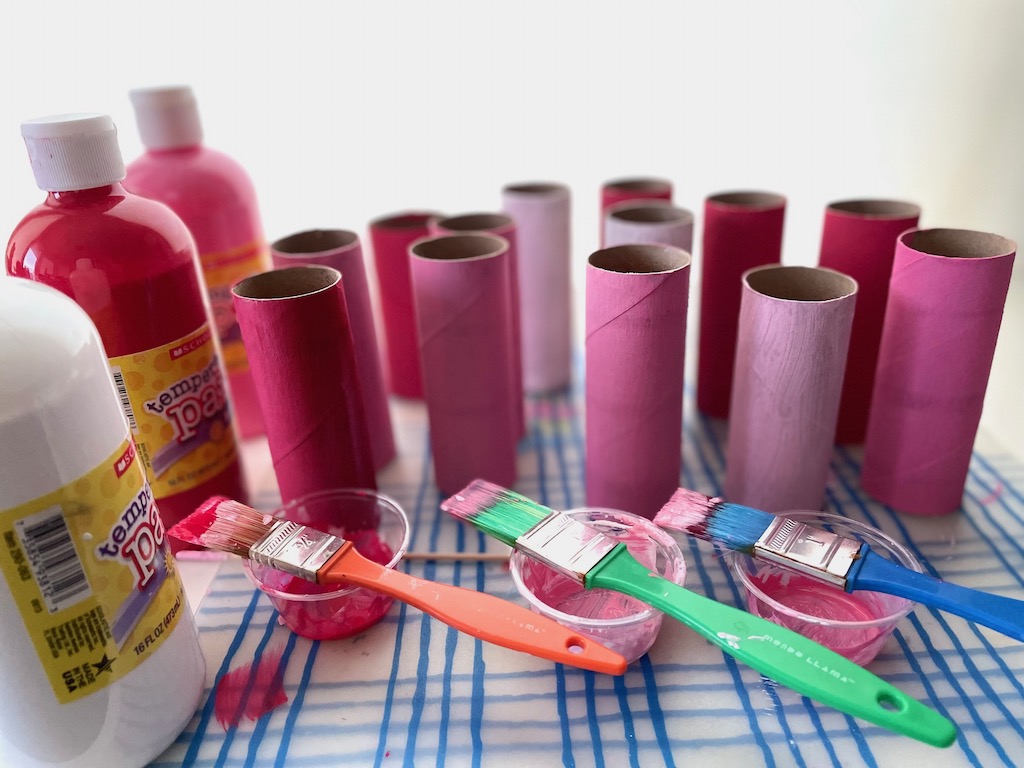
Paint the cardboard rolls in advance and allow to dry so the kids can get right to work decorating and writing their sentiments.
White paint may require more than one coat to cover gray cardboard rolls.
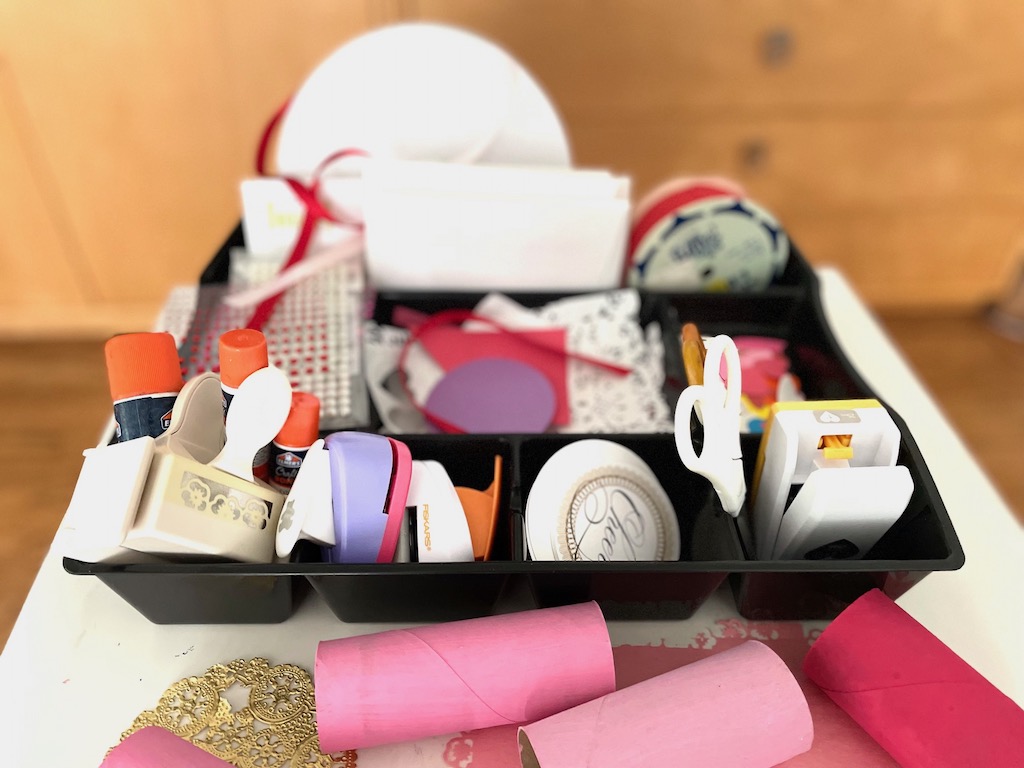
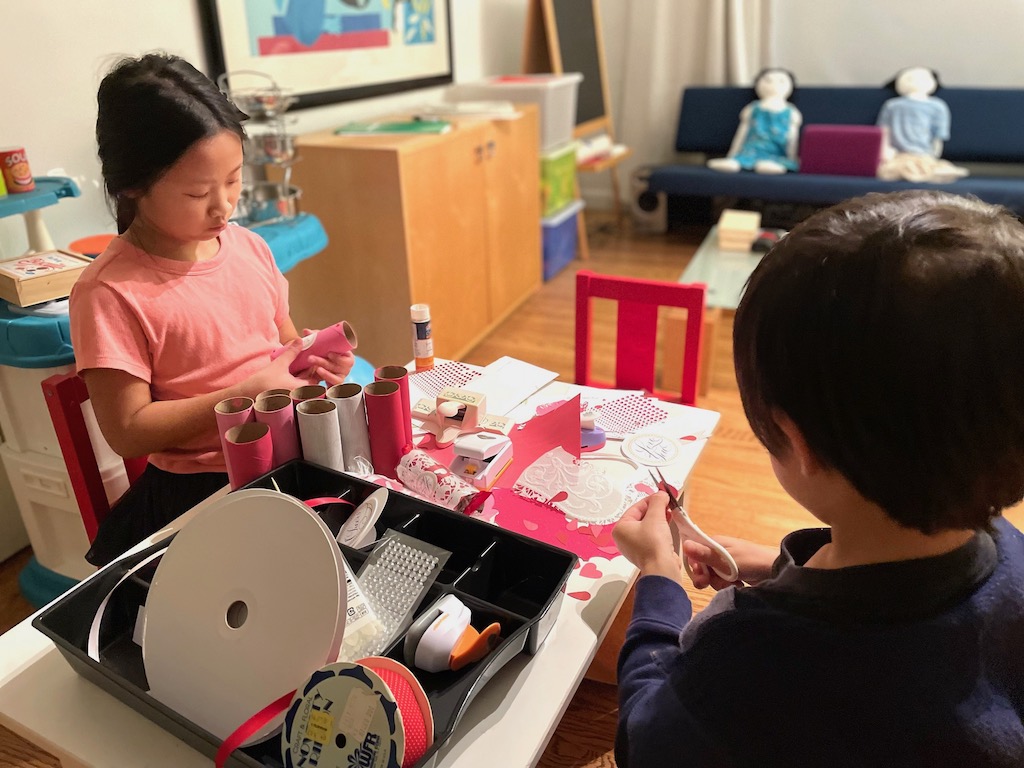
Gather the valentine decorations and organize them so kids can find what they need. I used an inexpensive plastic desk organizer so everything is sorted and ready at hand.
Method
Have the kids decorate the painted tubes with the decorations you’ve set aside. The glue can get messy–especially if you’re gluing doilies that are riddled with holes–so use a square of parchment paper or plastic wrap to press down on the glued-on design to hold in place until secure, without getting your hands sticky.
Variations to the Basic Valentine Card
Come up with your own variations, such as:
- Make a group valentine card. For example, one child makes the valentine for mom or dad; all the family members write their own messages and roll the messages up together in the same tube.
- Sweeten your valentine by adding chocolate hearts or other candy treats in the tube; wrap with cellophane.
- Insert a little toy or gift, like a Christmas cracker, into the tube; wrap with cellophane.
- Use these cards to decorate a Valentine’s Day table.
How We’ll Use our Valentines
On our regular Friday night dinner that’s closet to Valentine’s Day, we’ll make the routine meal special by adding red napkins and setting a valentine at each person’s plate. I’ll decorate the table with red or pink flowers and hang a valentine streamer. I’ll buy everyone a small, very inexpensive present. And we’ll be sure to have a fancy dessert!
Sign Up!
Don’t forget to sign up for my email newsletter. Every Wednesday, I’ll give you a new idea for an activity or insight to nurture the little ones in your life.
